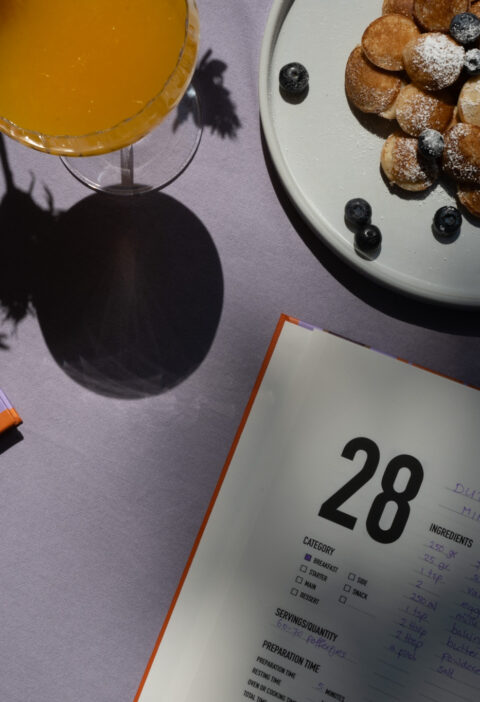
A couple of months ago, I launched a recipe journal on Amazon. If you missed my previous post about my recipe journal, you can read the launch blog post here, or allow me to update you quickly.
Your Own Recipe Book
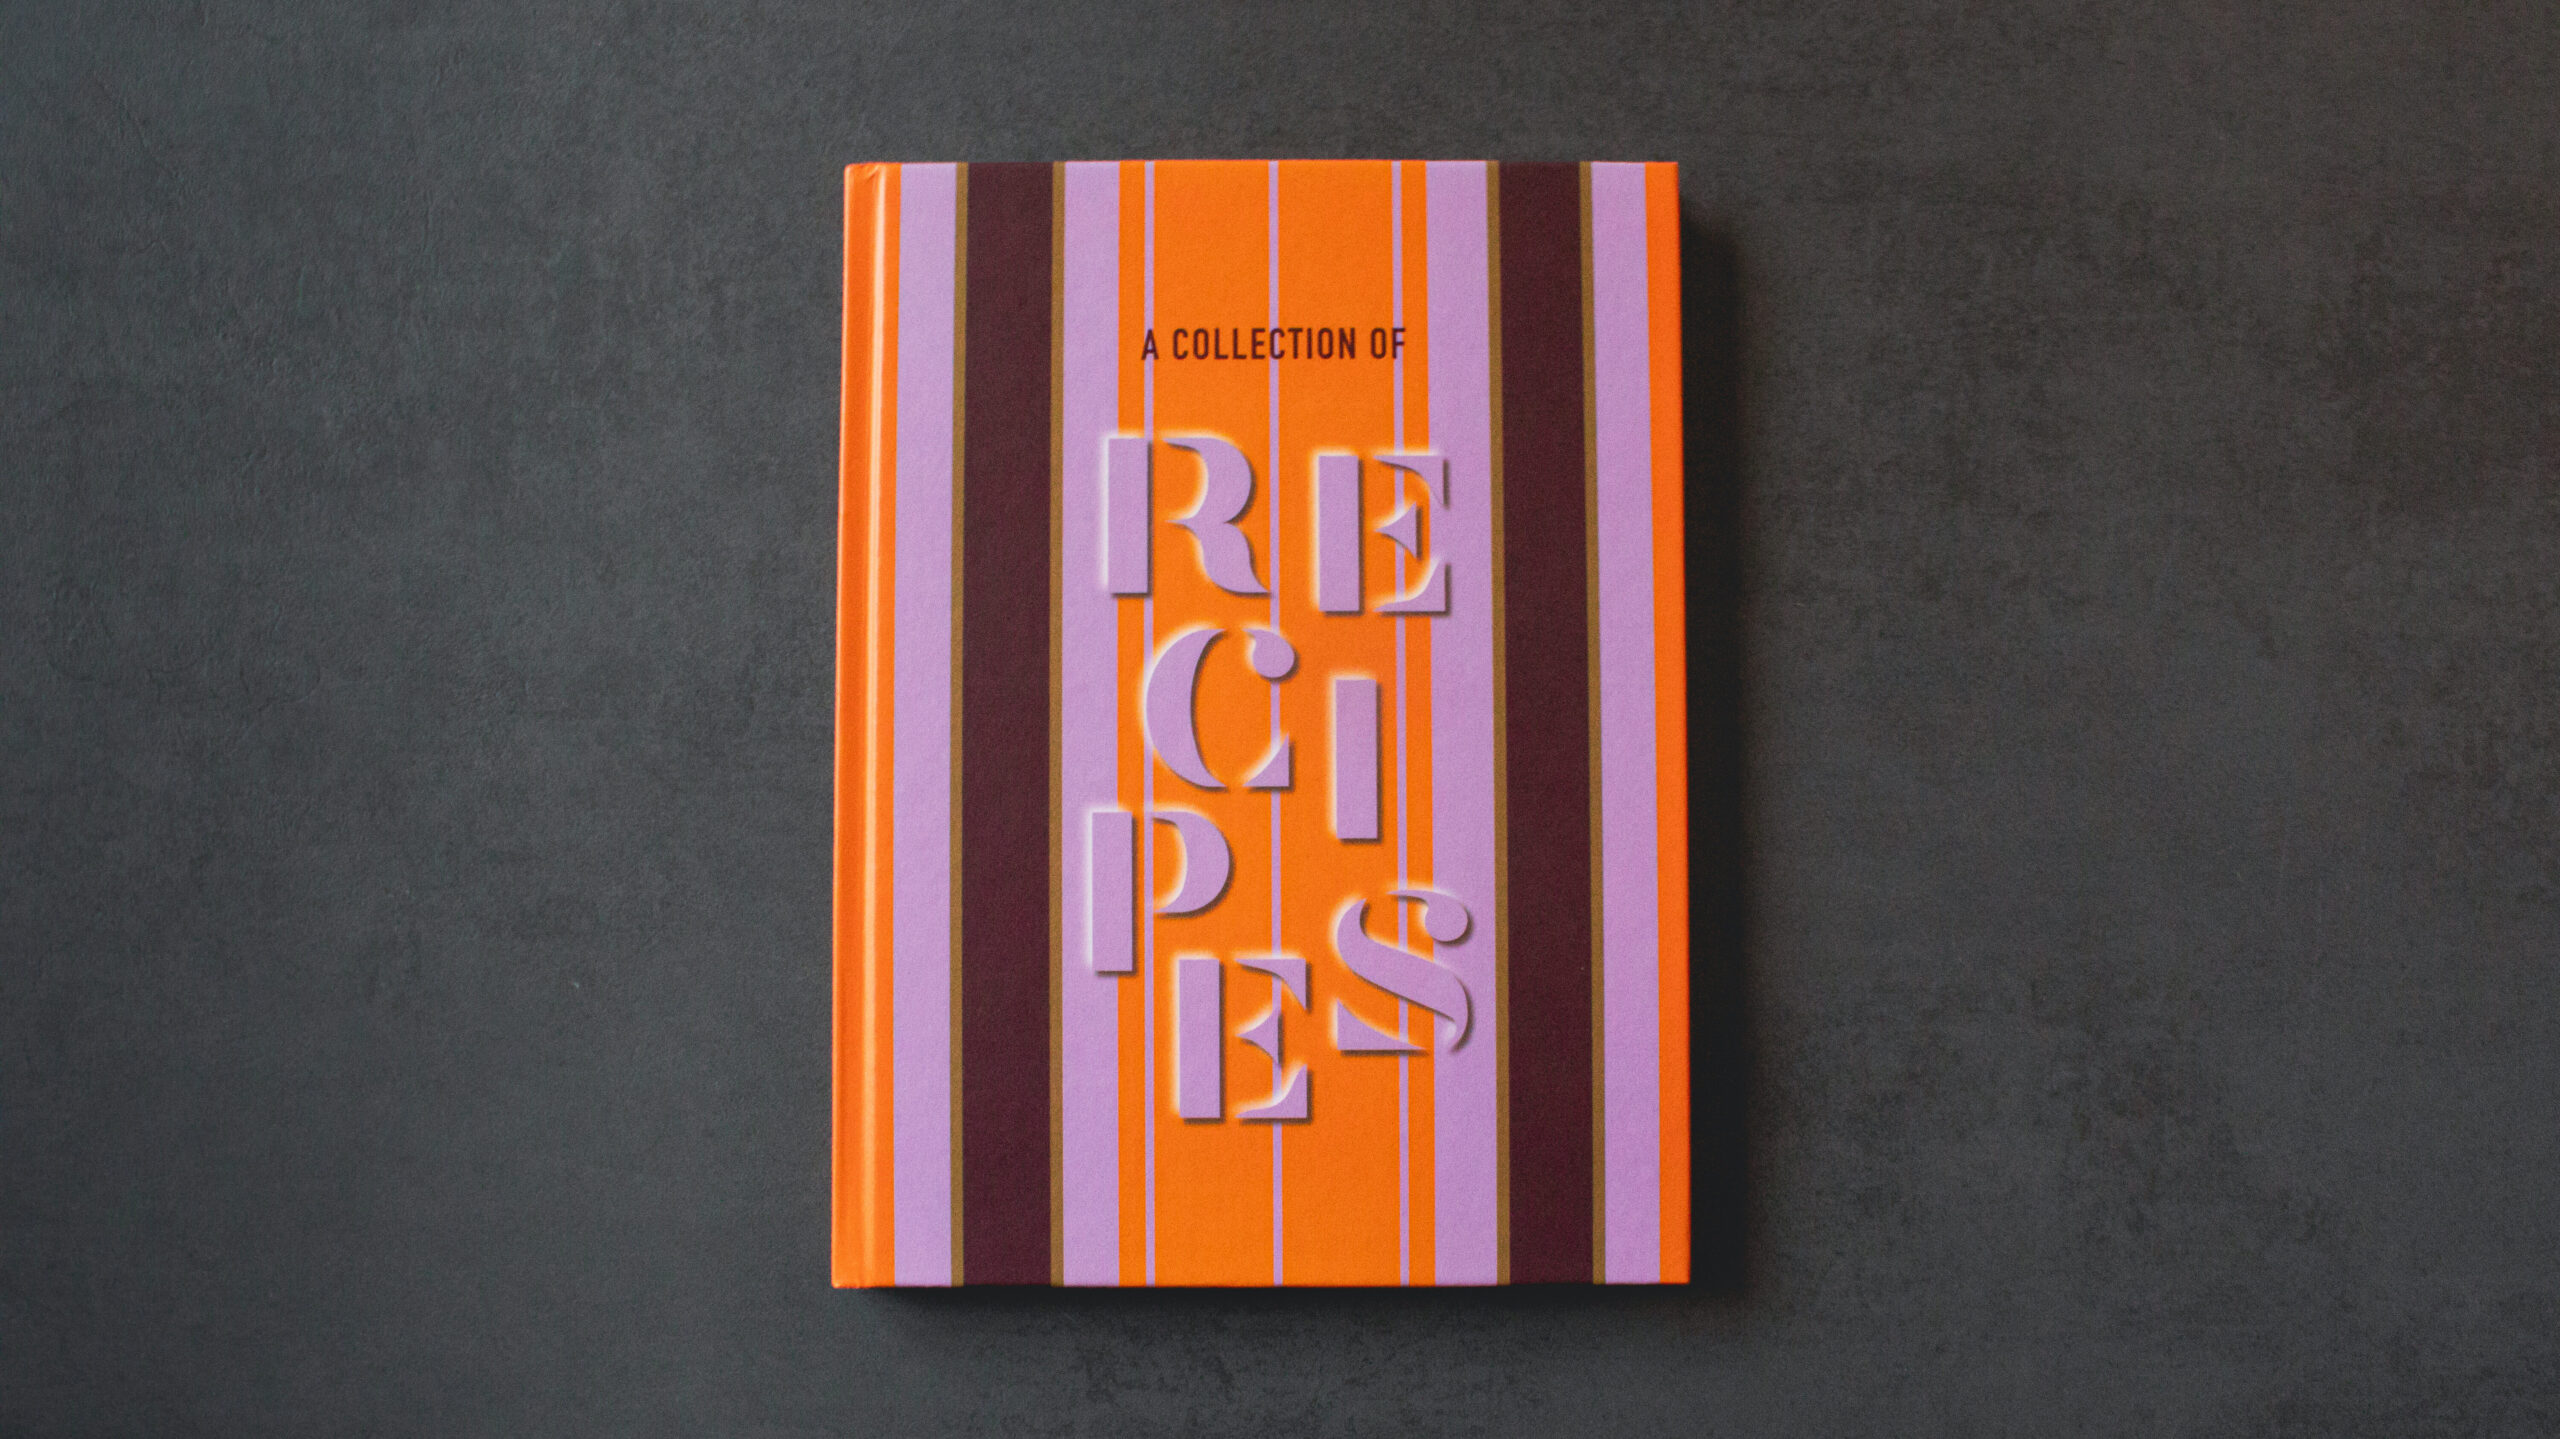
This is a product that I wish I had owned years ago. Over the years, I collected and created many recipes, but some of them have been lost along the way. I had scraps of paper here, a forwarded email there, or a torn magazine page somewhere in a moving box. I wish I had kept these recipes neatly organized and somewhere safe. I wish I had a structured journal with all the ingredients, steps and times. Therefore, I created “A Collection of Recipes,” which is a hardcover recipe book that can be filled with all of your favourite dishes.
In the previous post about this book, I described how I came up with the idea and took you through the design process. In this blog post, I would like to share more about the layout of the book, my workflow for keeping recipes, and how you can make the most out of this book.
Writing Down Recipes: My Rule & Recommendations
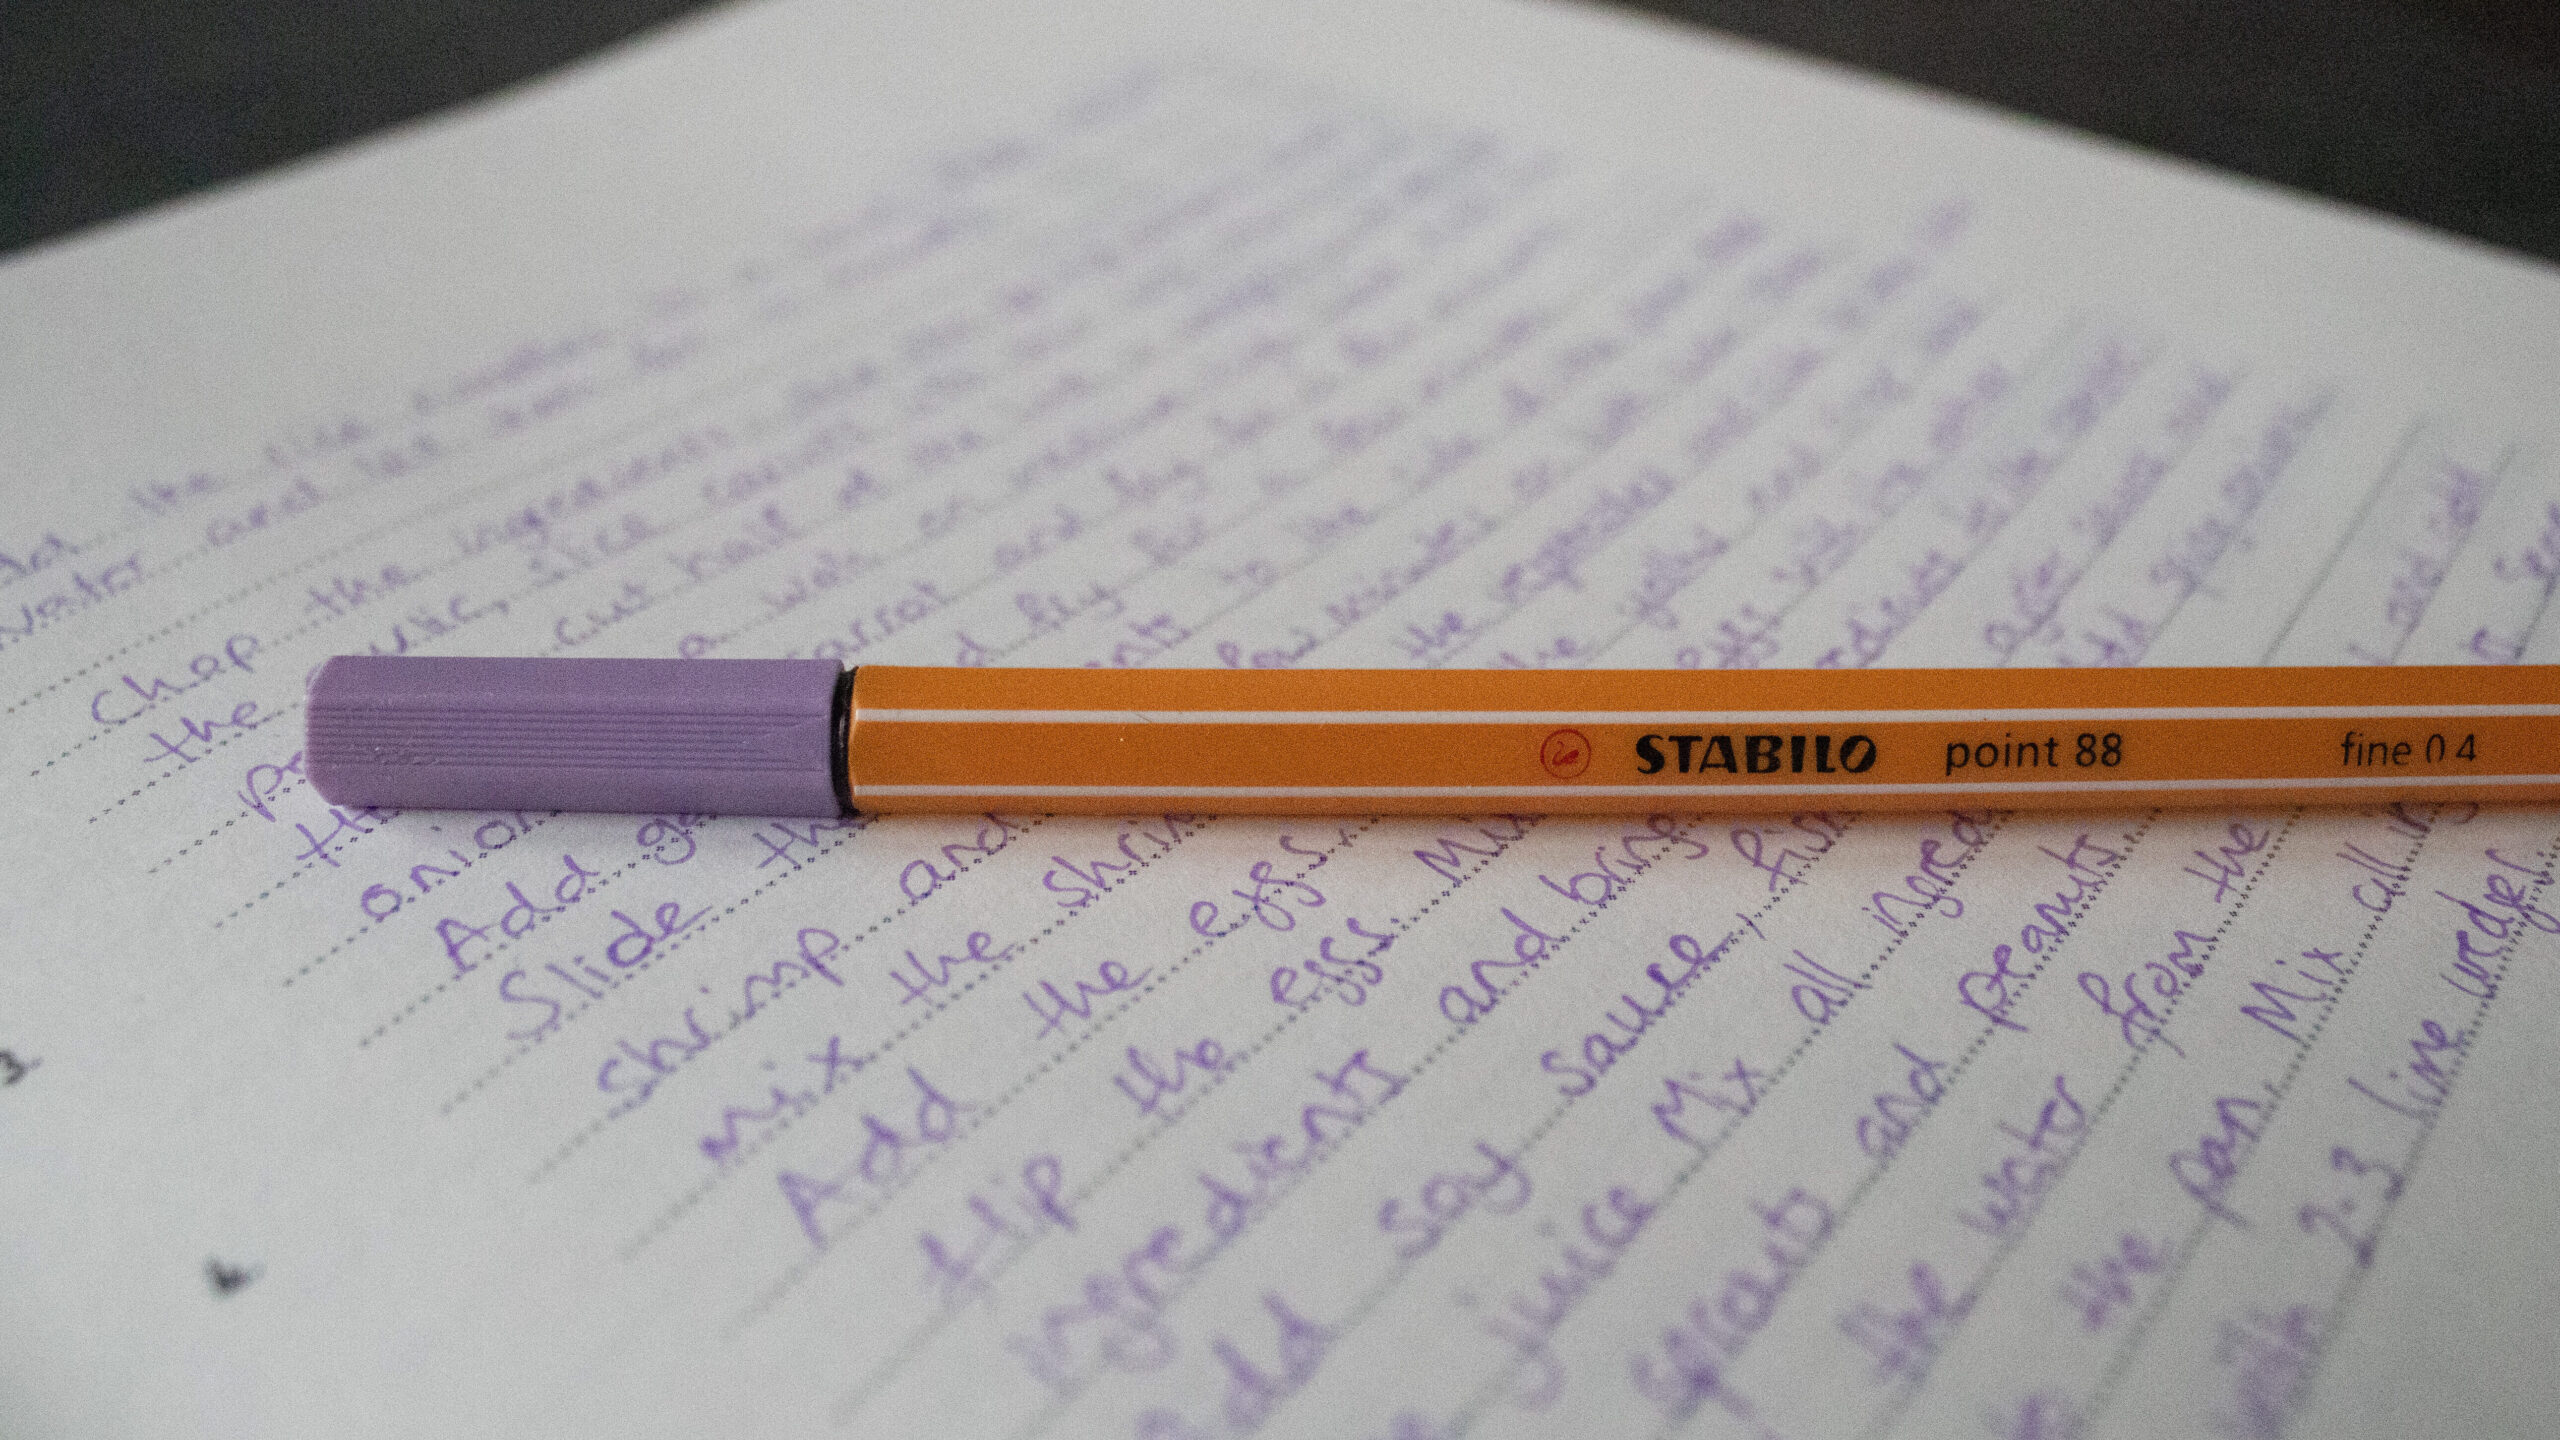
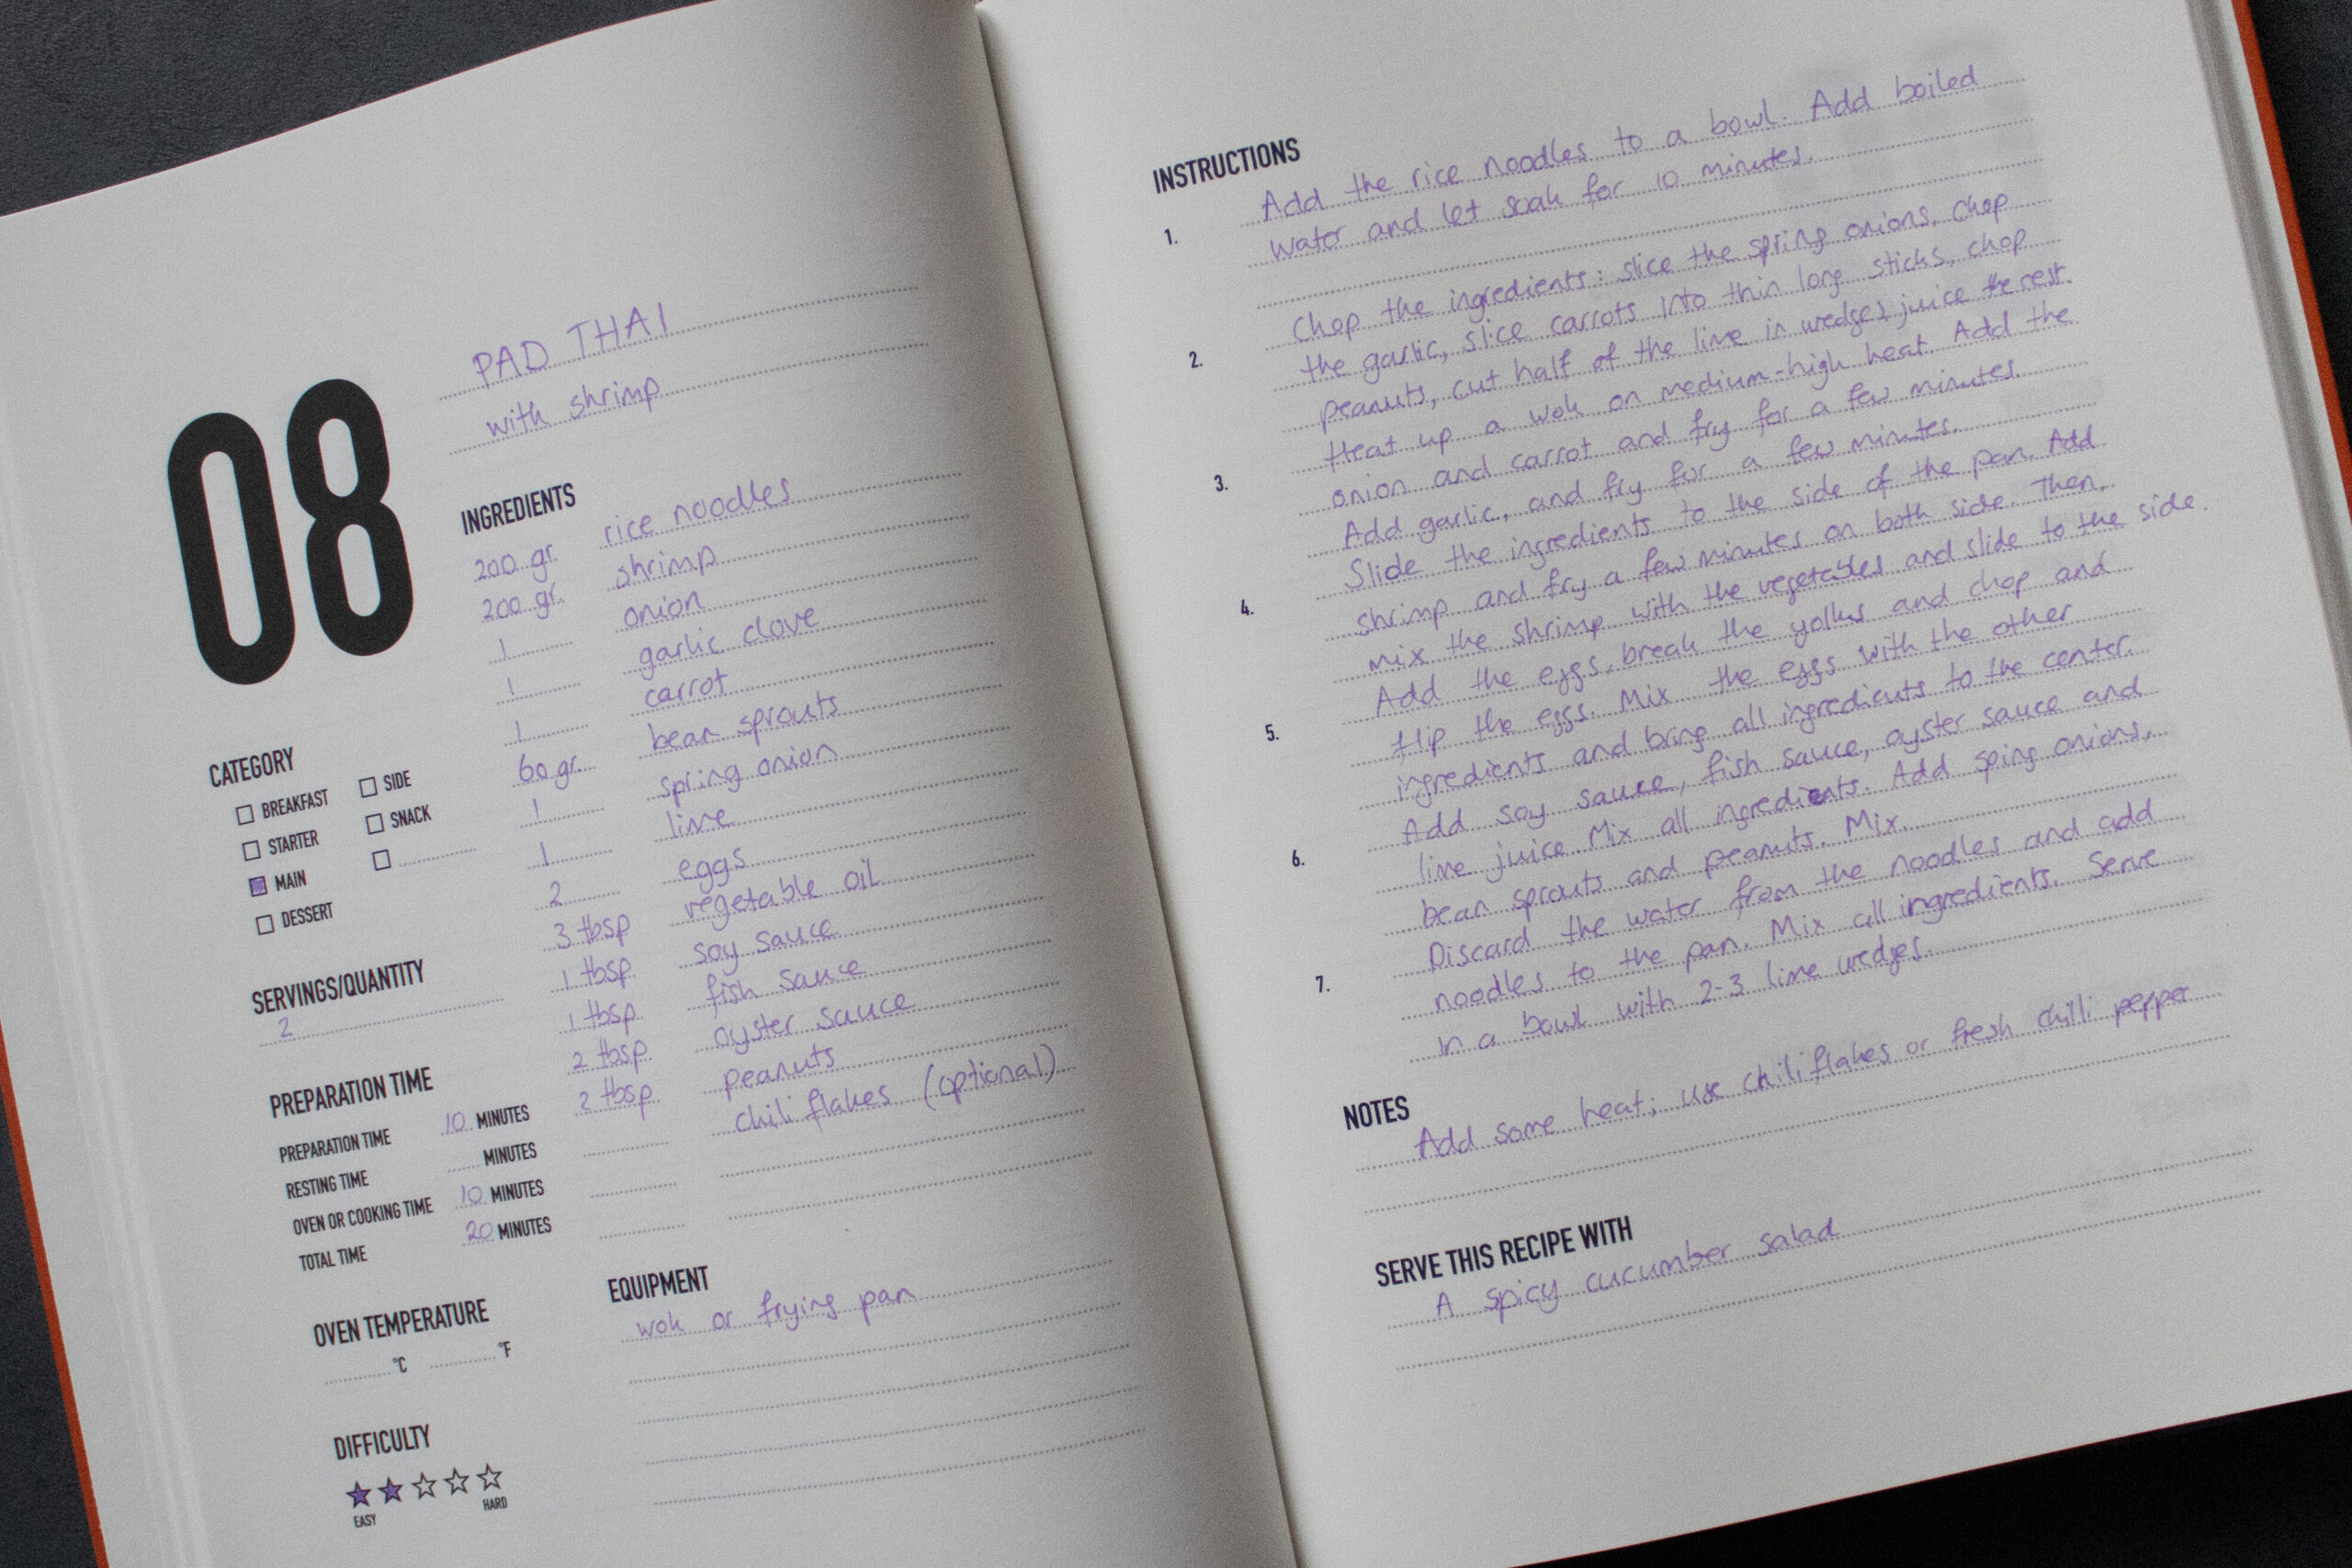
I highly recommend using a pen for a long-lasting, permanent record. The Stabilo Point 88 pen (Art. No 88/59, fine 0.4) is the one which I used for this book. It matches perfectly with the lilac colour on the cover.
Here is my personal rule: I write down my recipes within 24 hours of cooking them. I noticed that on Friday I can’t exactly remember what I ate and cooked on Monday, and having this 24 hrs rule helps me to remember all ingredients I used. Following this rule will help you saving all little details — like did you use half or a full bell pepper, one or two tomatoes? If you are still creating the recipe I would recommend to use a pencil, but when a recipe is finalized you could write it down with a pen.
How to Fill in the Recipe Page
Each recipe page is carefully structured to provide space for every detail you need to make the recipe. Some parts are logical and self explanatory; however, I will go through all sections and explain how I filled them out. The next paragraph will take a closer look at all the sections. You can find my explanation below the picture.
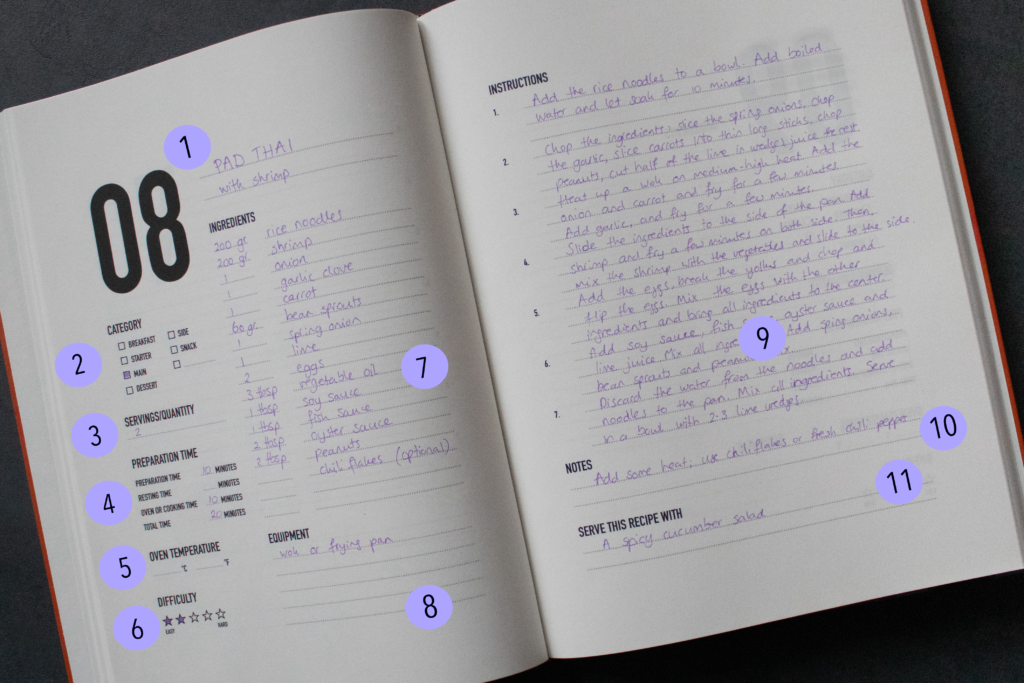
1. Recipe Title & Number
At the top of the page, you will see a space to write down the name of your recipe. This is where you write down the dish its official name. You can use the name of the person who shared the recipe with you, for example, “Oma’s Vegetable Soup,” come up with a creative name yourself, like “Passion Star Dessert”, or name the main ingredients including the category, like “Mustard Soup with Kohlrabi and Leek,”. Or include if there is a special preparation method required, for example, “Steamed Mussels in White Wine.”
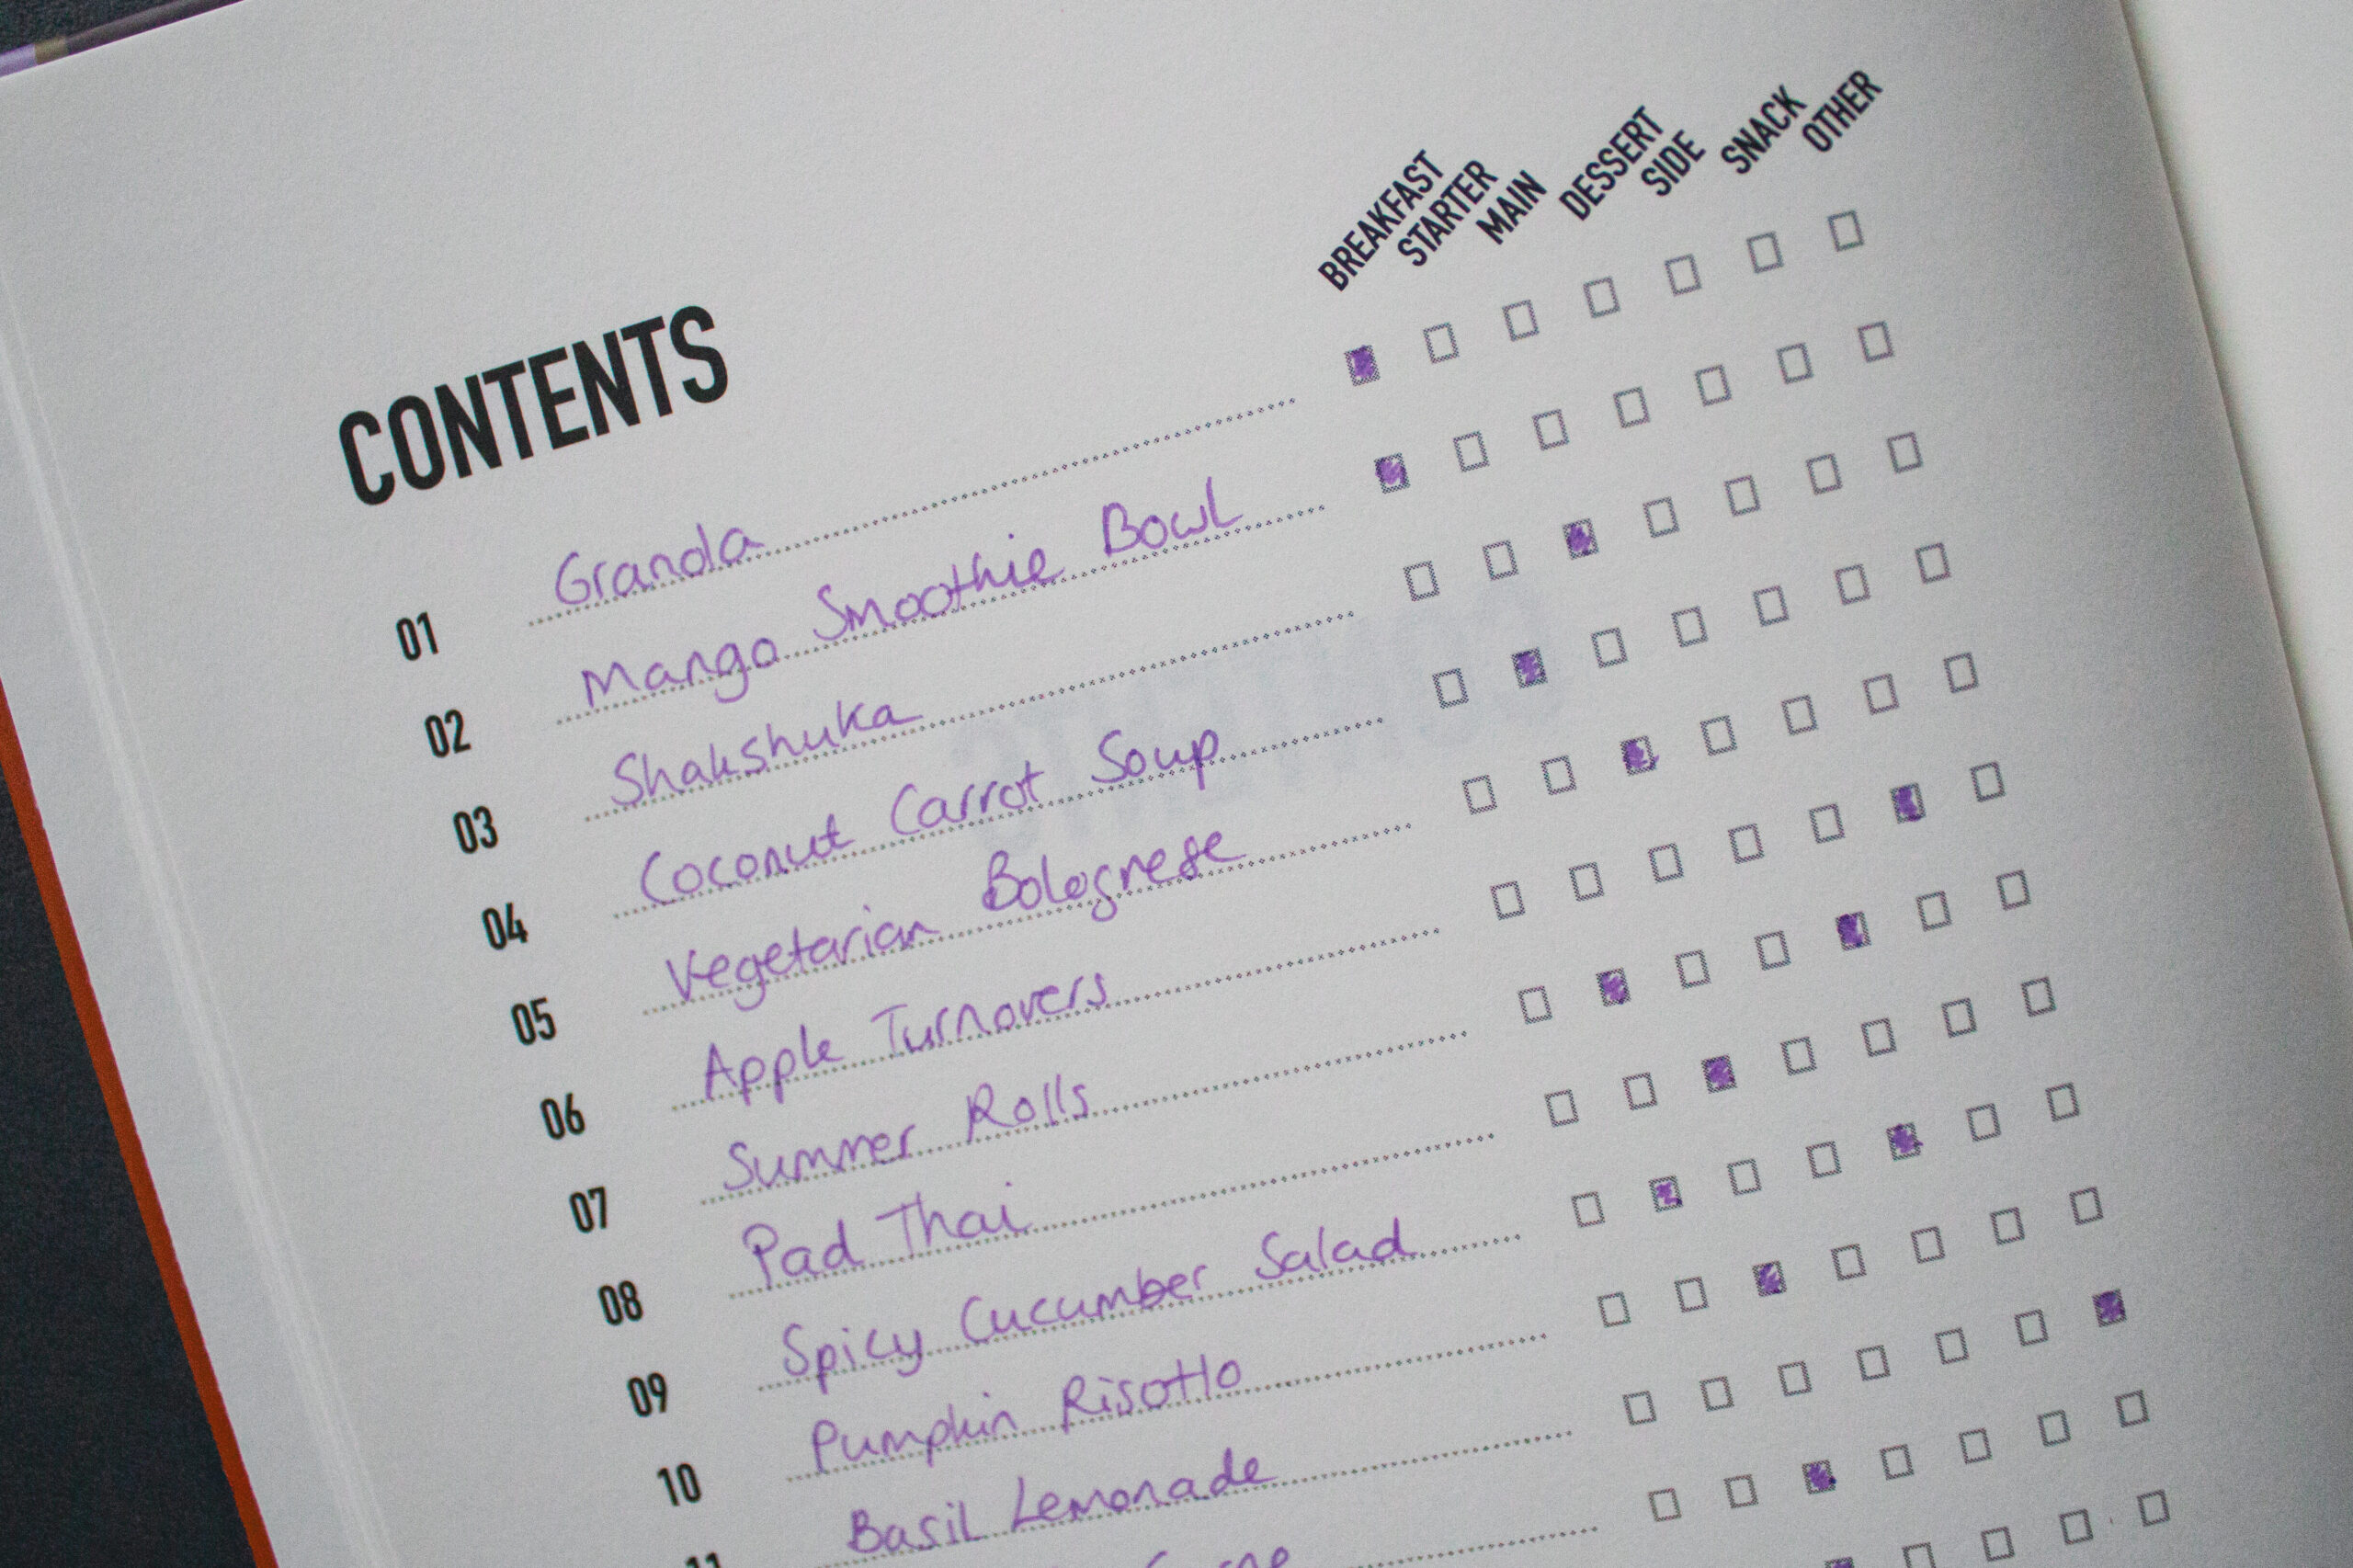
To the left of the title, there is a recipe number. This corresponds to the numbered line in the Contents Page. The number helps you quickly locate any recipe within your book, which makes it easy to flip to the right page when you are searching for a recipe.
2. Recipe Categories
This small section gives you the chance to categorize your recipe. You can label it based on the type of dish. The categories help you organize your recipes further and quickly locate them when you need them. You can also have multiple categories.
3. Servings/Quantity
Fill out how many servings you can make using the mentioned ingredients. I usually make recipes for 2 persons, but occasionally make recipes that can be eaten for multiple days or are more ‘big group’ recipes, for example, when I make soup. For cookies, I usually add a range like 15-20, as it strongly depends on the size of the cookies.
4. Preparation Time
Right below the servings/quantity, you find a space to write down the preparation time. These sections are optional but are a great way to give you an idea of how much time it will take.
The time I calculate for actually being hands-on with the recipe is the time I use for ‘preparation time.’ Oven or cooking time goes for the time that something needs to simmer or is in the oven. For ‘resting time,’ I calculate the time a dough needs to rest, or the time something goes into the fridge. I usually write down all numbers in minutes and then add the total sum at ‘total time.’
5. Oven Temperature
You can either add the temperature in this section in Celsius (C) or Fahrenheit (F). Or do both! 😀
6. Difficulty
How easy is it to make this recipe? If it is beginner-friendly, then I would rate it as 1 or 2. If it requires more technical skills (cutting, folding or braiding), then I would rate it as 4 or 5.
7. Ingredients
All ingredients used to make this recipe are listed in this overview. The small line holds the quantity and unit of the ingredients, the long line the ingredient itself. Sometimes I add in brackets some specific details about the ingredients, e.g. apples (sweet), or eggs (medium size)
8. Equipment
I usually only mention the more special or rare equipment, like a poffertjes pan or piping bag. I leave out any regular equipment like knives, peeler or a chopping board.
9. Instructions
The instructions section is where you write down all the steps for preparing your dish. You can merge the simpler steps and group them into one number. I like to make it very clear and direct to avoid mess-ups, so when writing down, I imagine that someone with their eyes closed should be able to understand what steps to take. But you can do it the way you prefer. The important thing is that this section is designed for easy readability.
10. Notes
Write down any notes that can be useful for yourself or any future reader. For example, “This is a traditional recipe of my grandmother which we used to eat during Christmas.” Or add variations of this recipe here.
11. Serve This Recipe With
Give any serving suggestions. If you think this main dish goes well with a salad, then you can share it here. Or, if you say that it can be eaten with rice or bread slices.

Specifications
A Collection of Recipes is your blank canvas for your culinary favourites! You can write down up to 60 recipes and add additional notes at the back of the book. The book is a hardcover, measuring 20 cm by 27 cm (8″ by 11″), and includes a contents page where you can list the names of your recipes for easy reference. It’s a durable book that will last through years of cooking.
Why Multiple Amazon Links?
Forketti’s audience is global and I want to make sure this book is accessible to everyone. I am sharing local Amazon links to keep your shipping costs low as it will be send from the nearest Amazon warehouse. When ordering, make sure to choose the link that corresponds to your country or region.
You can order through the link below, or search for “A Collection of Recipes Annely” on Amazon.

USA, Canada: amazon.com UK, Ireland: amazon.co.uk
Germany, Netherlands: amazon.de
Spain: amazon.es Italy: amazon.it France: amazon.fr Poland: amazon.pl Sweden: amazon.se
Australia, New Zealand: amazon.com.au Other countries: amazon.com
Hope you like it as much as I do! I enjoy seeing the book in use. Feel free to drop me a DM on Instagram or send me an email!
