Welcome back again! In this blog post I’m excited to take you on a journey from olive picking to bottling your own olive oil. This process holds a special place in my heart, as I had the privilege of experiencing it while I lived in Florence (Italy) back in 2013.
The Olive Picking Process
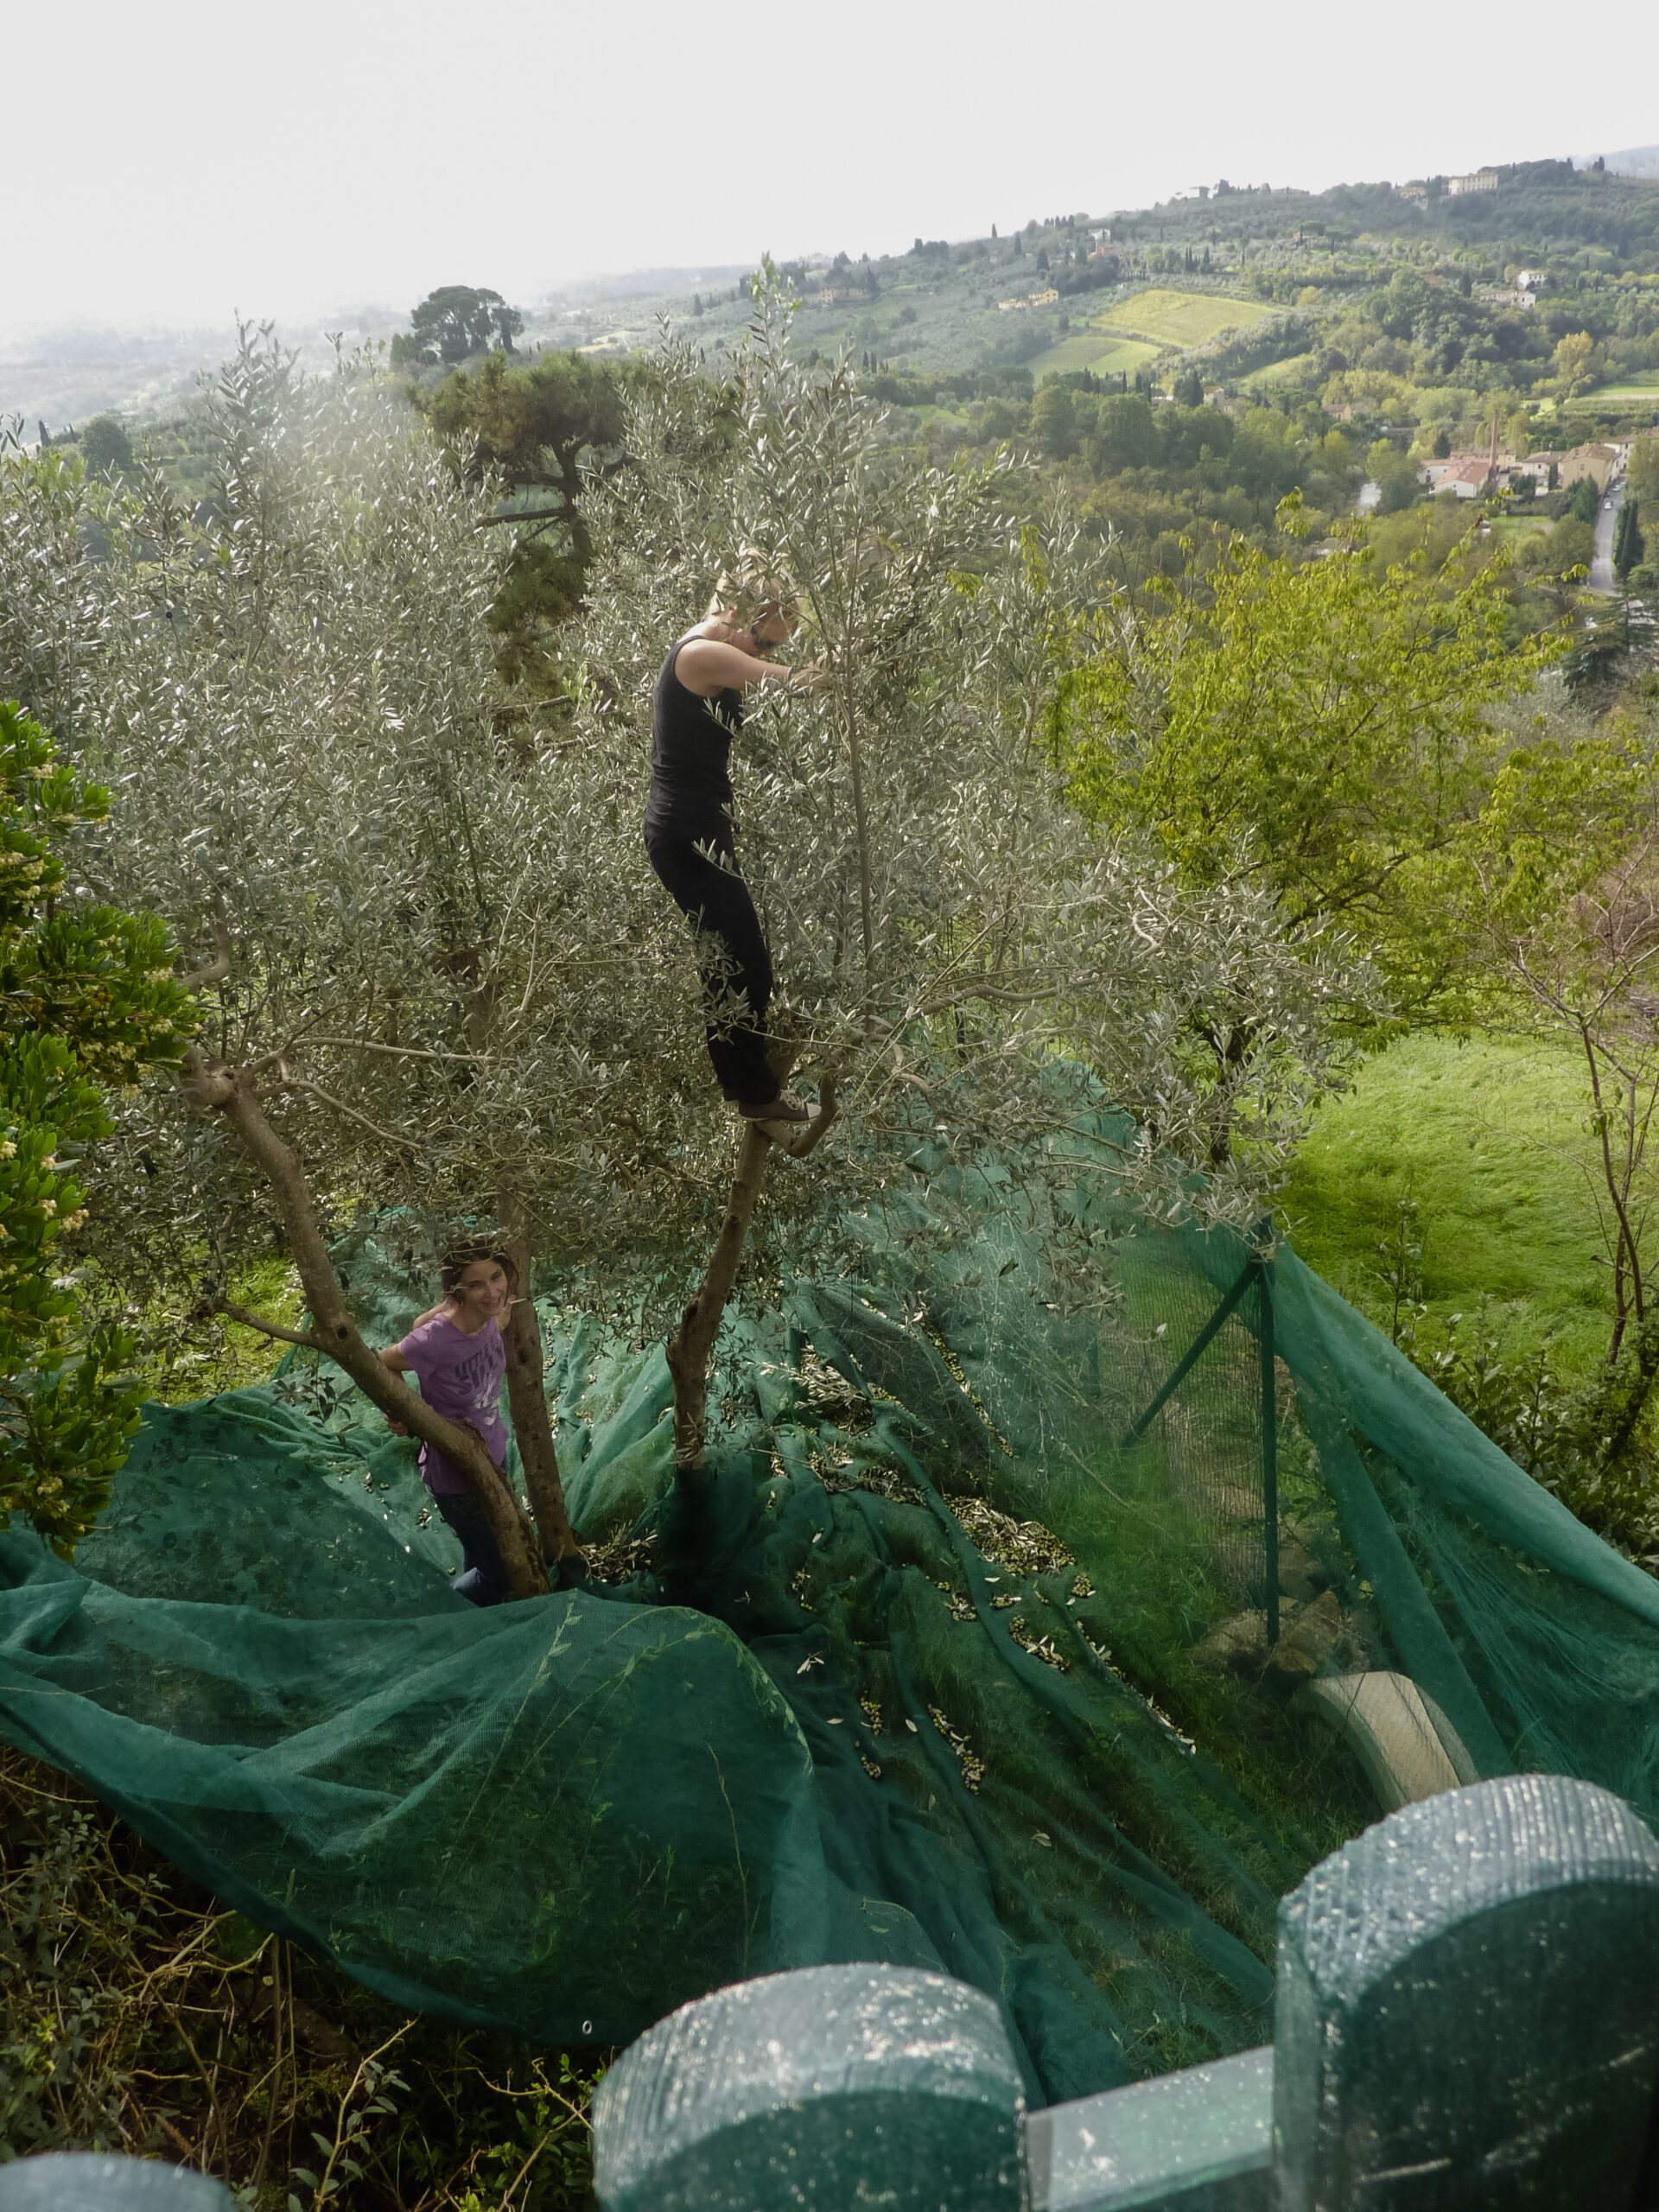
The first step in creating olive oil is, of course, picking the olives. While many producers use machines for harvesting, I had the chance to experience the traditional hand-picking method.
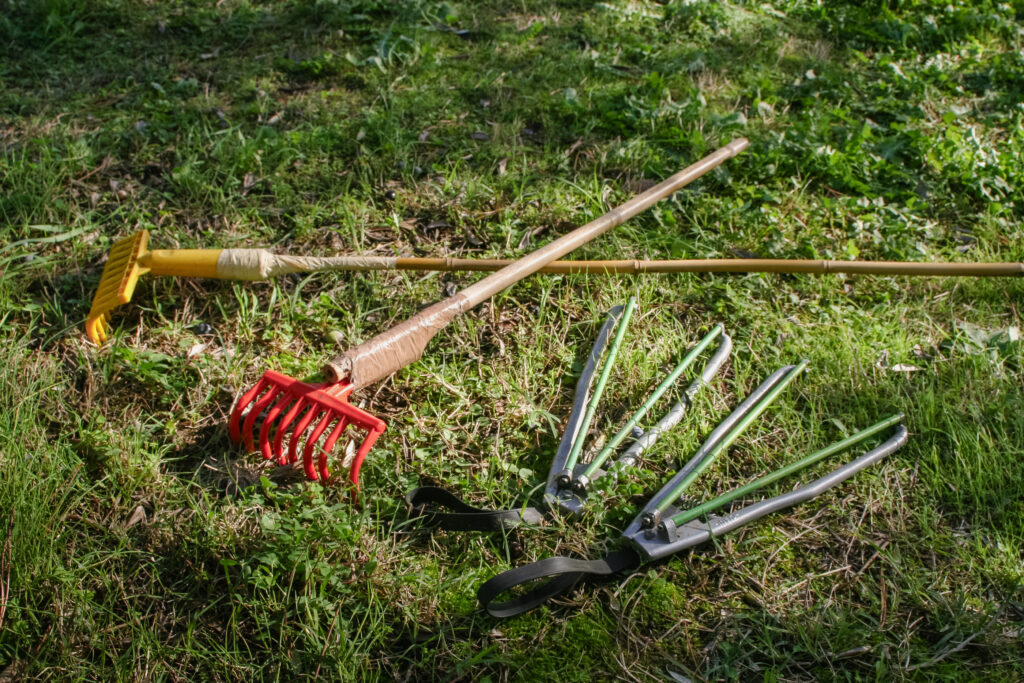
When it comes to hand-picking olives, a few essential tools can make the process easier. We used various tools, but my preferred one looked like a hair straightener. The green parts of this tool (see picture below) are flexible, making it easy to slide over the branch without damaging the olives.
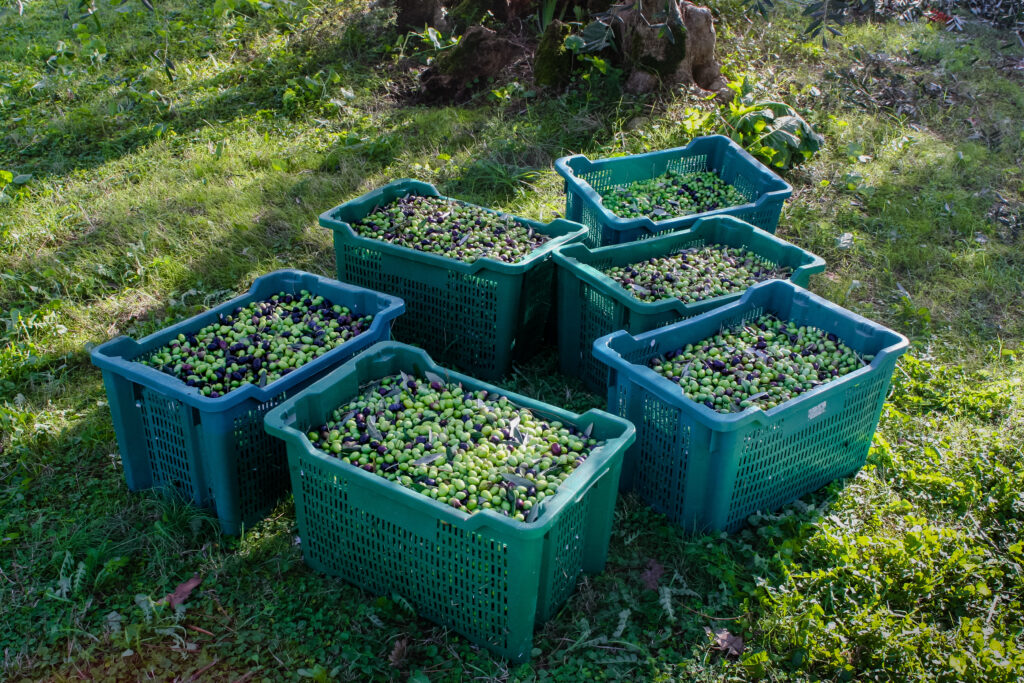
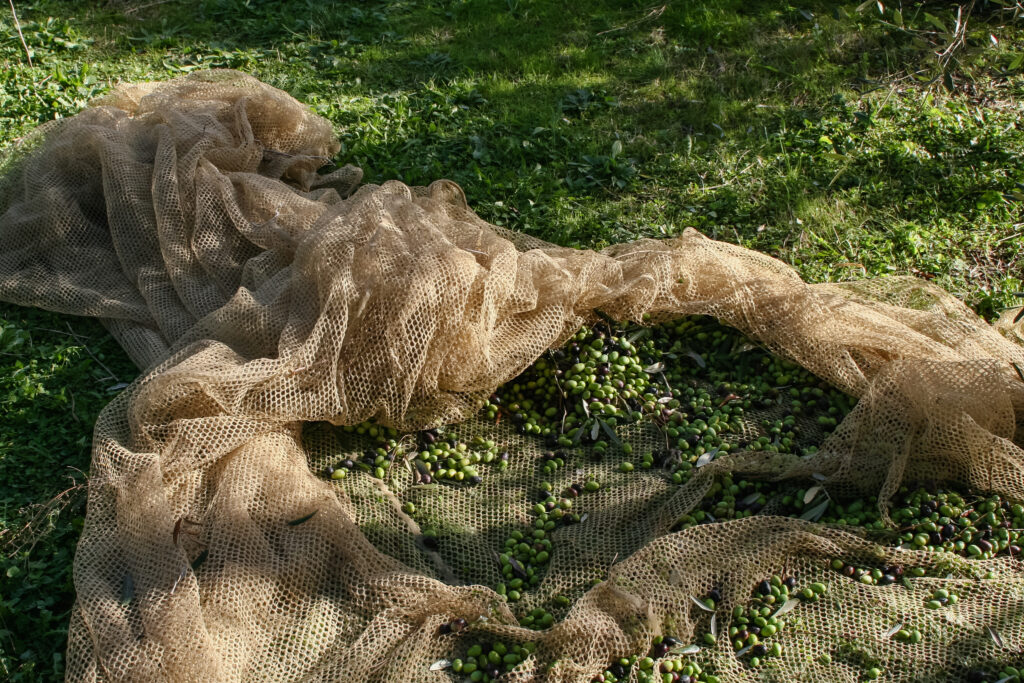
Nets are spread out on the ground. After a while, we grab the corners of these nets and add the olives to crates. We spent a few weeks in the sun, carefully picking each olive by hand. The smell of the trees and the soft autumn light reflecting on the olive trees created a magical feeling, something I hope I will always remember.
To the Olive Mill
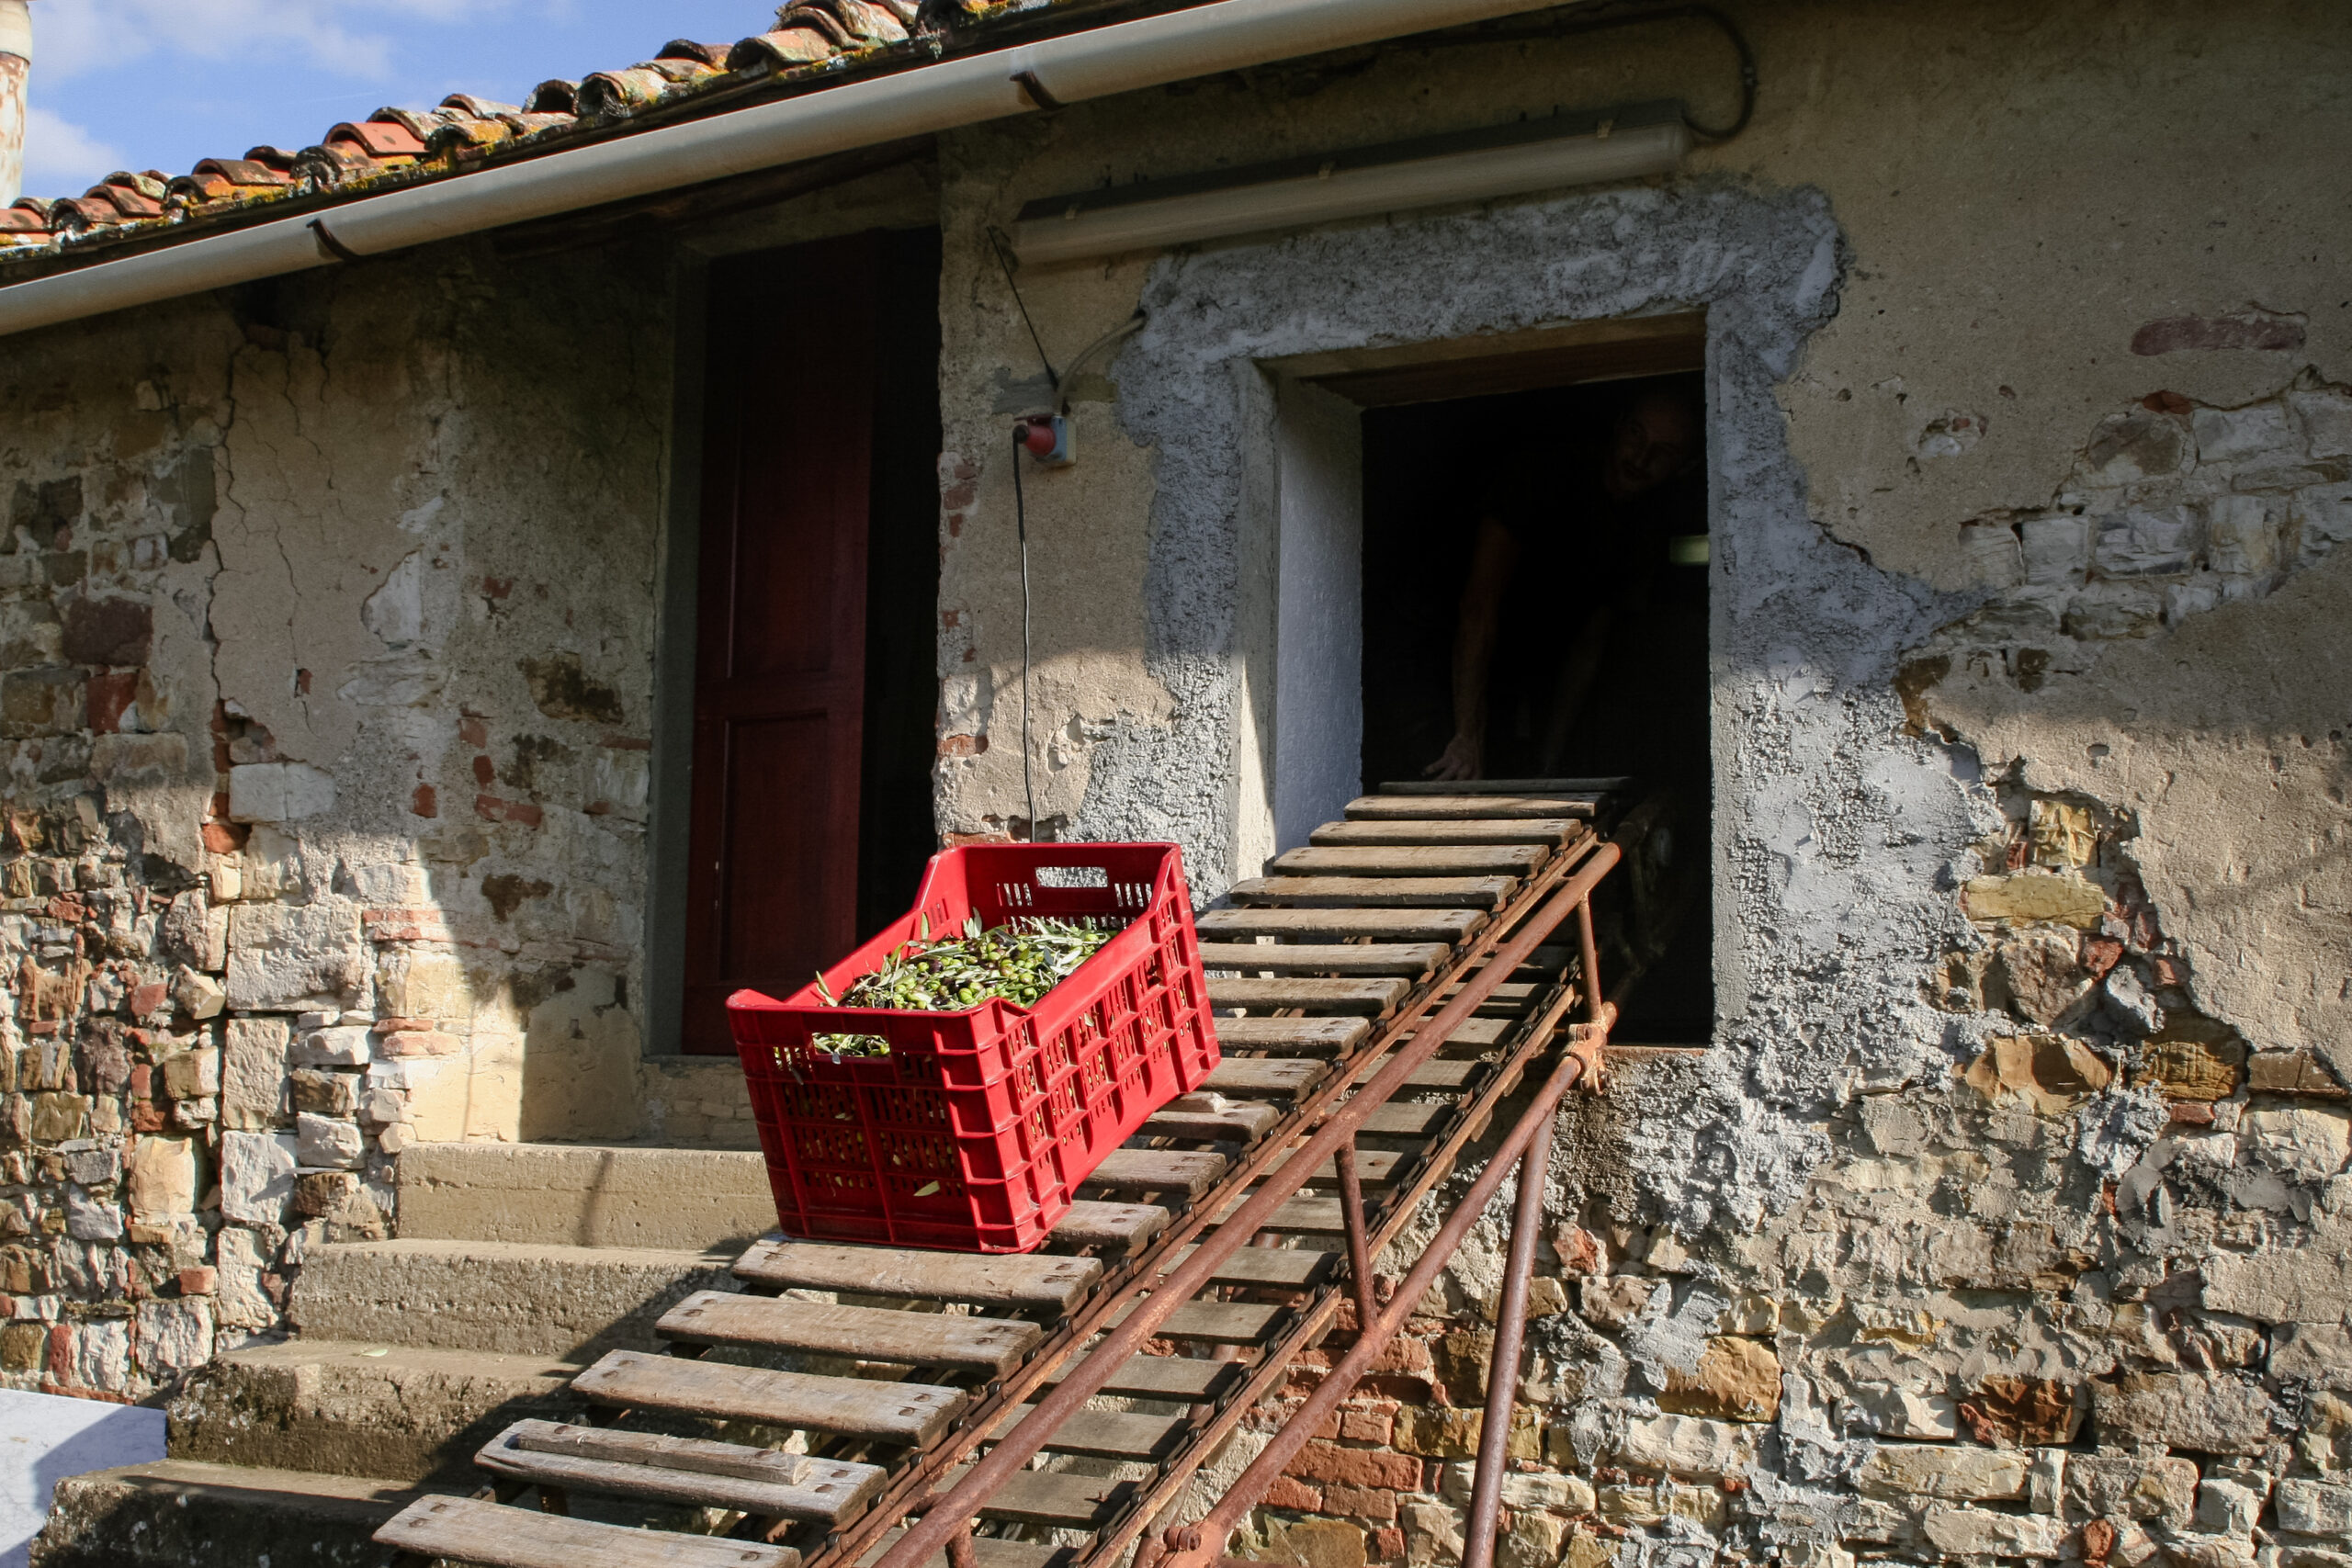
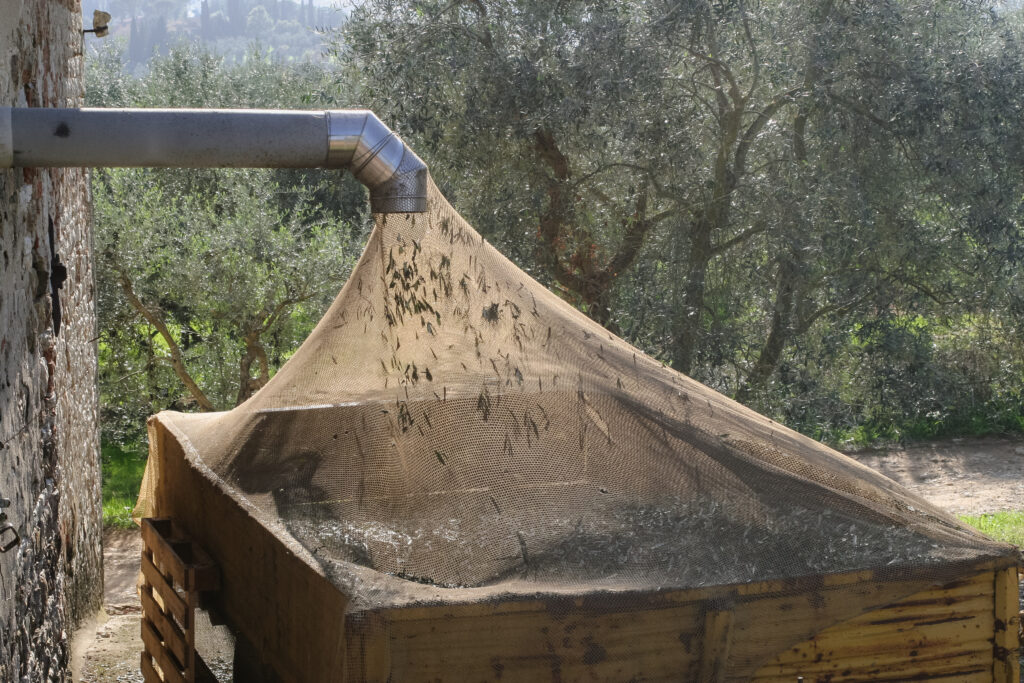
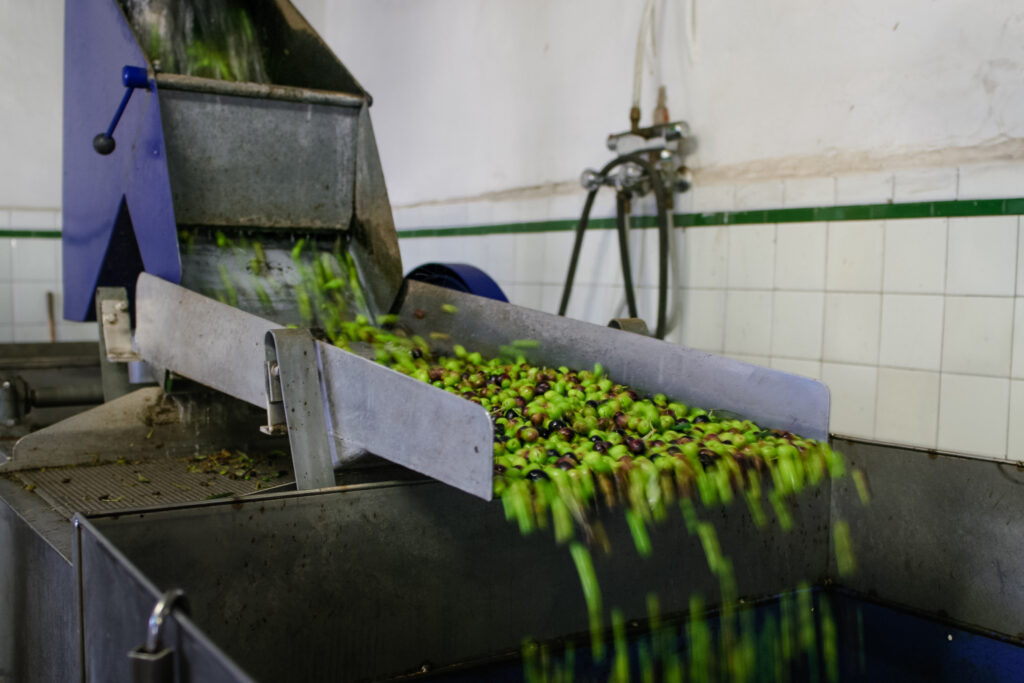
After the harvest, it’s time to transport the olives to the olive mill. Once there, the crates are weighed and the leaves are removed. This is done by a machine that looks like a huge vacuum cleaner. Next, the olives are washed with water to remove any dirt. Both steps are crucial for ensuring high quality olive oil.
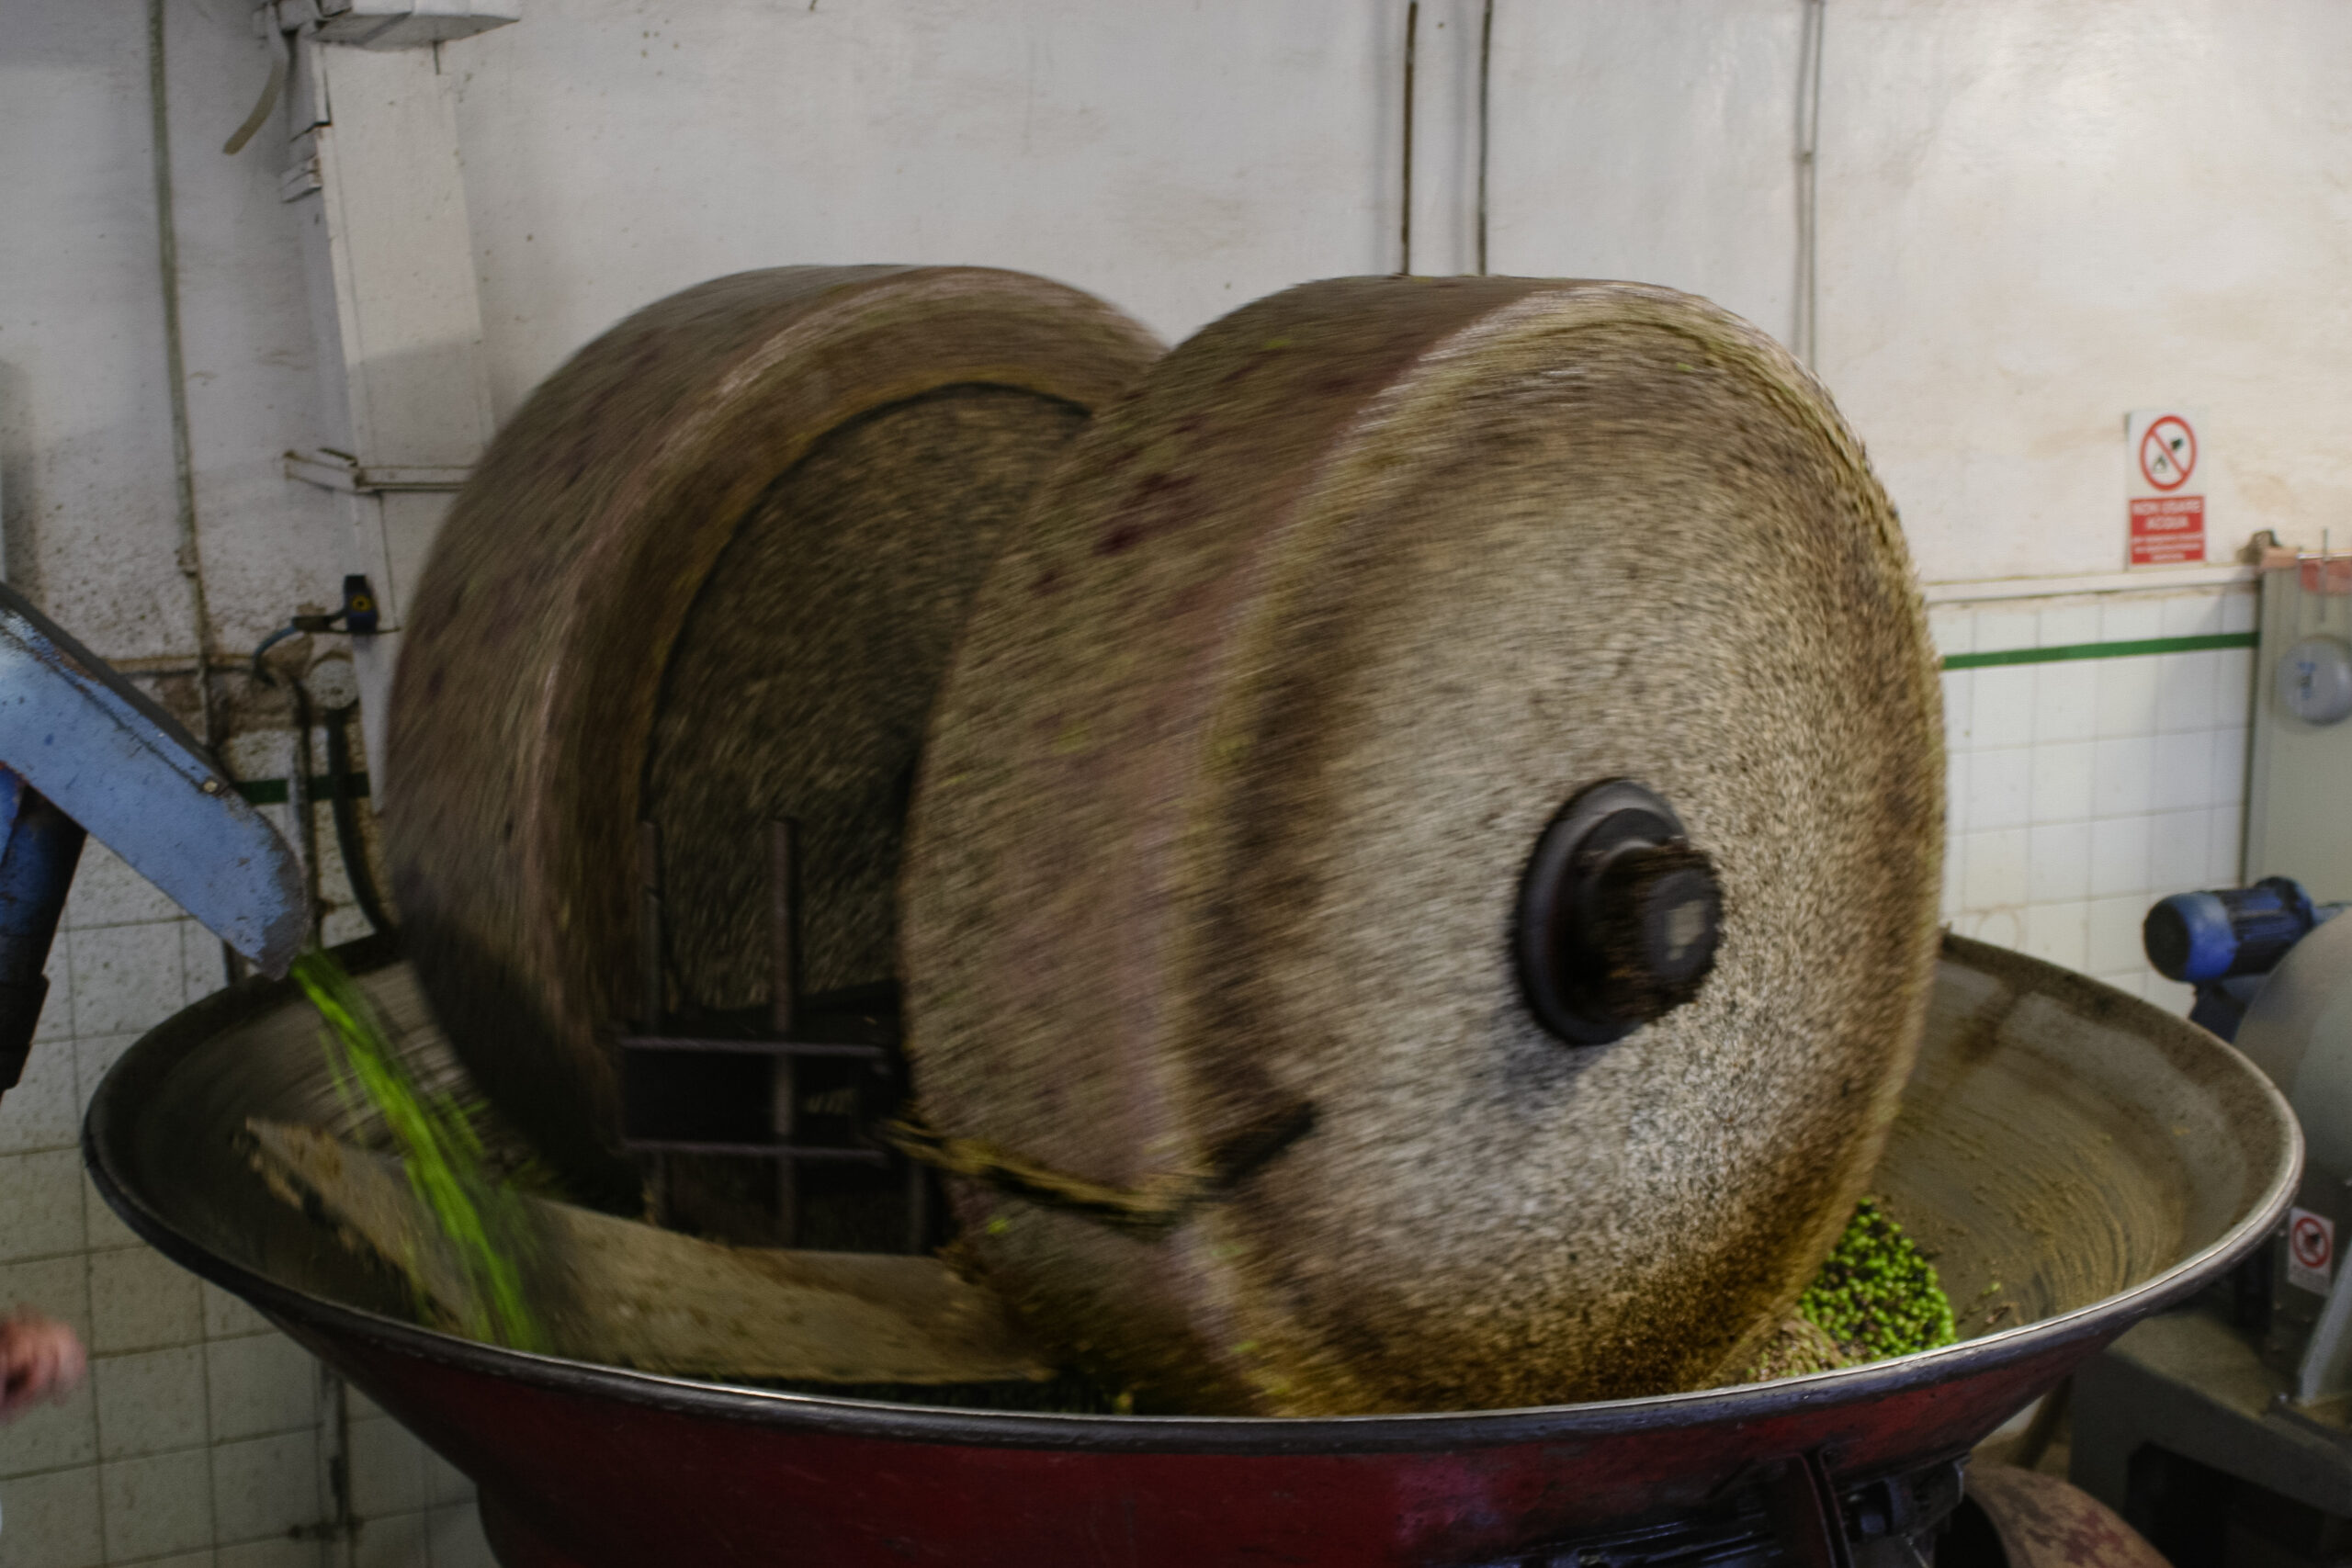
After that, the olives are crushed and pressed. In a traditional mill, this is often done using stone mills, but more modern facilities use mechanical crushers.
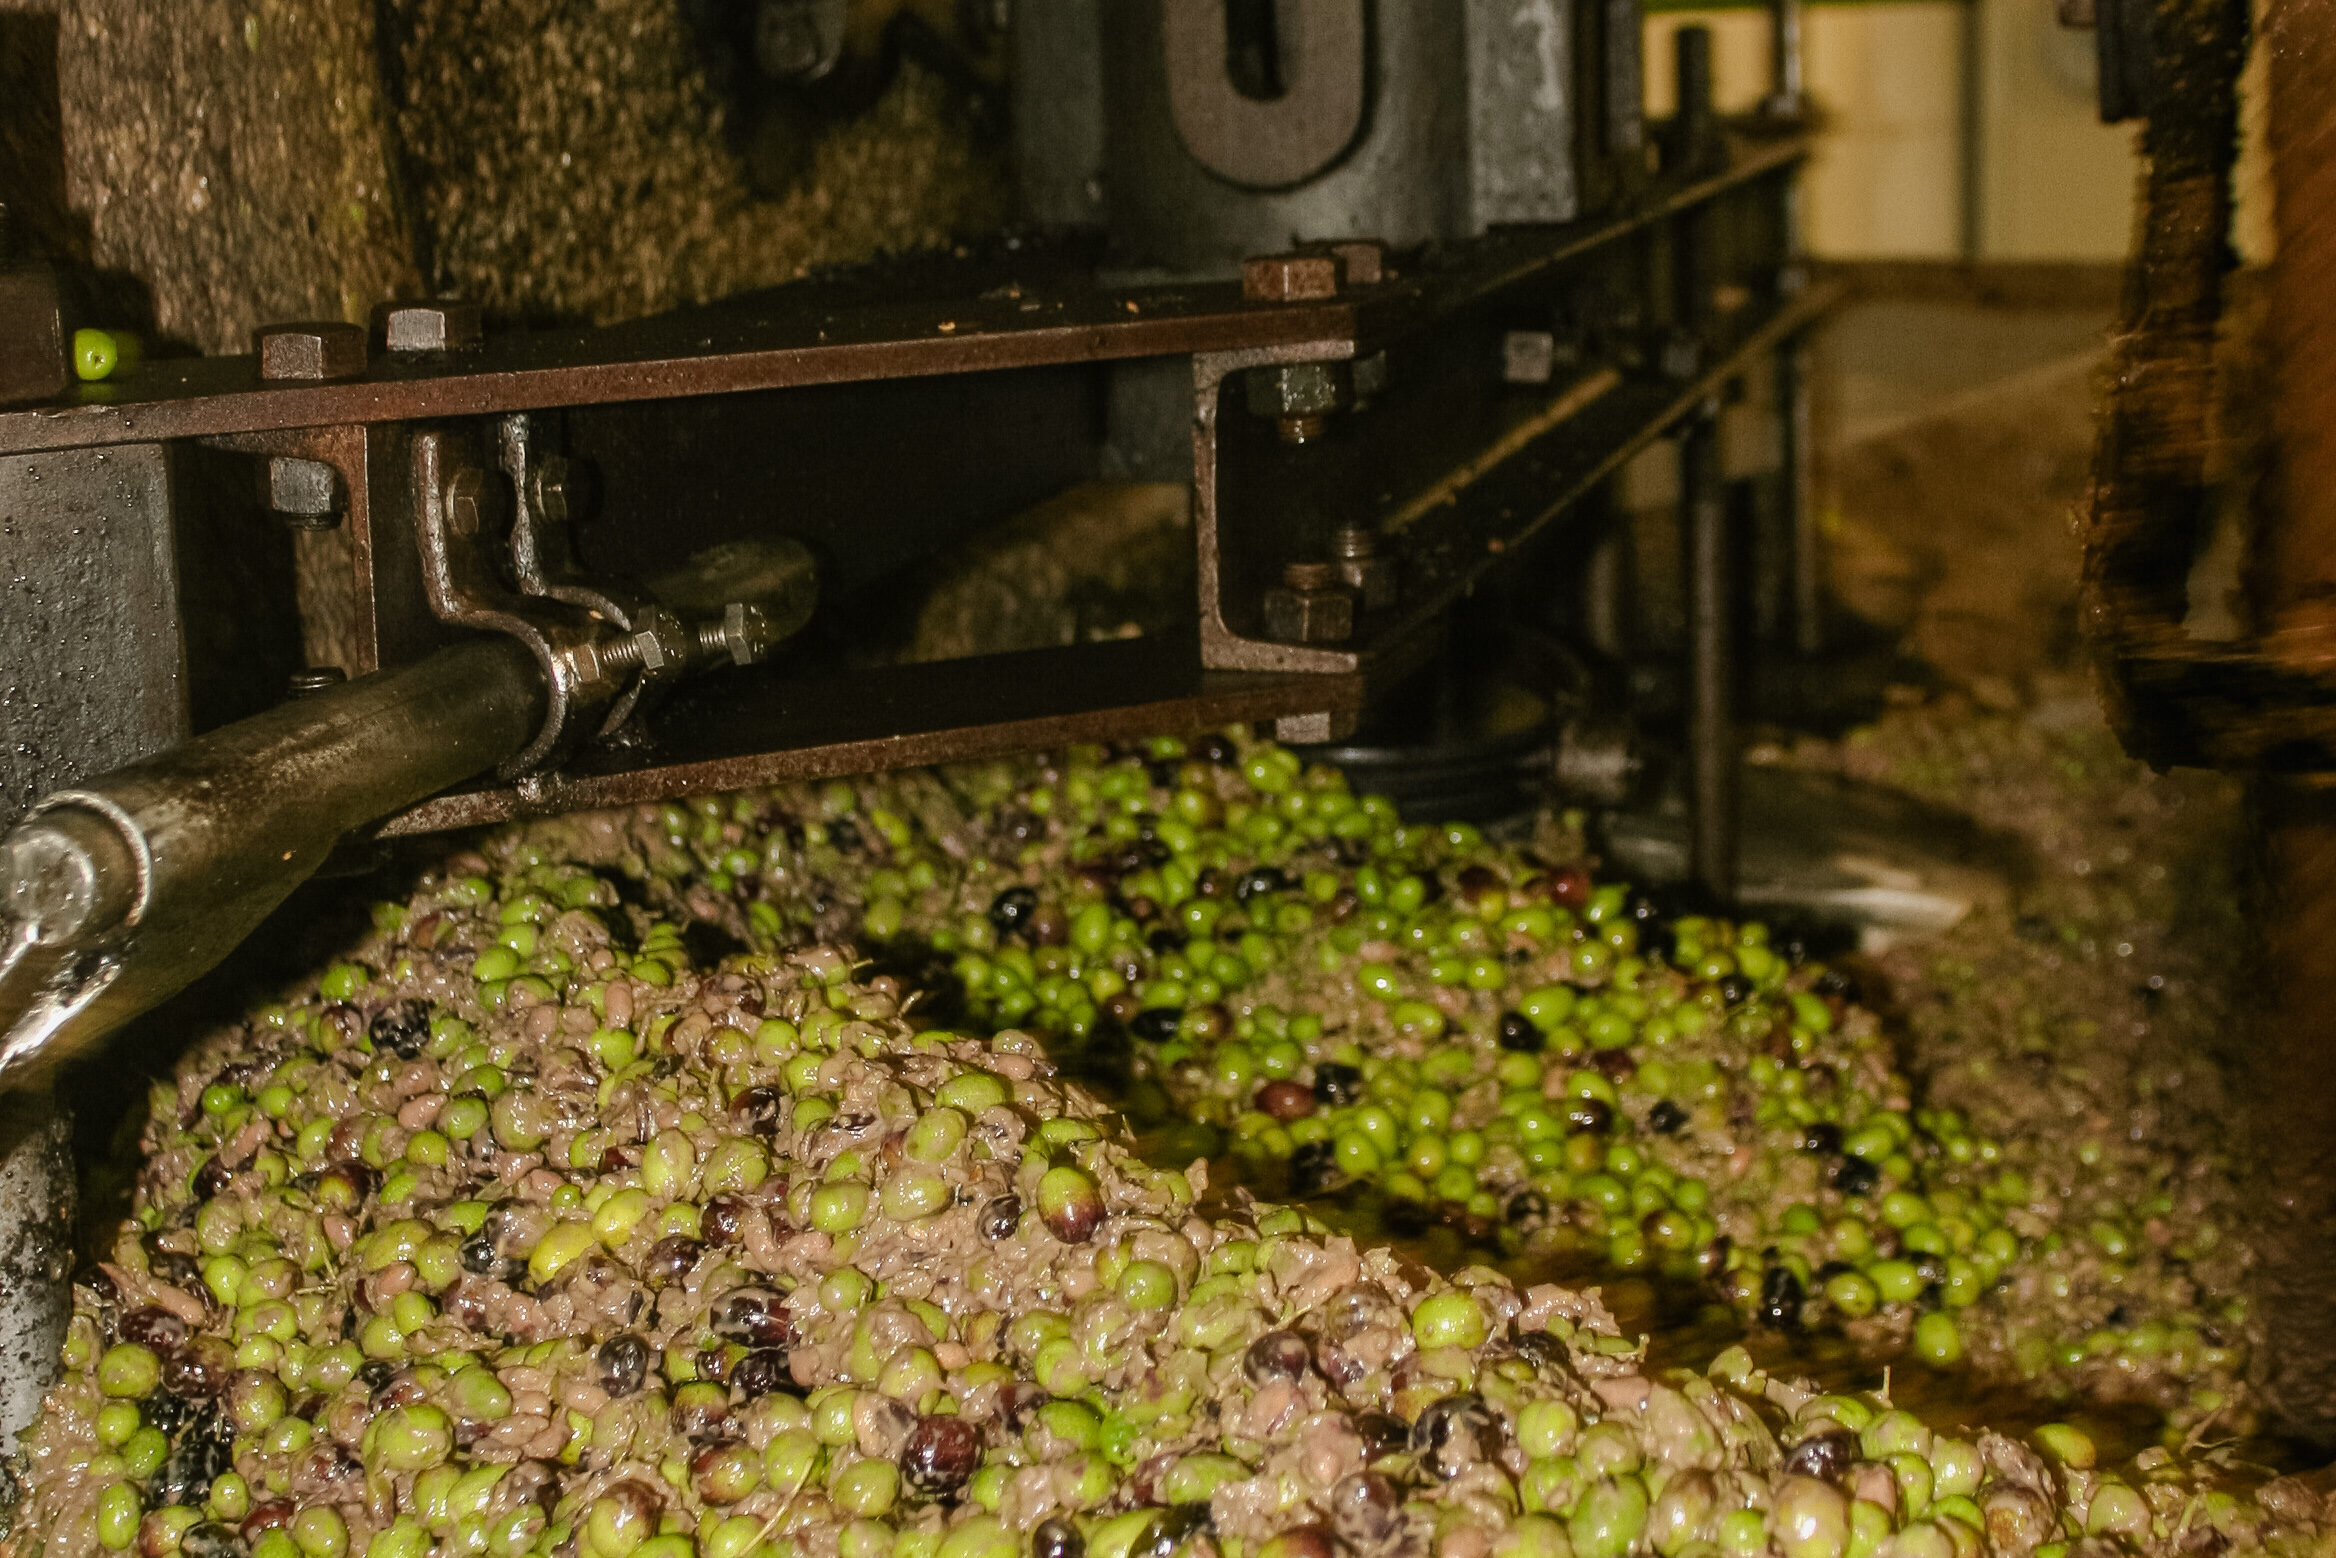
The crushed olives are then turned into a paste, which is an essential step in the oil extraction process. This paste is then transferred to a centrifuge.
The Centrifuge Magic
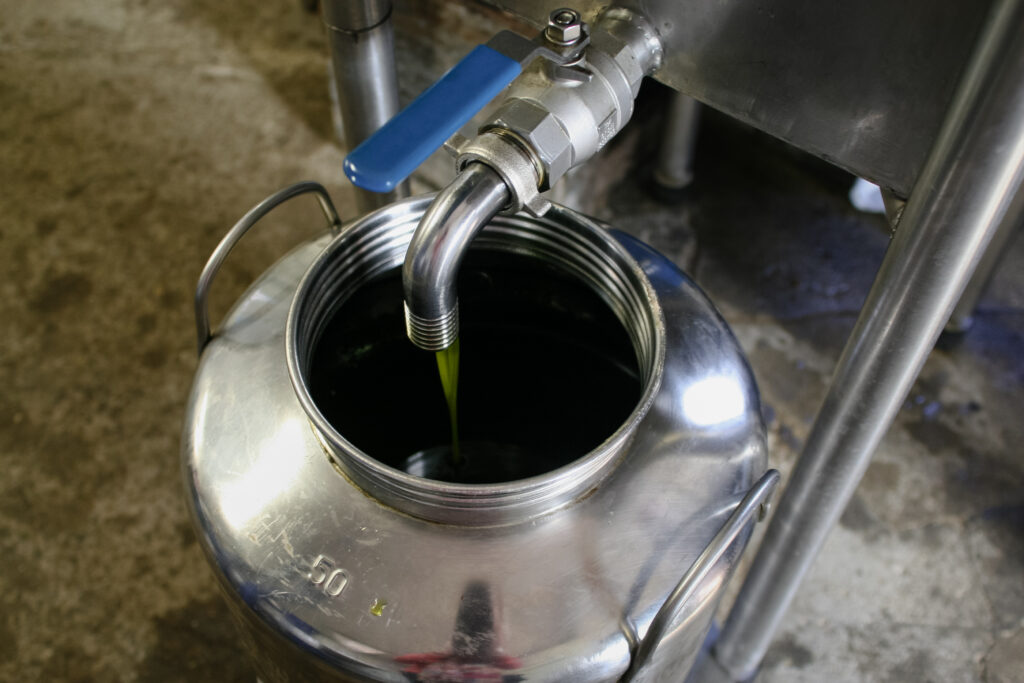
The centrifuge is a fascinating machine that separates the olive oil from the water and solid residue. By spinning the paste at high speeds, it uses centrifugal force to divide the components based on their density.
The result? Liquid gold!
Fettunta
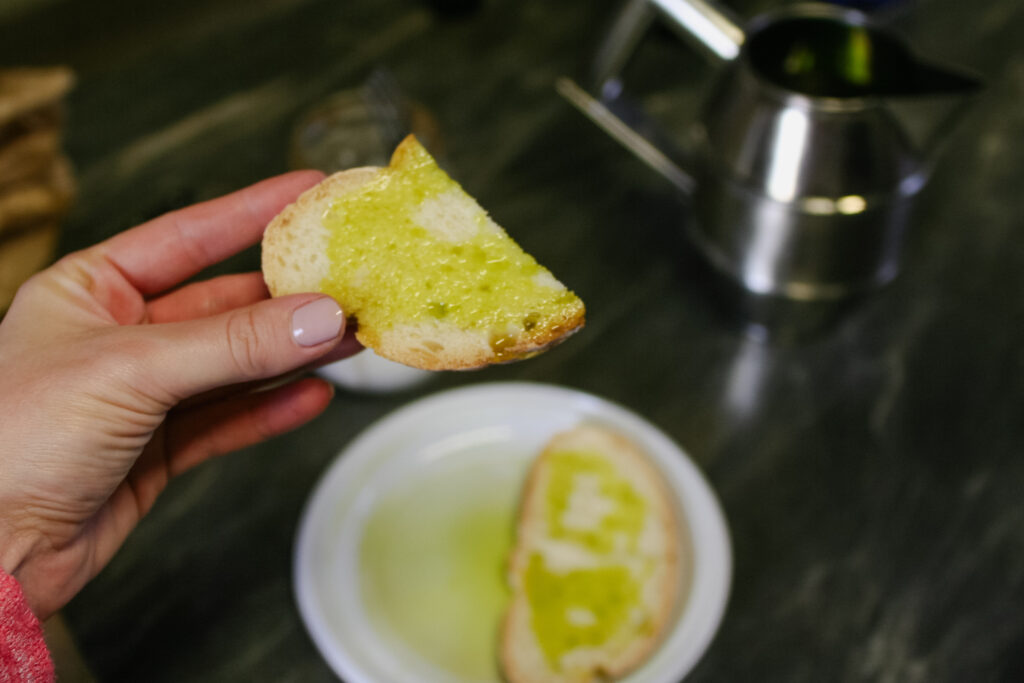
Fettunta is a traditional Tuscan dish, also known as Italian garlic bread with olive oil. You make it by toasting a slice of Tuscan saltless bread, rubbing it with garlic and drizzling it with olive oil. Then, you top it with a bit of salt. It is simple, but the intense aromas make it so flavorful! The picture below is taken at the mill, where we tried the first batch of olive oil before taking it home. Notice the bright green color of the oil! Isn’t it beautiful? After it’s exposed to sunlight, it turns a bit yellow, and the flavor gets less intense.
Designing Labels and Bottling
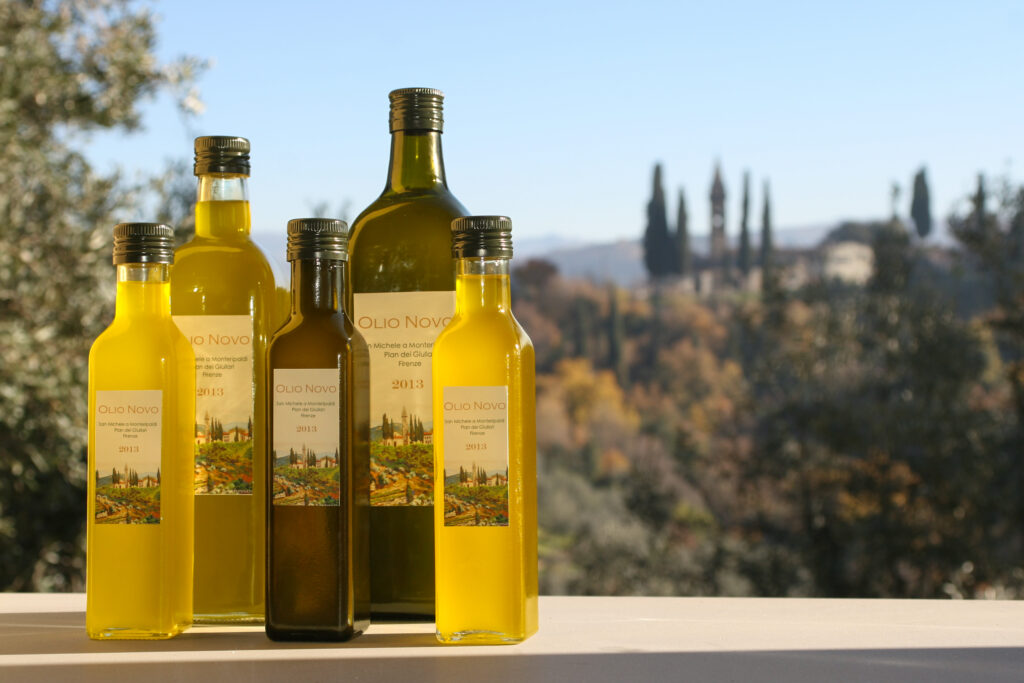
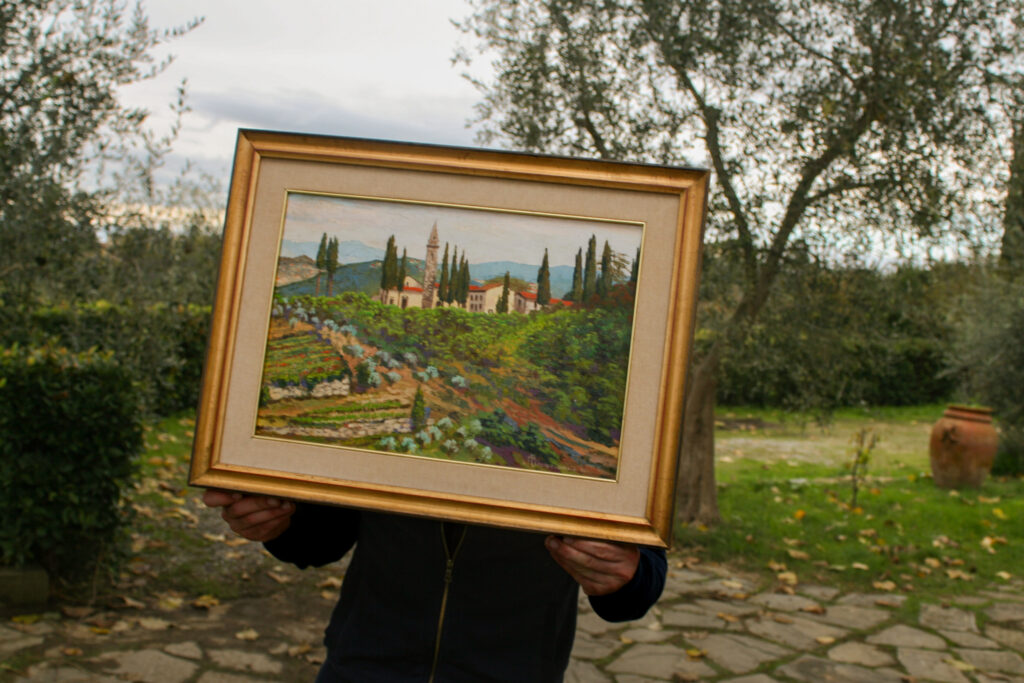
Once the oil is extracted, it’s time for the part I was most excited about: designing the labels for the bottles! Whether you are making olive oil for personal use or to share with friends, a beautifully designed label adds a personal touch. I designed the labels myself and chose a painting made by a family member of the host family I lived with as the background. It’s a painting of the church near the olive garden. I thought it would be nice to use that one as it resonates with the area where the olive trees are growing.
The Overall Experience
Creating olive oil from scratch is hard work and requires a lot of strength. I lost weight during these weeks, as it is literally full-body work to reach the olives from the top of the tree! I would recommend this experience if you have a deep appreciation for nature and are physically in good condition, although tree climbing isn’t necessarily needed.
I hope my journey from olive picking to bottling has inspired you to explore this beautiful process for yourself.
Do you appreciate high quality olive oil? Where do you buy your bottles from? Do you have a preference for a specific country or area? I would love to hear your relationship with olive oil!
Stay tuned for more culinary adventures!


