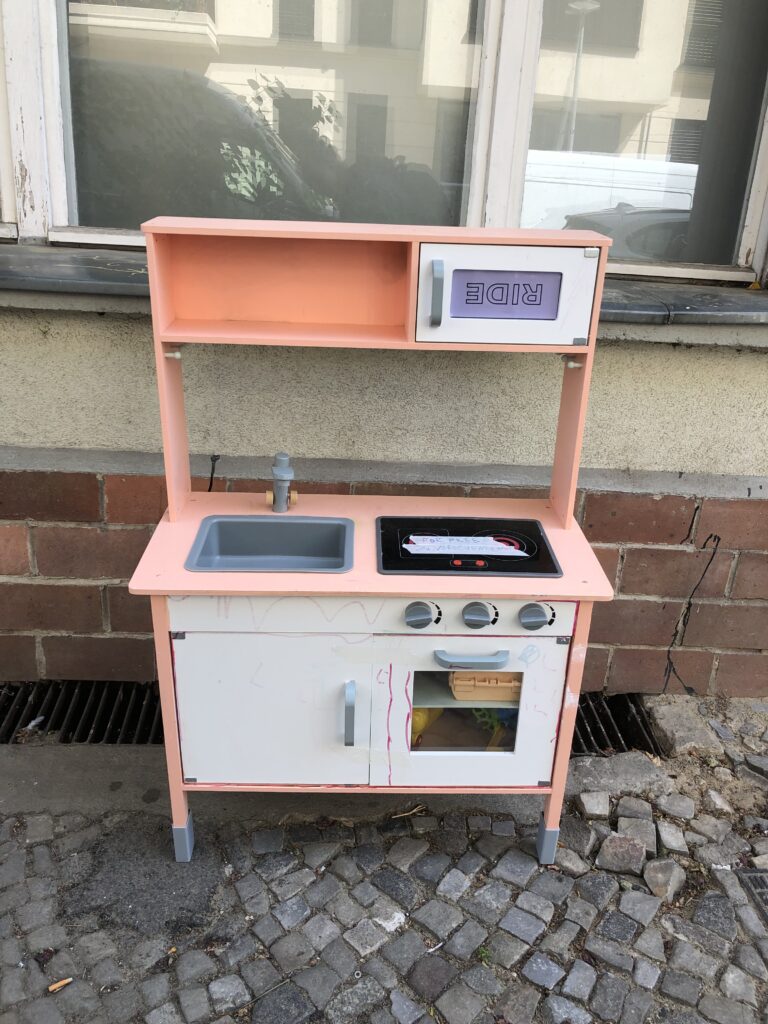
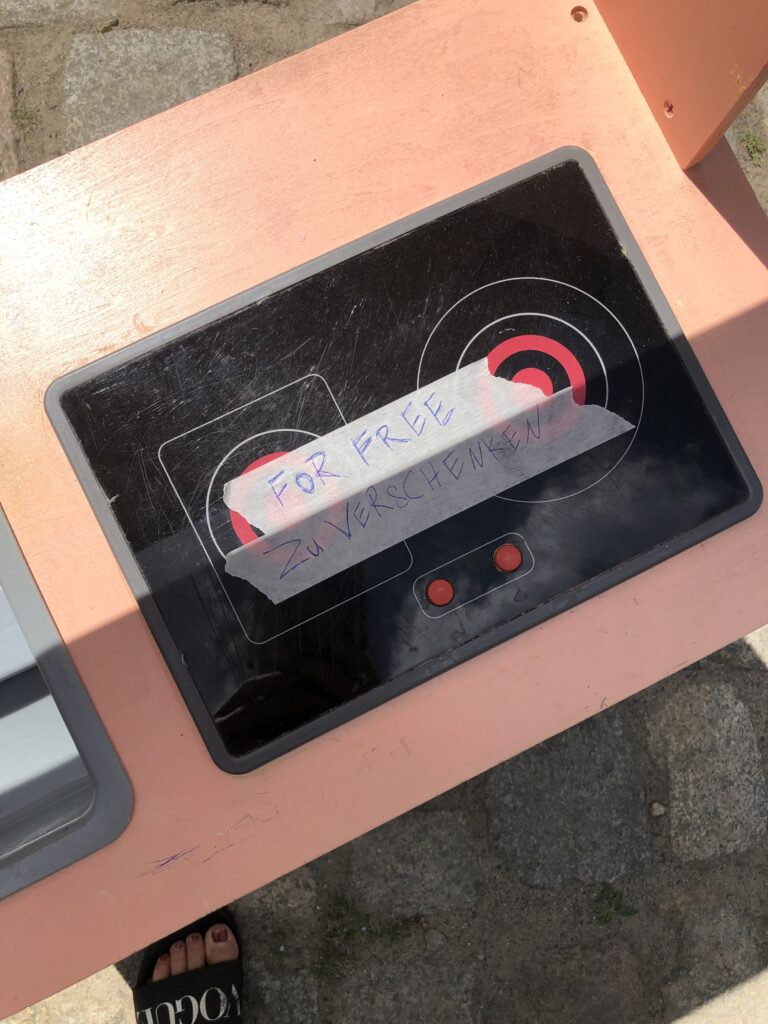
It was a warm summer day in Friedrichshain. I just visited a friend and was on my way home when something on the side of the road caught my eye. A small wooden play kitchen, slightly used but still adorable. It took me back to my childhood, when I spent hours playing in my toy kitchen, pretending to cook and serve meals.
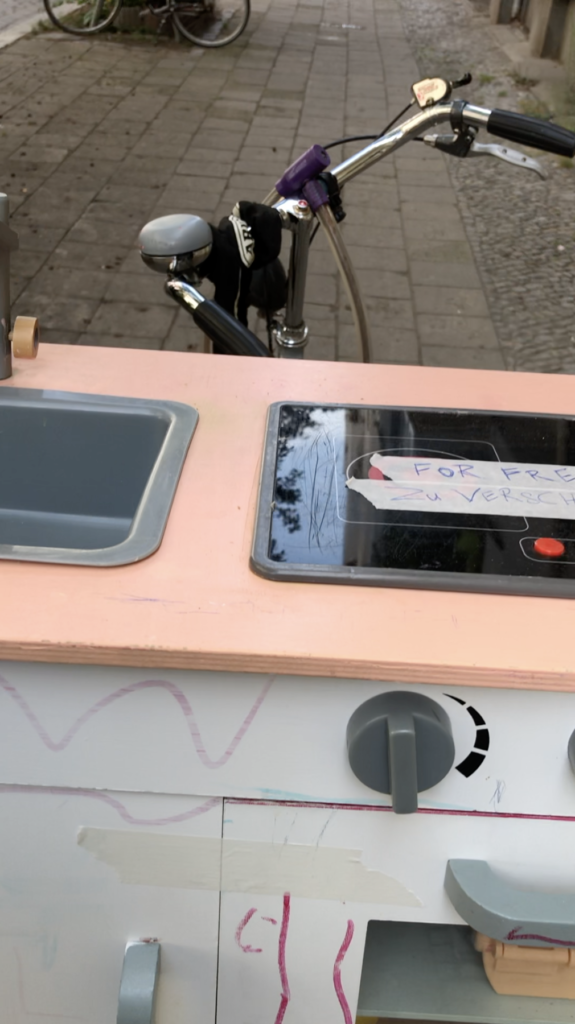
My friend was five months pregnant, and I thought it could be a perfect gift for her future child. I could already imagine how it would look with a little love and care. Without thinking twice, I lifted it to the back of my bike and brought it home.
The Makeover Begins
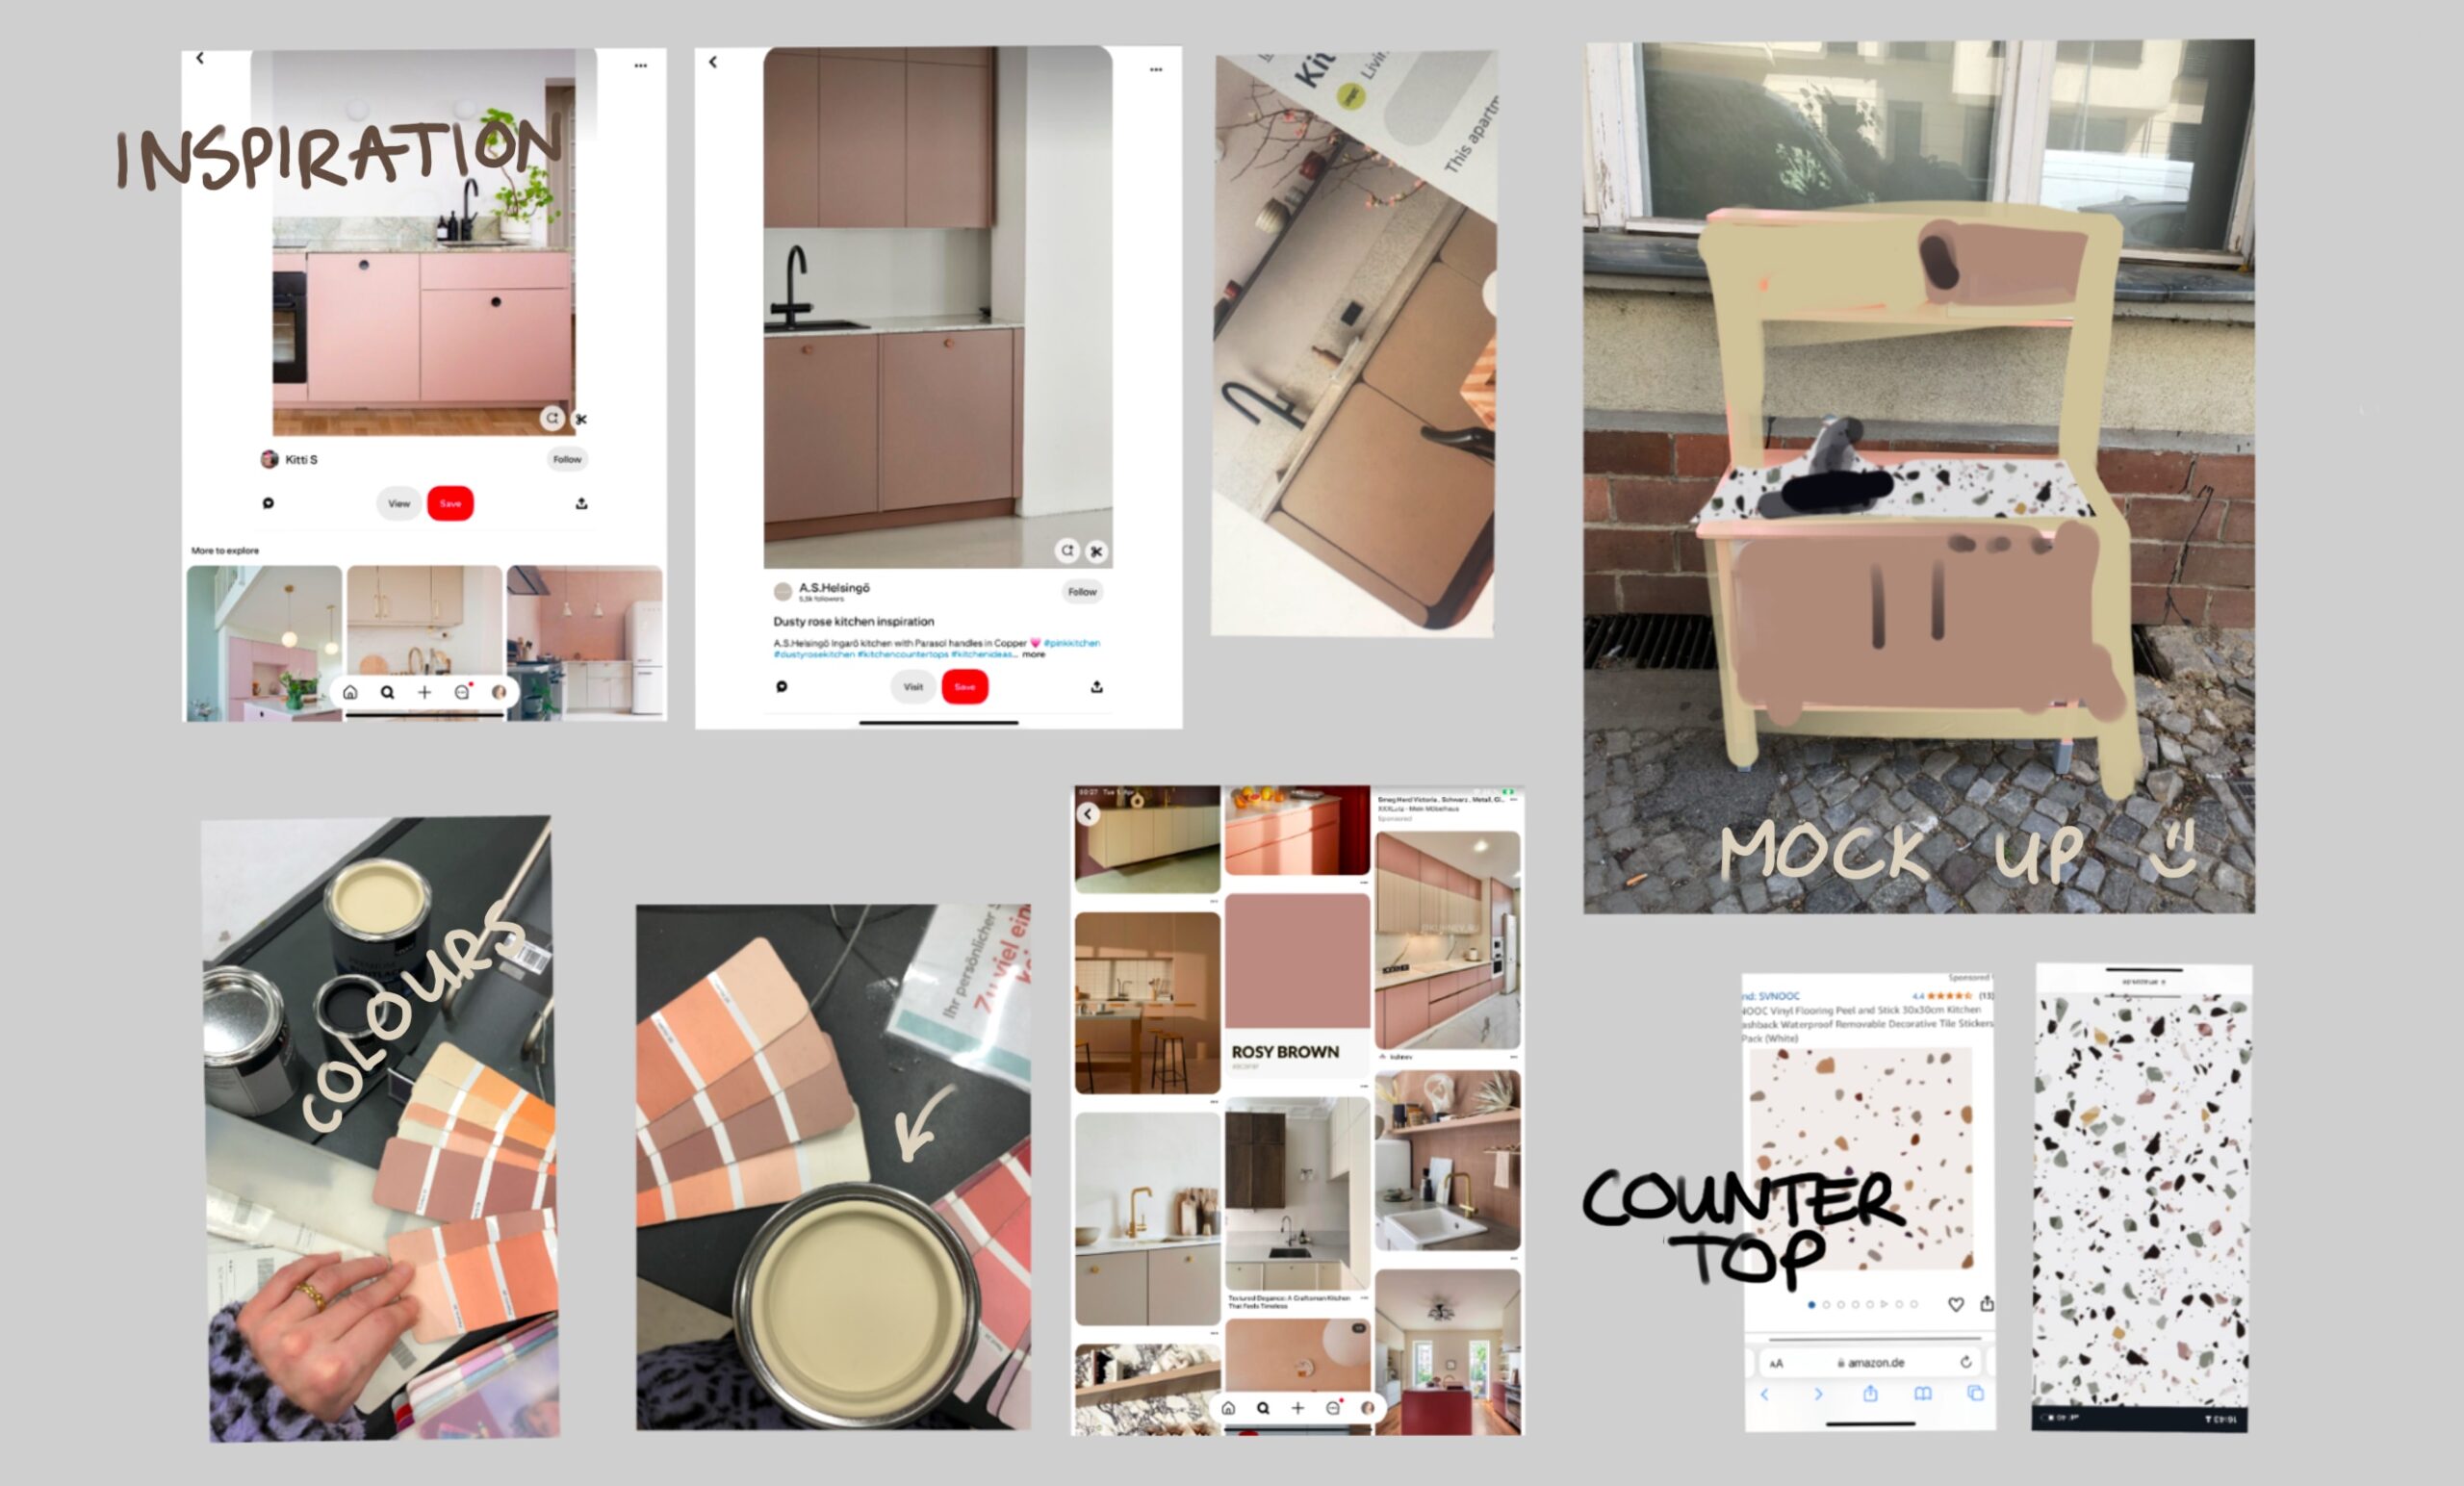
Time passed, my friend gave birth to a beautiful daughter, and when winter 2024 arrived I finally found time to start working on the kitchen. One grey afternoon, I began doing my design research. Since the kitchen would be part of my friend’s home, I wanted to make sure that it would fit their space. I involved my friend in the process, and together we found some inspiration on Pinterest.
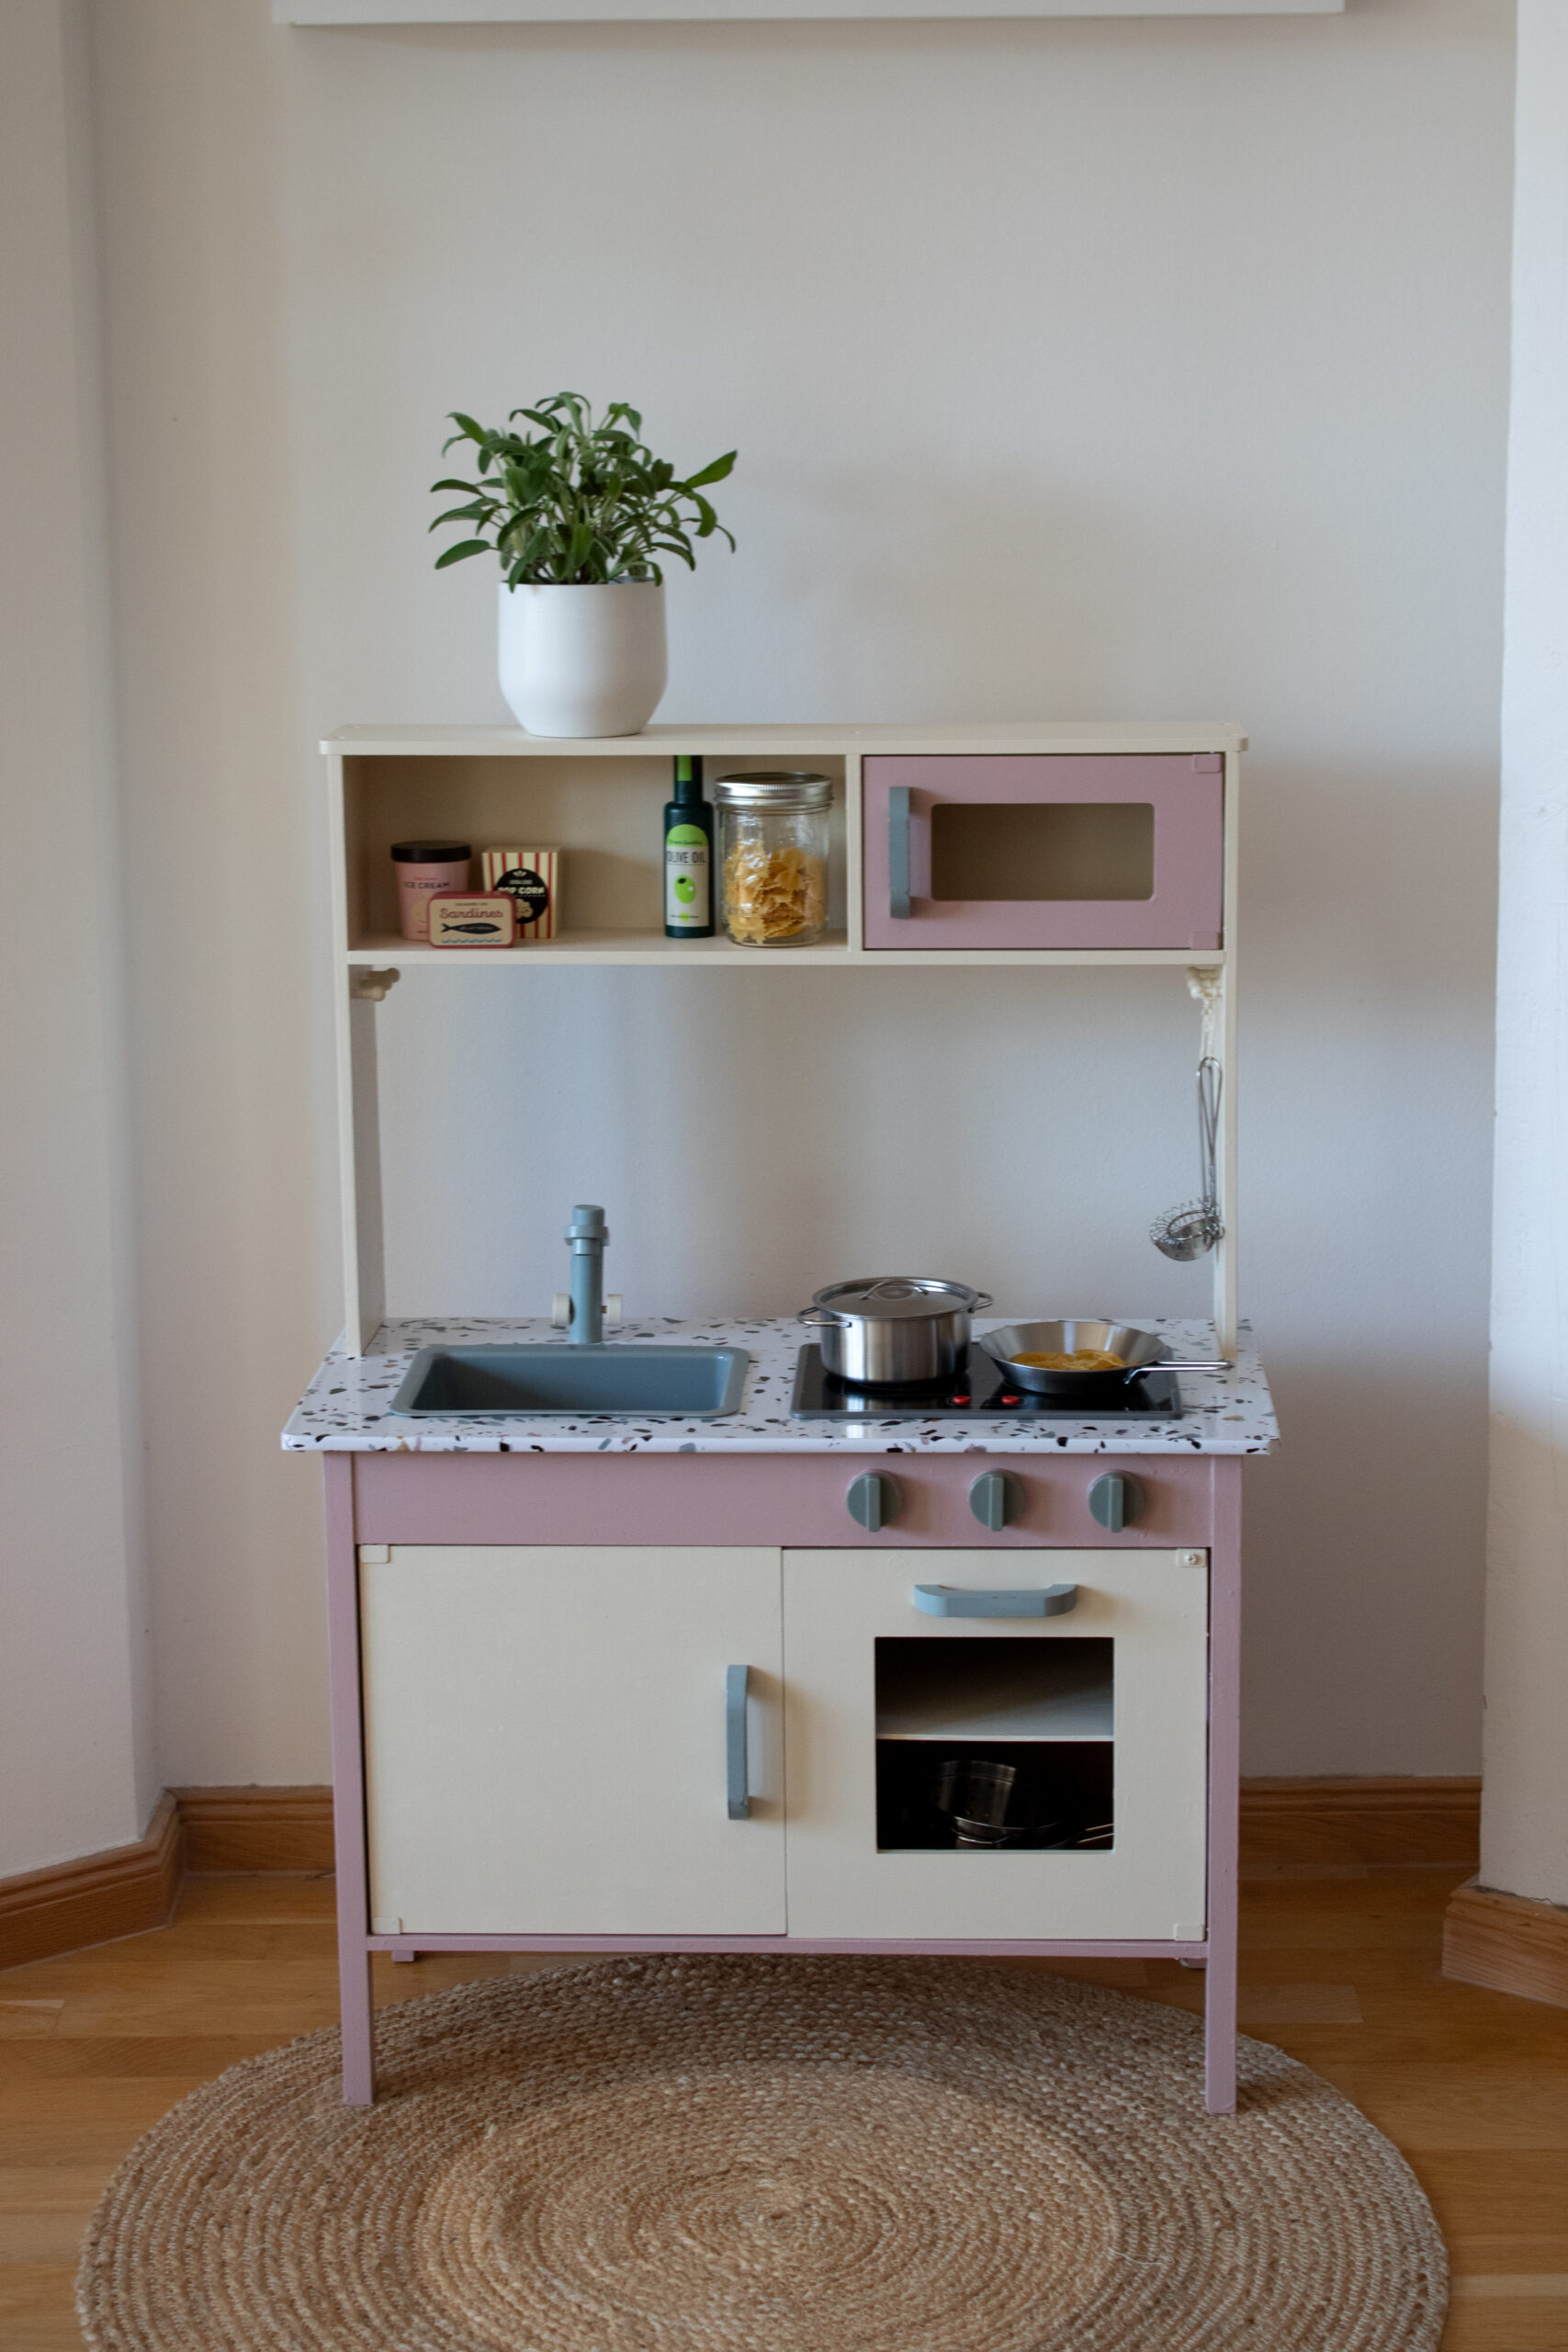
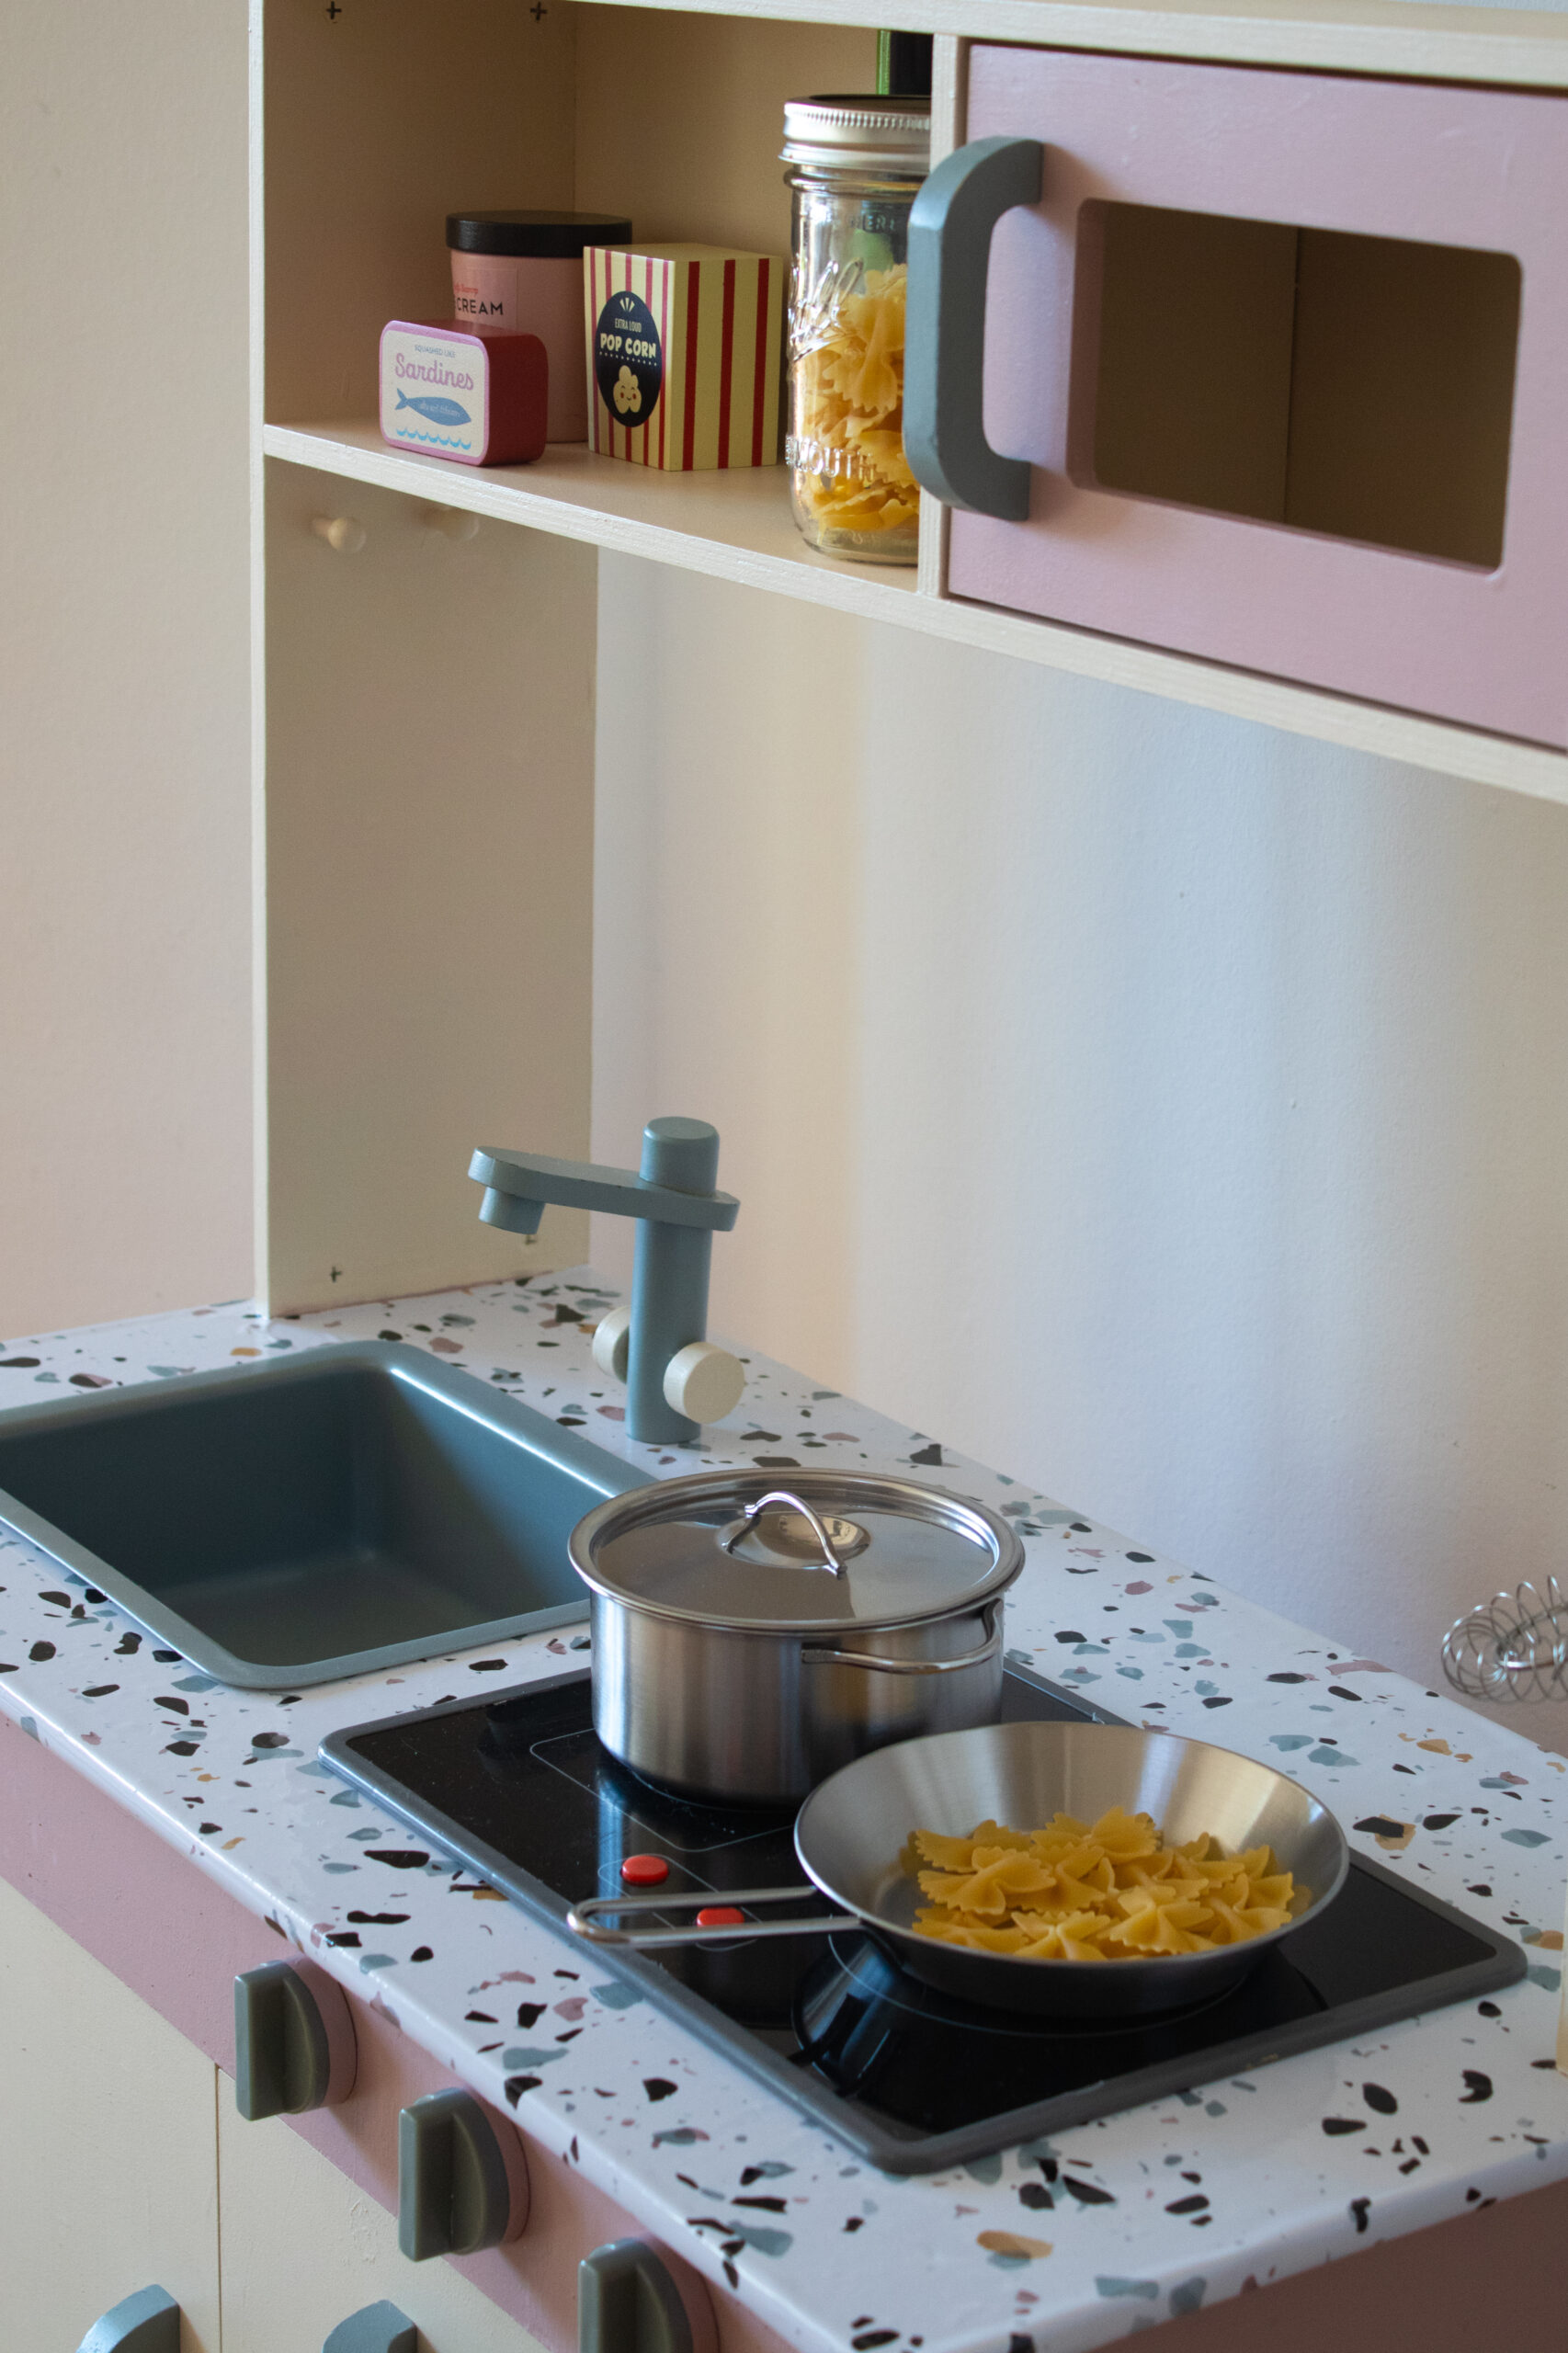
We decided to go for light colours and a terrazzo countertop for a modern look. We went to the hardware store around the corner to buy paint and ordered a terrazzo sticker from Amazon for the counter. Some other priorities and a winter flu delayed the project by another 7 weeks before I continued.
Product links of the used products are added to the end of this blogpost
Adding A Coat of Love
Music from the late ’90s, a stash of snacks, and plenty of excitement set the tone for the kitchen makeover, which took a few weekends to complete.
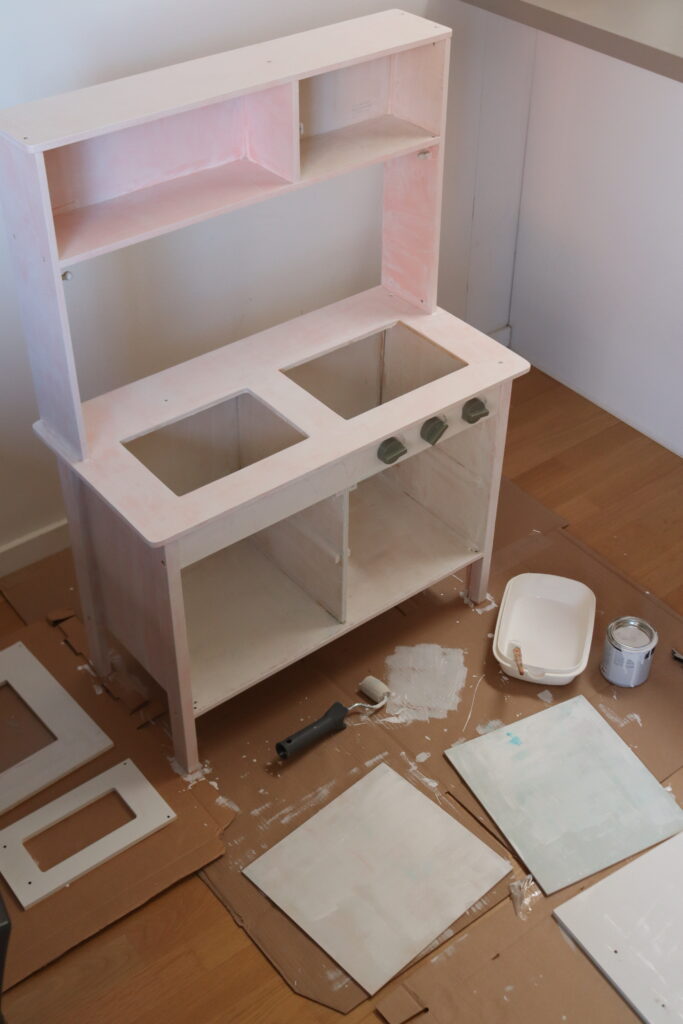
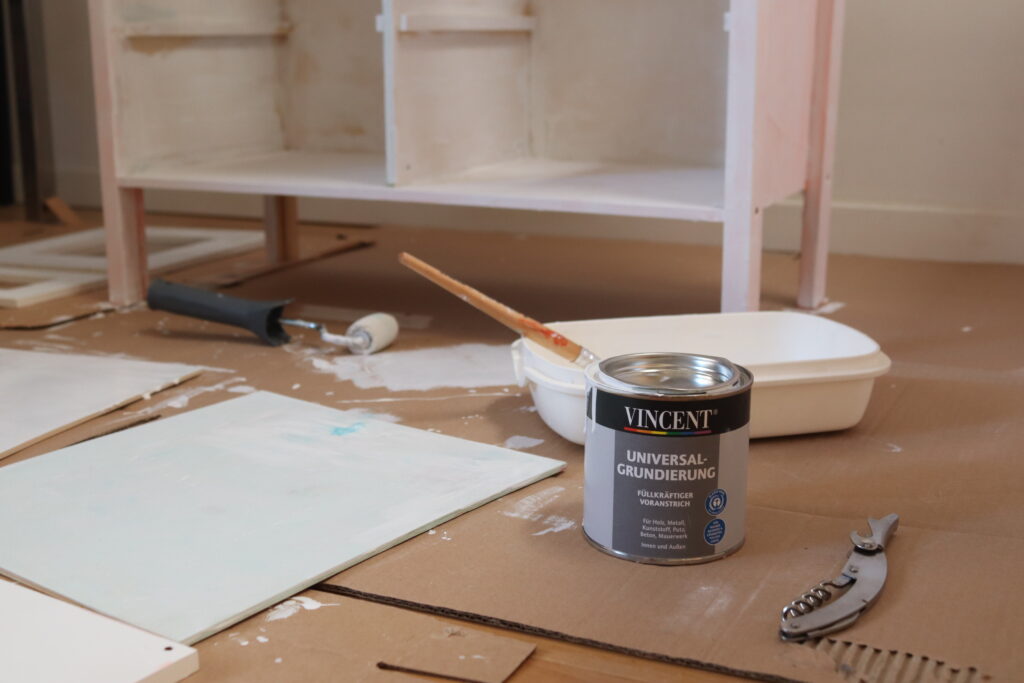
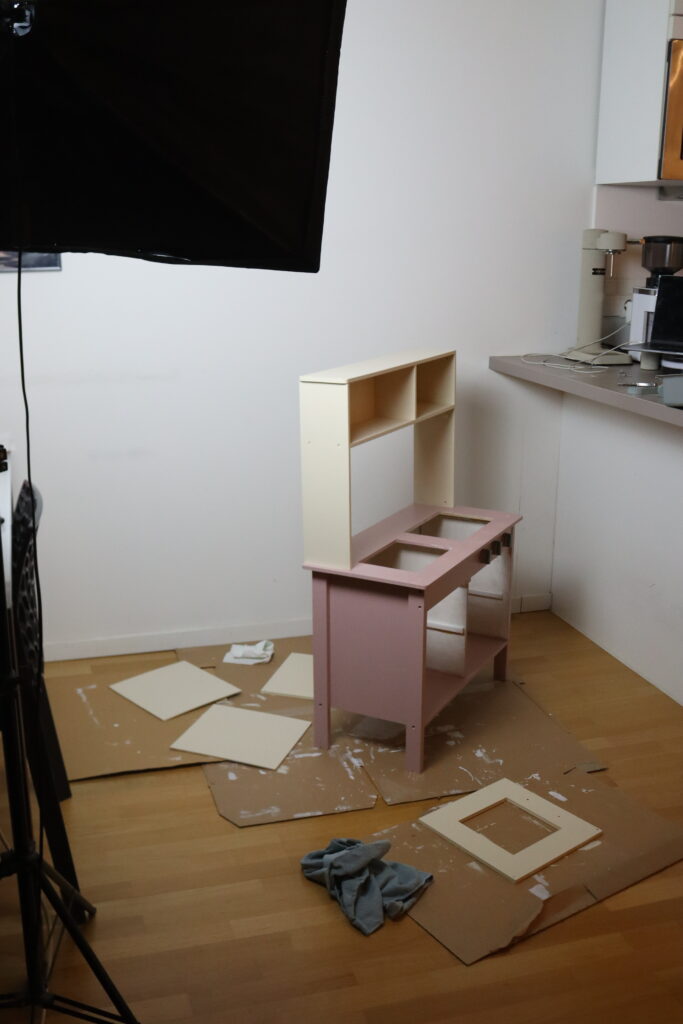
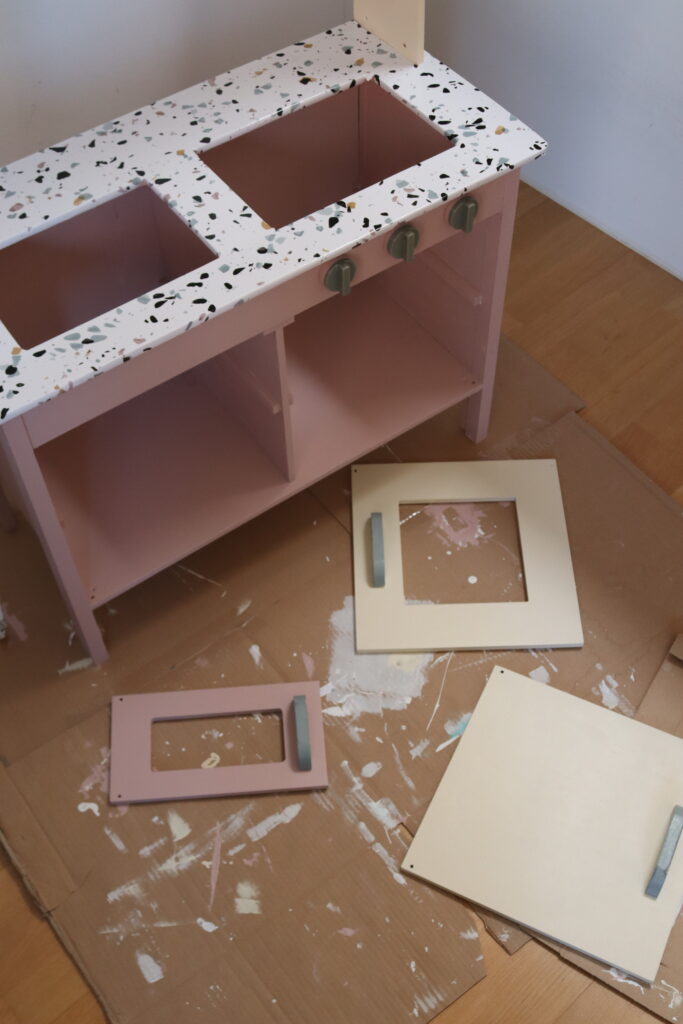
I used a fabric towel to remove he dust and dirt. Then, I removed the sink, stove, and doors to make sanding and painting easier. For sanding, I used fine-grit sandpaper to avoid visible and harsh scratches. After sanding everything, I applied a white base coat for an even surface.
The primer absorbed and dried quickly, but I got a little impatient and wanted to finish sooner, so I decided to use my hairdryer to speed up the drying process.
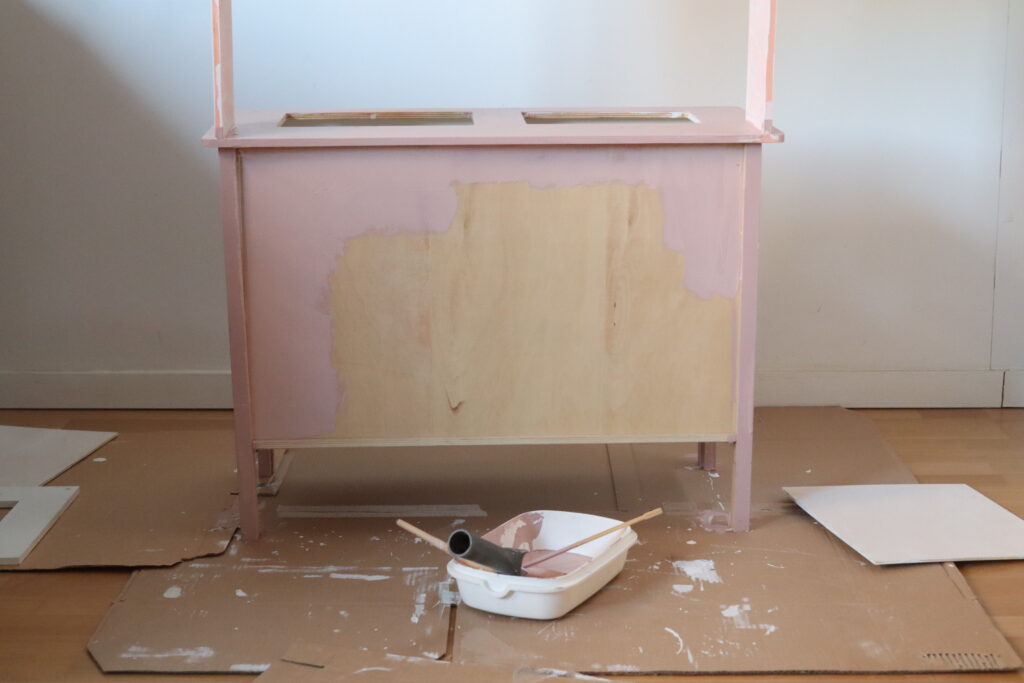
Once it dried, I opened the paint bucket and was surprised by what I saw. “Burgundy? What’s happening here?” I thought we had picked a lighter, like a blush pink color. “Was my order swapped? Did I say something in German that wasn’t right?” The color didn’t look well-blended, so I grabbed a chopstick from my kitchen drawer and stirred it. It then turned into a pinkish shade.
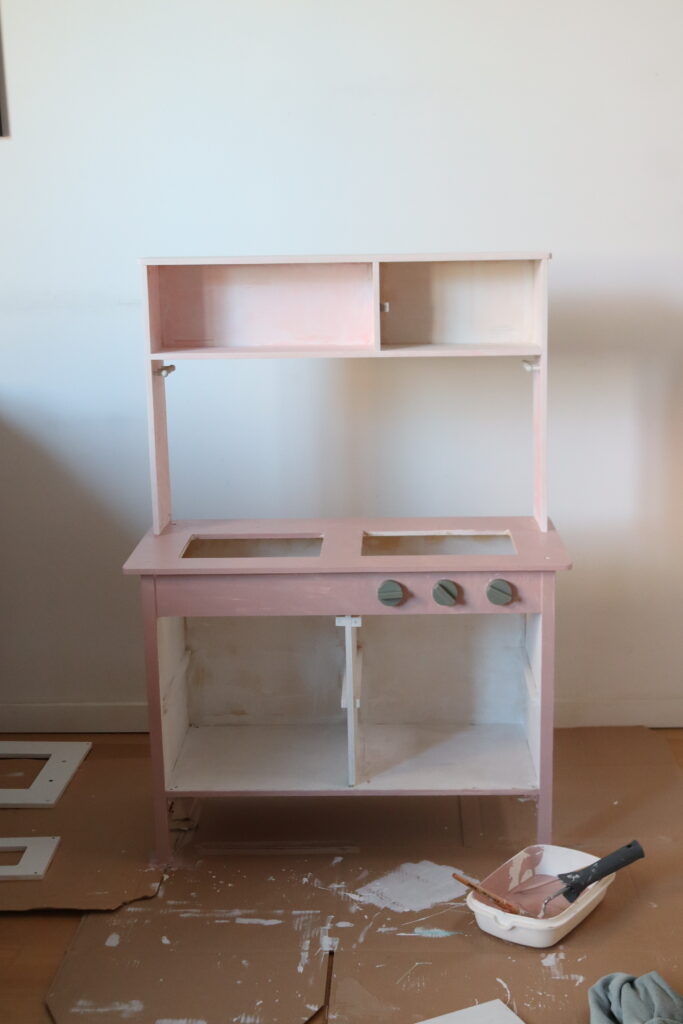
I applied a total of two layers of paint for both colors. For this job, I cut a painting roller in half to work more precisely while still having the smooth coverage of a roller brush, instead of leaving lines with a regular paintbrush. I let the paint dry by air until I was ready for the next step.
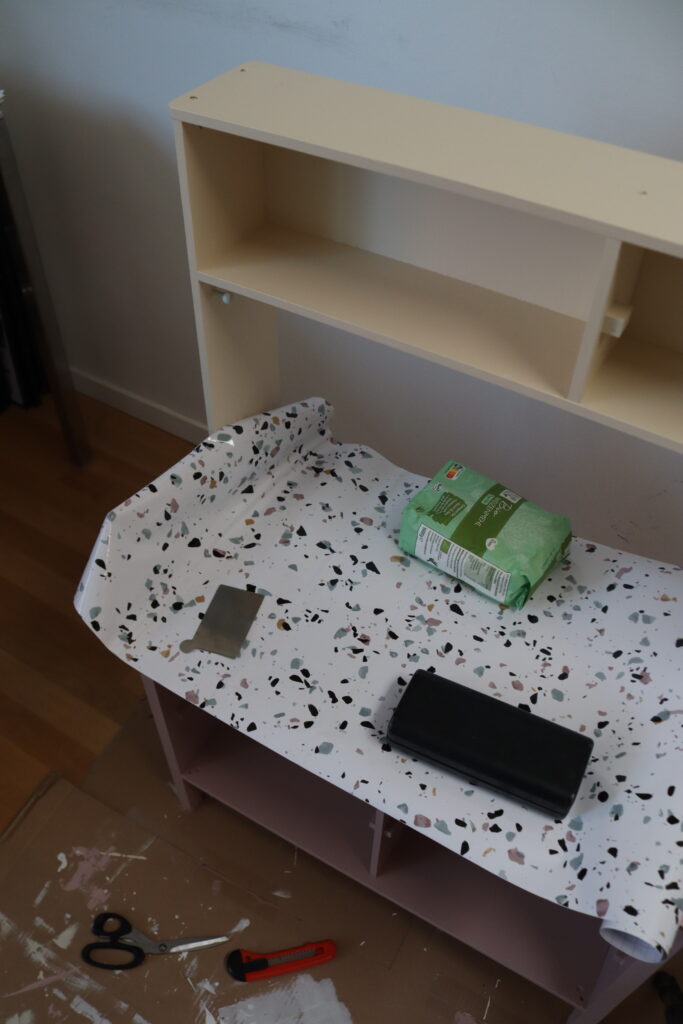
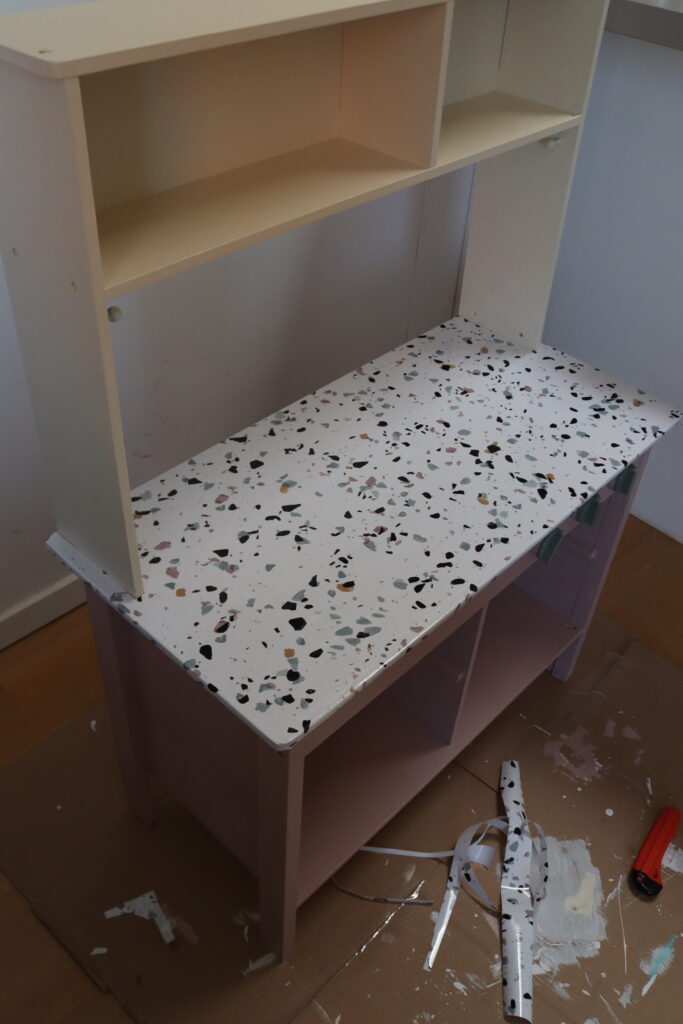
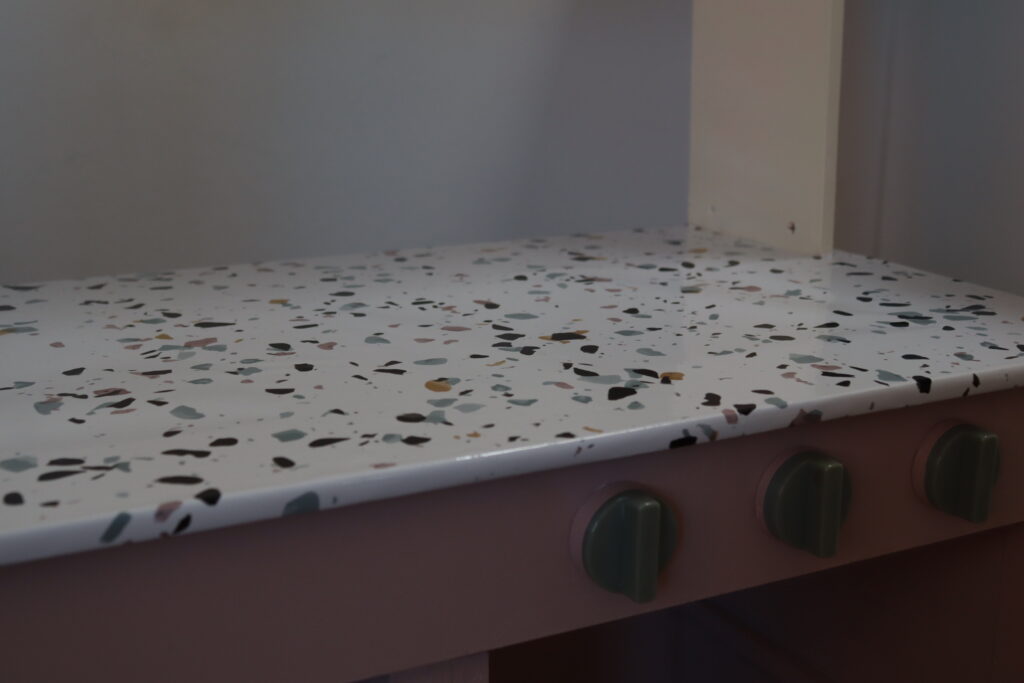
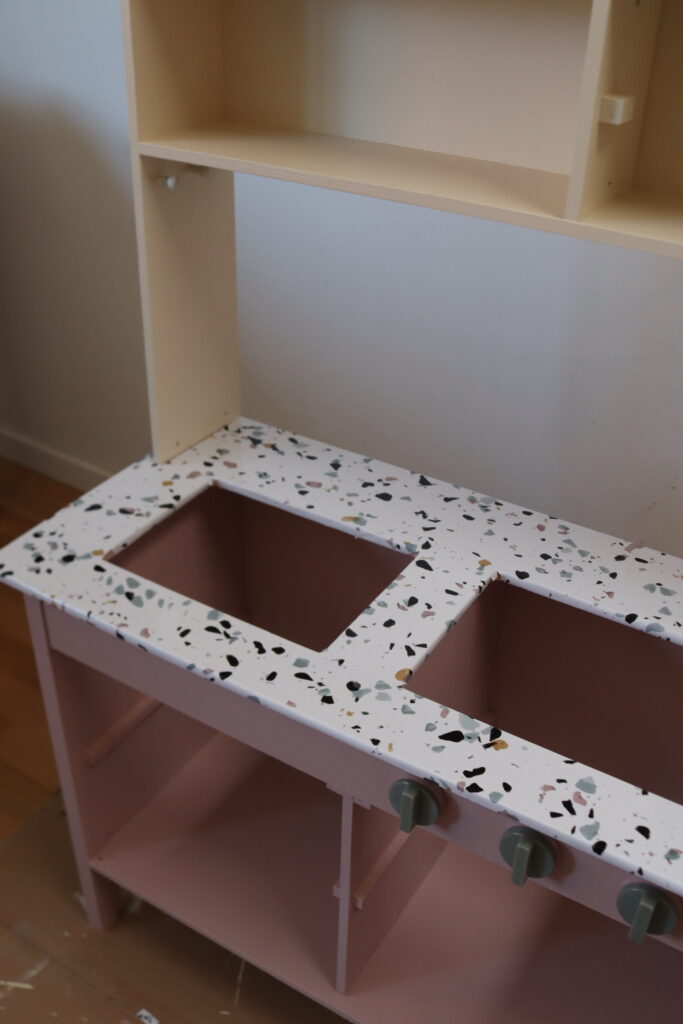
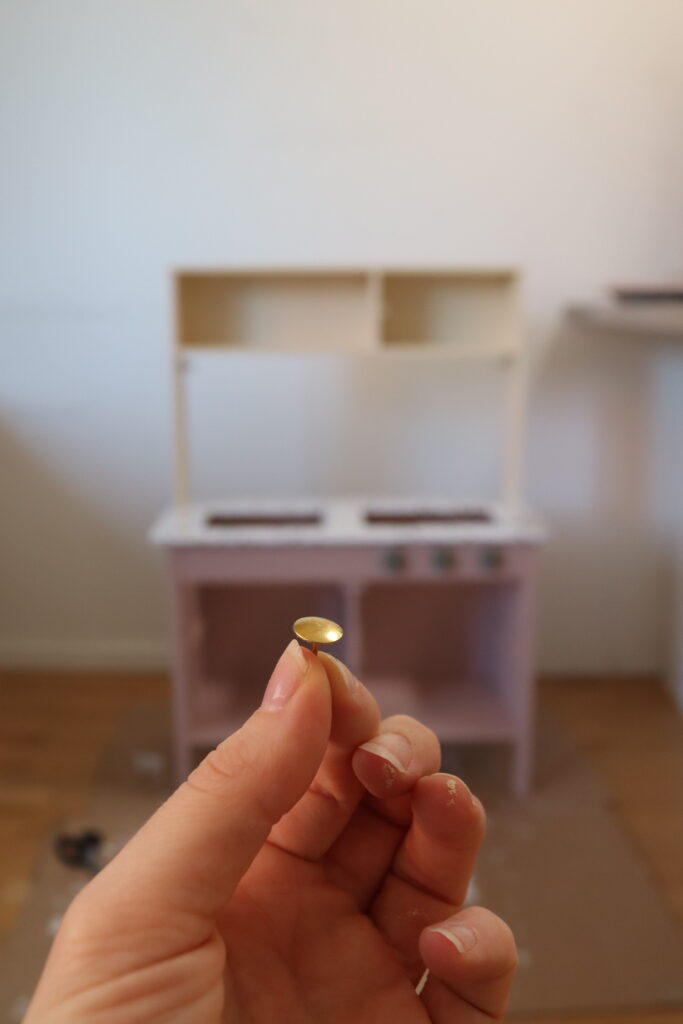
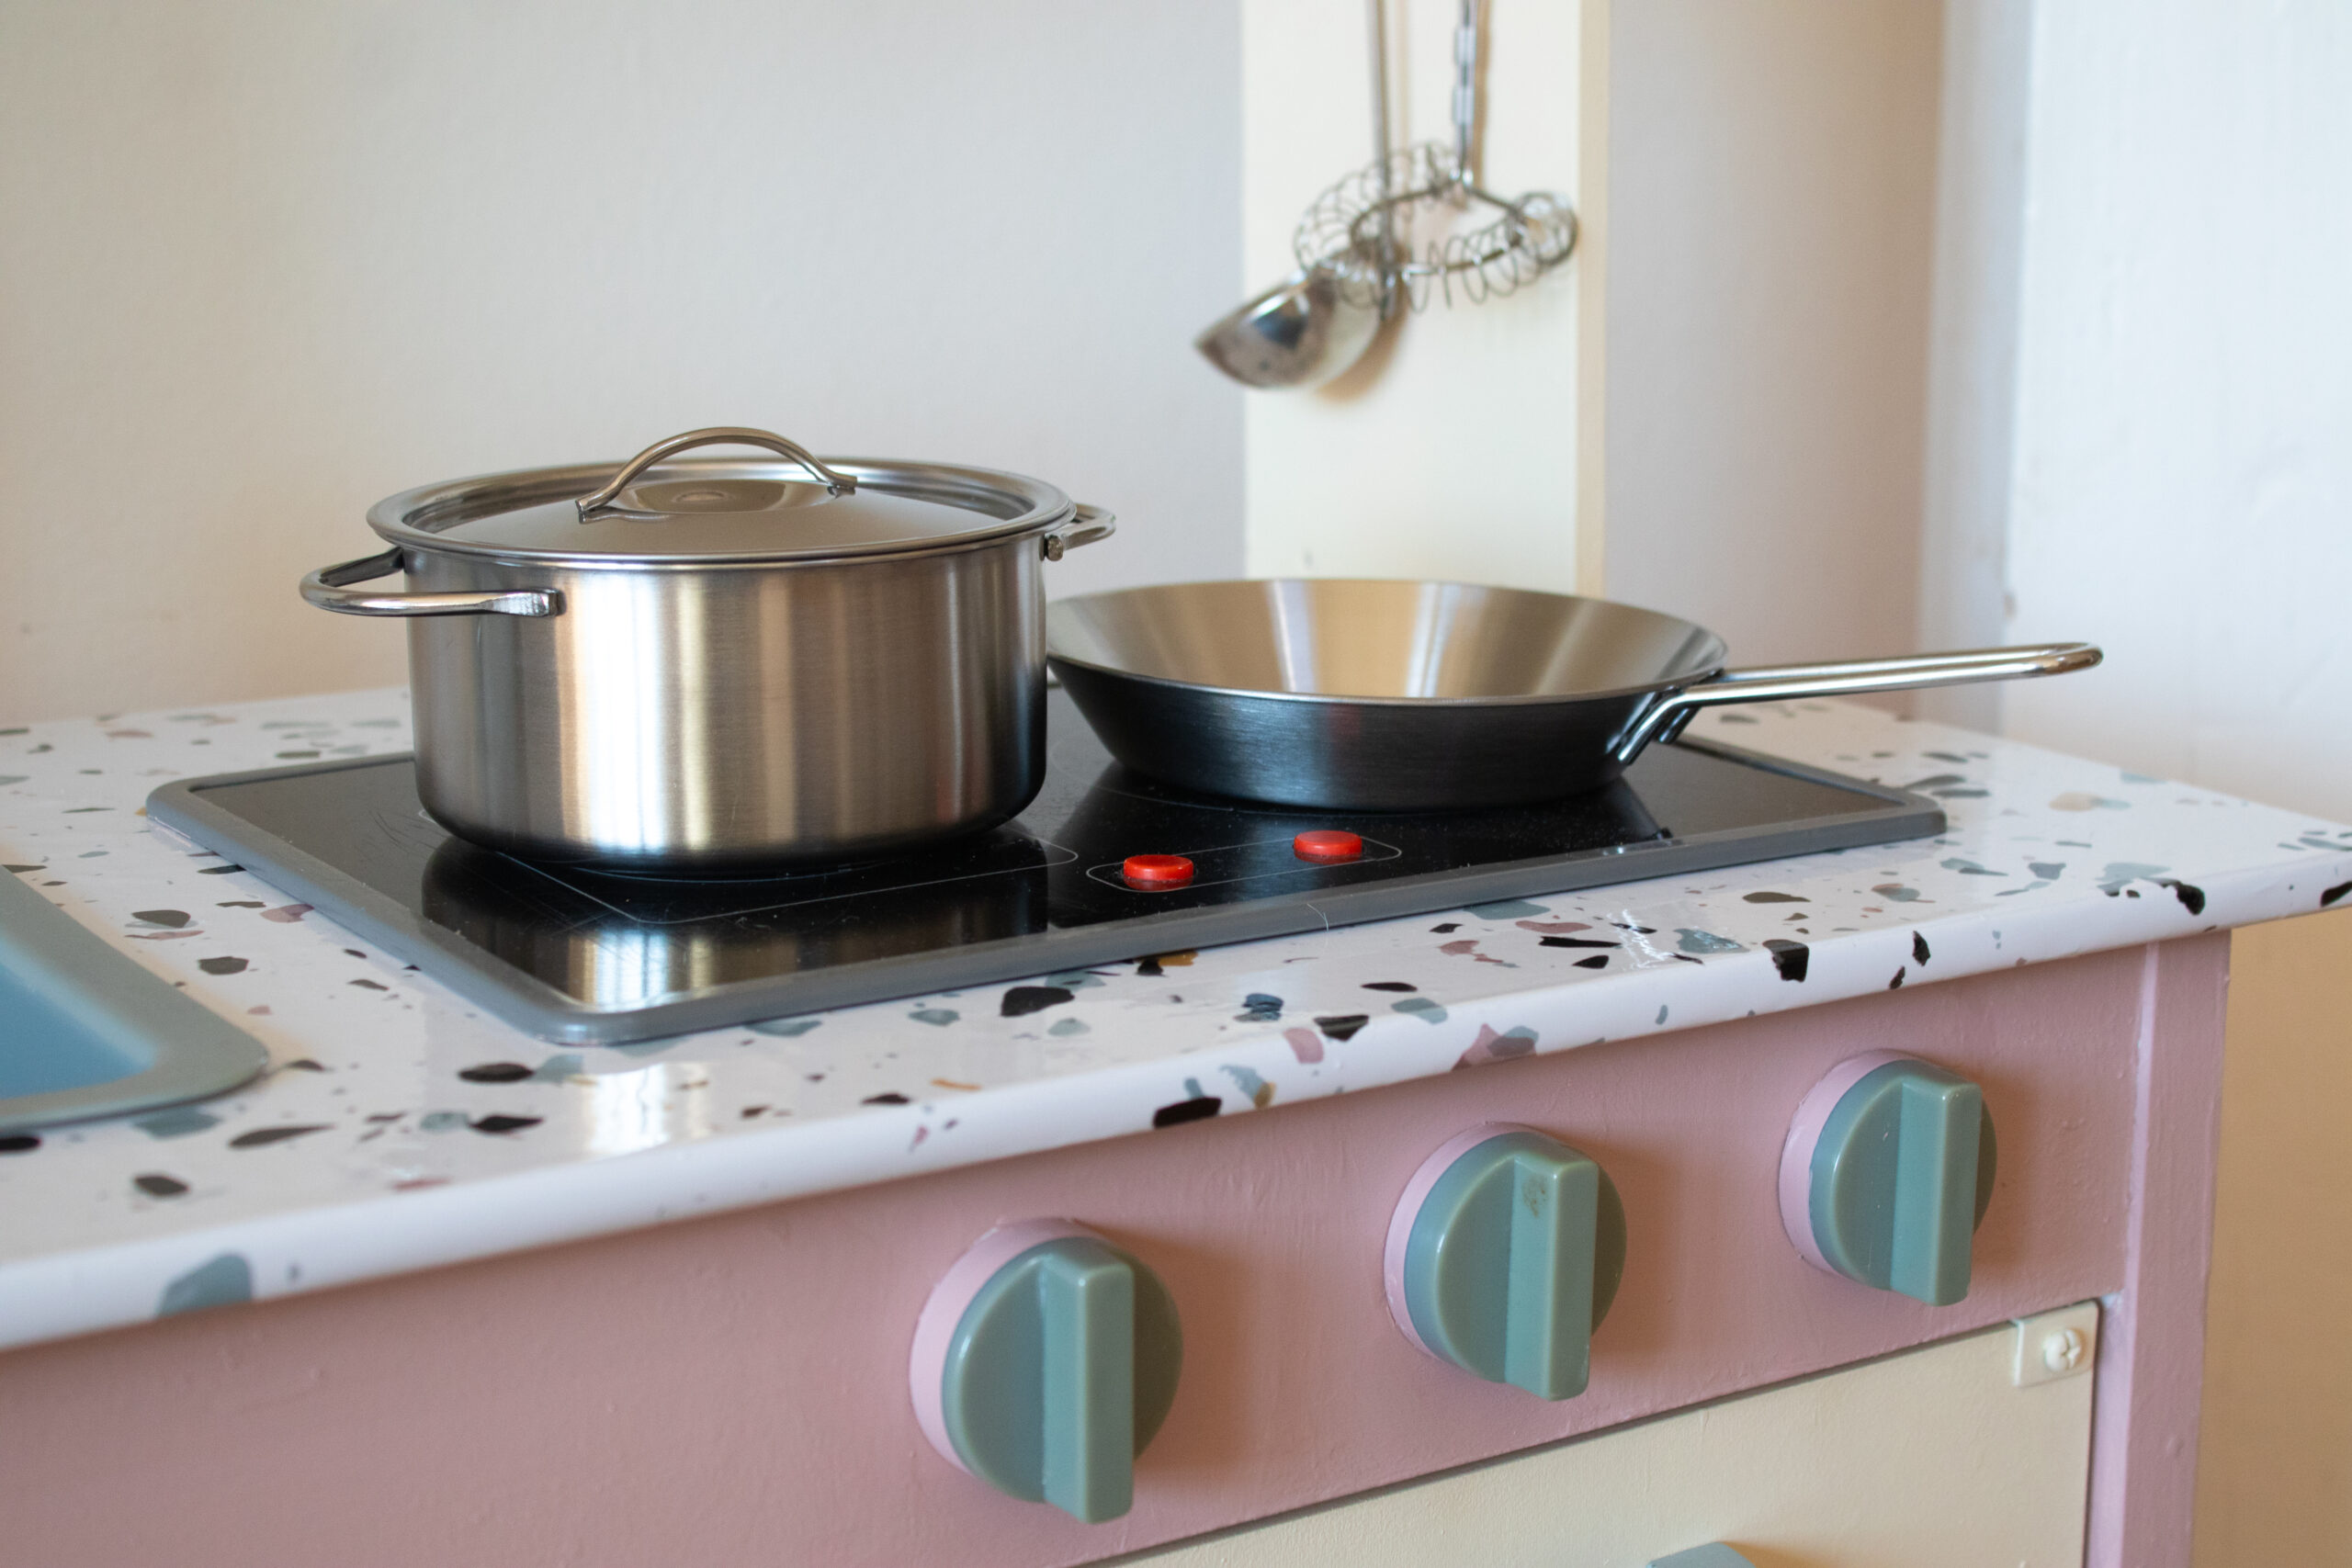
Covering the countertop was a very satisfying job. I measured and cut the self-adhesive terrazzo vinyl, peeled off the backing, and smoothed it down with a small card. I used a bag of flour and my sunglasses case to keep the sticker in place, but honestly, a few extra hands would have made the job easier. If one person had lifted the adhesive part, the other could have focused on sticking and smoothing it onto the countertop. A sharp knife helped to trim the edges neatly, and I secured the vinyl with thumbtacks underneath to create a cleaner finish around the edges. Then, I cut a cross with a knife where the sink and stove should fit and folded those edges inward.
I looked at the kitchen and the grey handles, wondering if I should leave them grey – the initial plan – or paint them black. I decided to leave them grey since they matched well with the terrazzo and blended in nicely. Making them black might have created too much contrast.
After reassembling everything, I added soft protective stickers to the legs of the kitchen. I skipped the original plastic covers from the pictures, as they made the legs look bulky and would have created too much contrast with the pink color. Once everything was finished, I carefully transported the kitchen back to my friend’s place, excited for the styling, photoshoot and the reveal.
Styling the Mini Kitchen
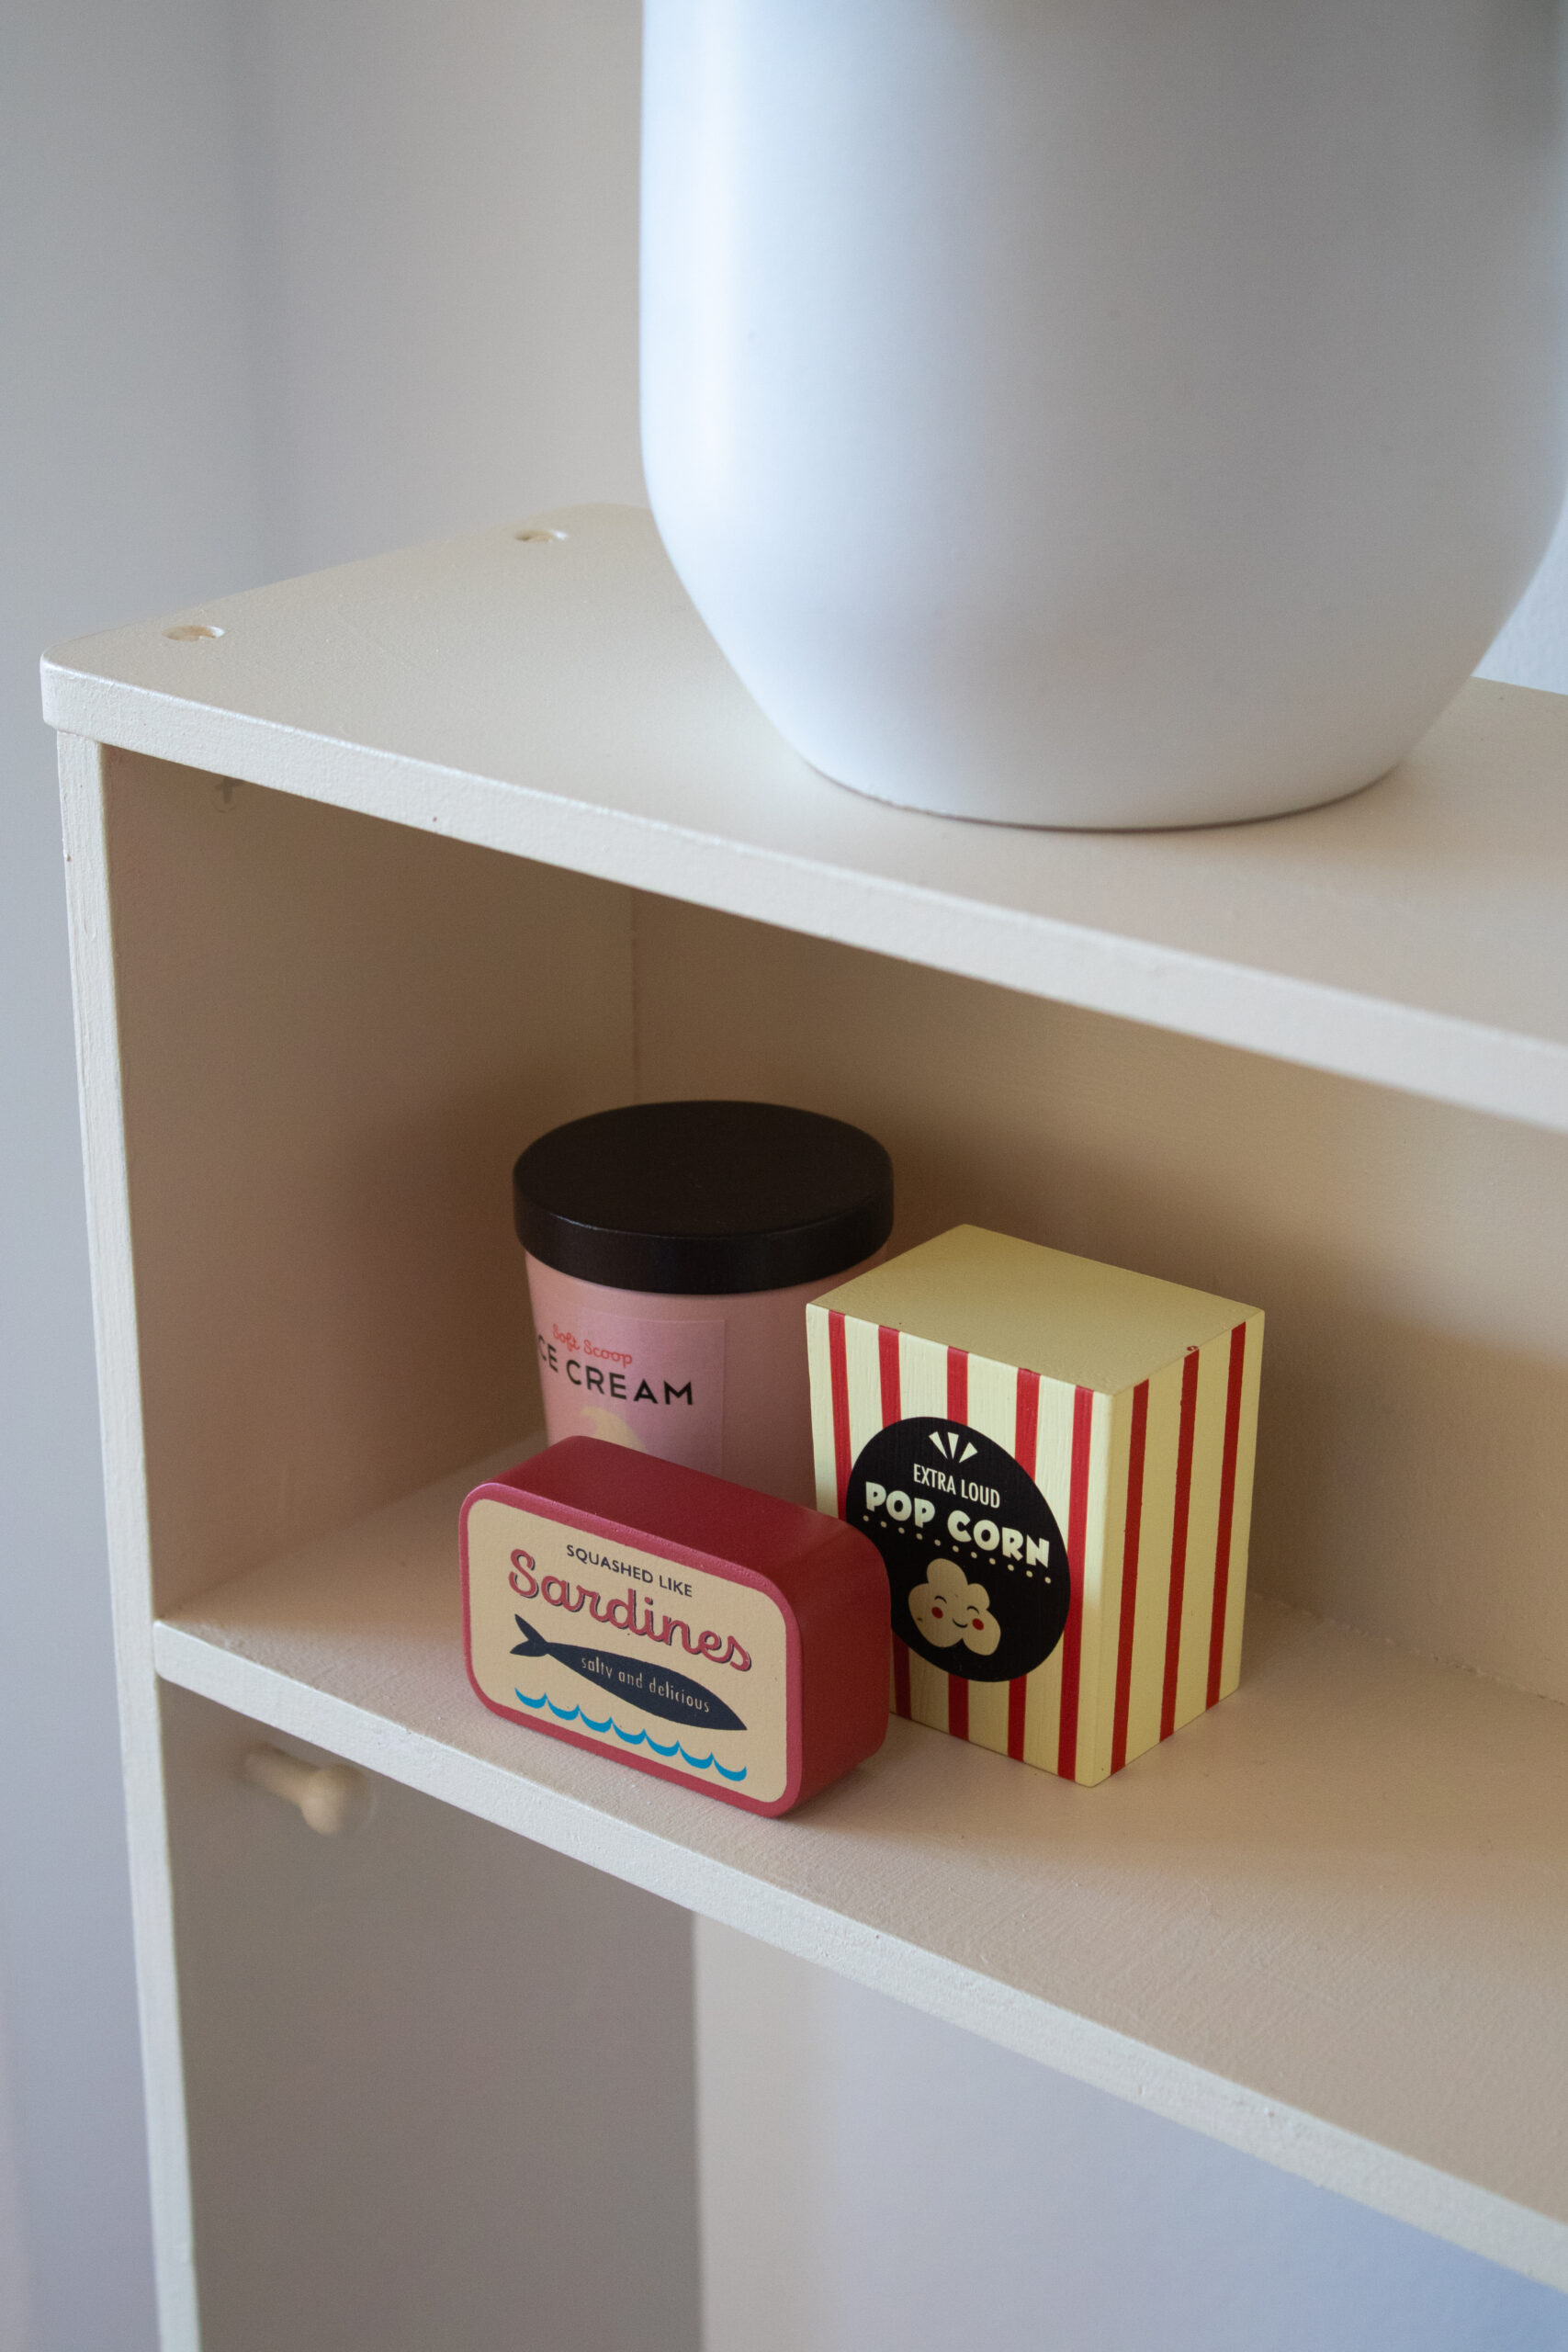
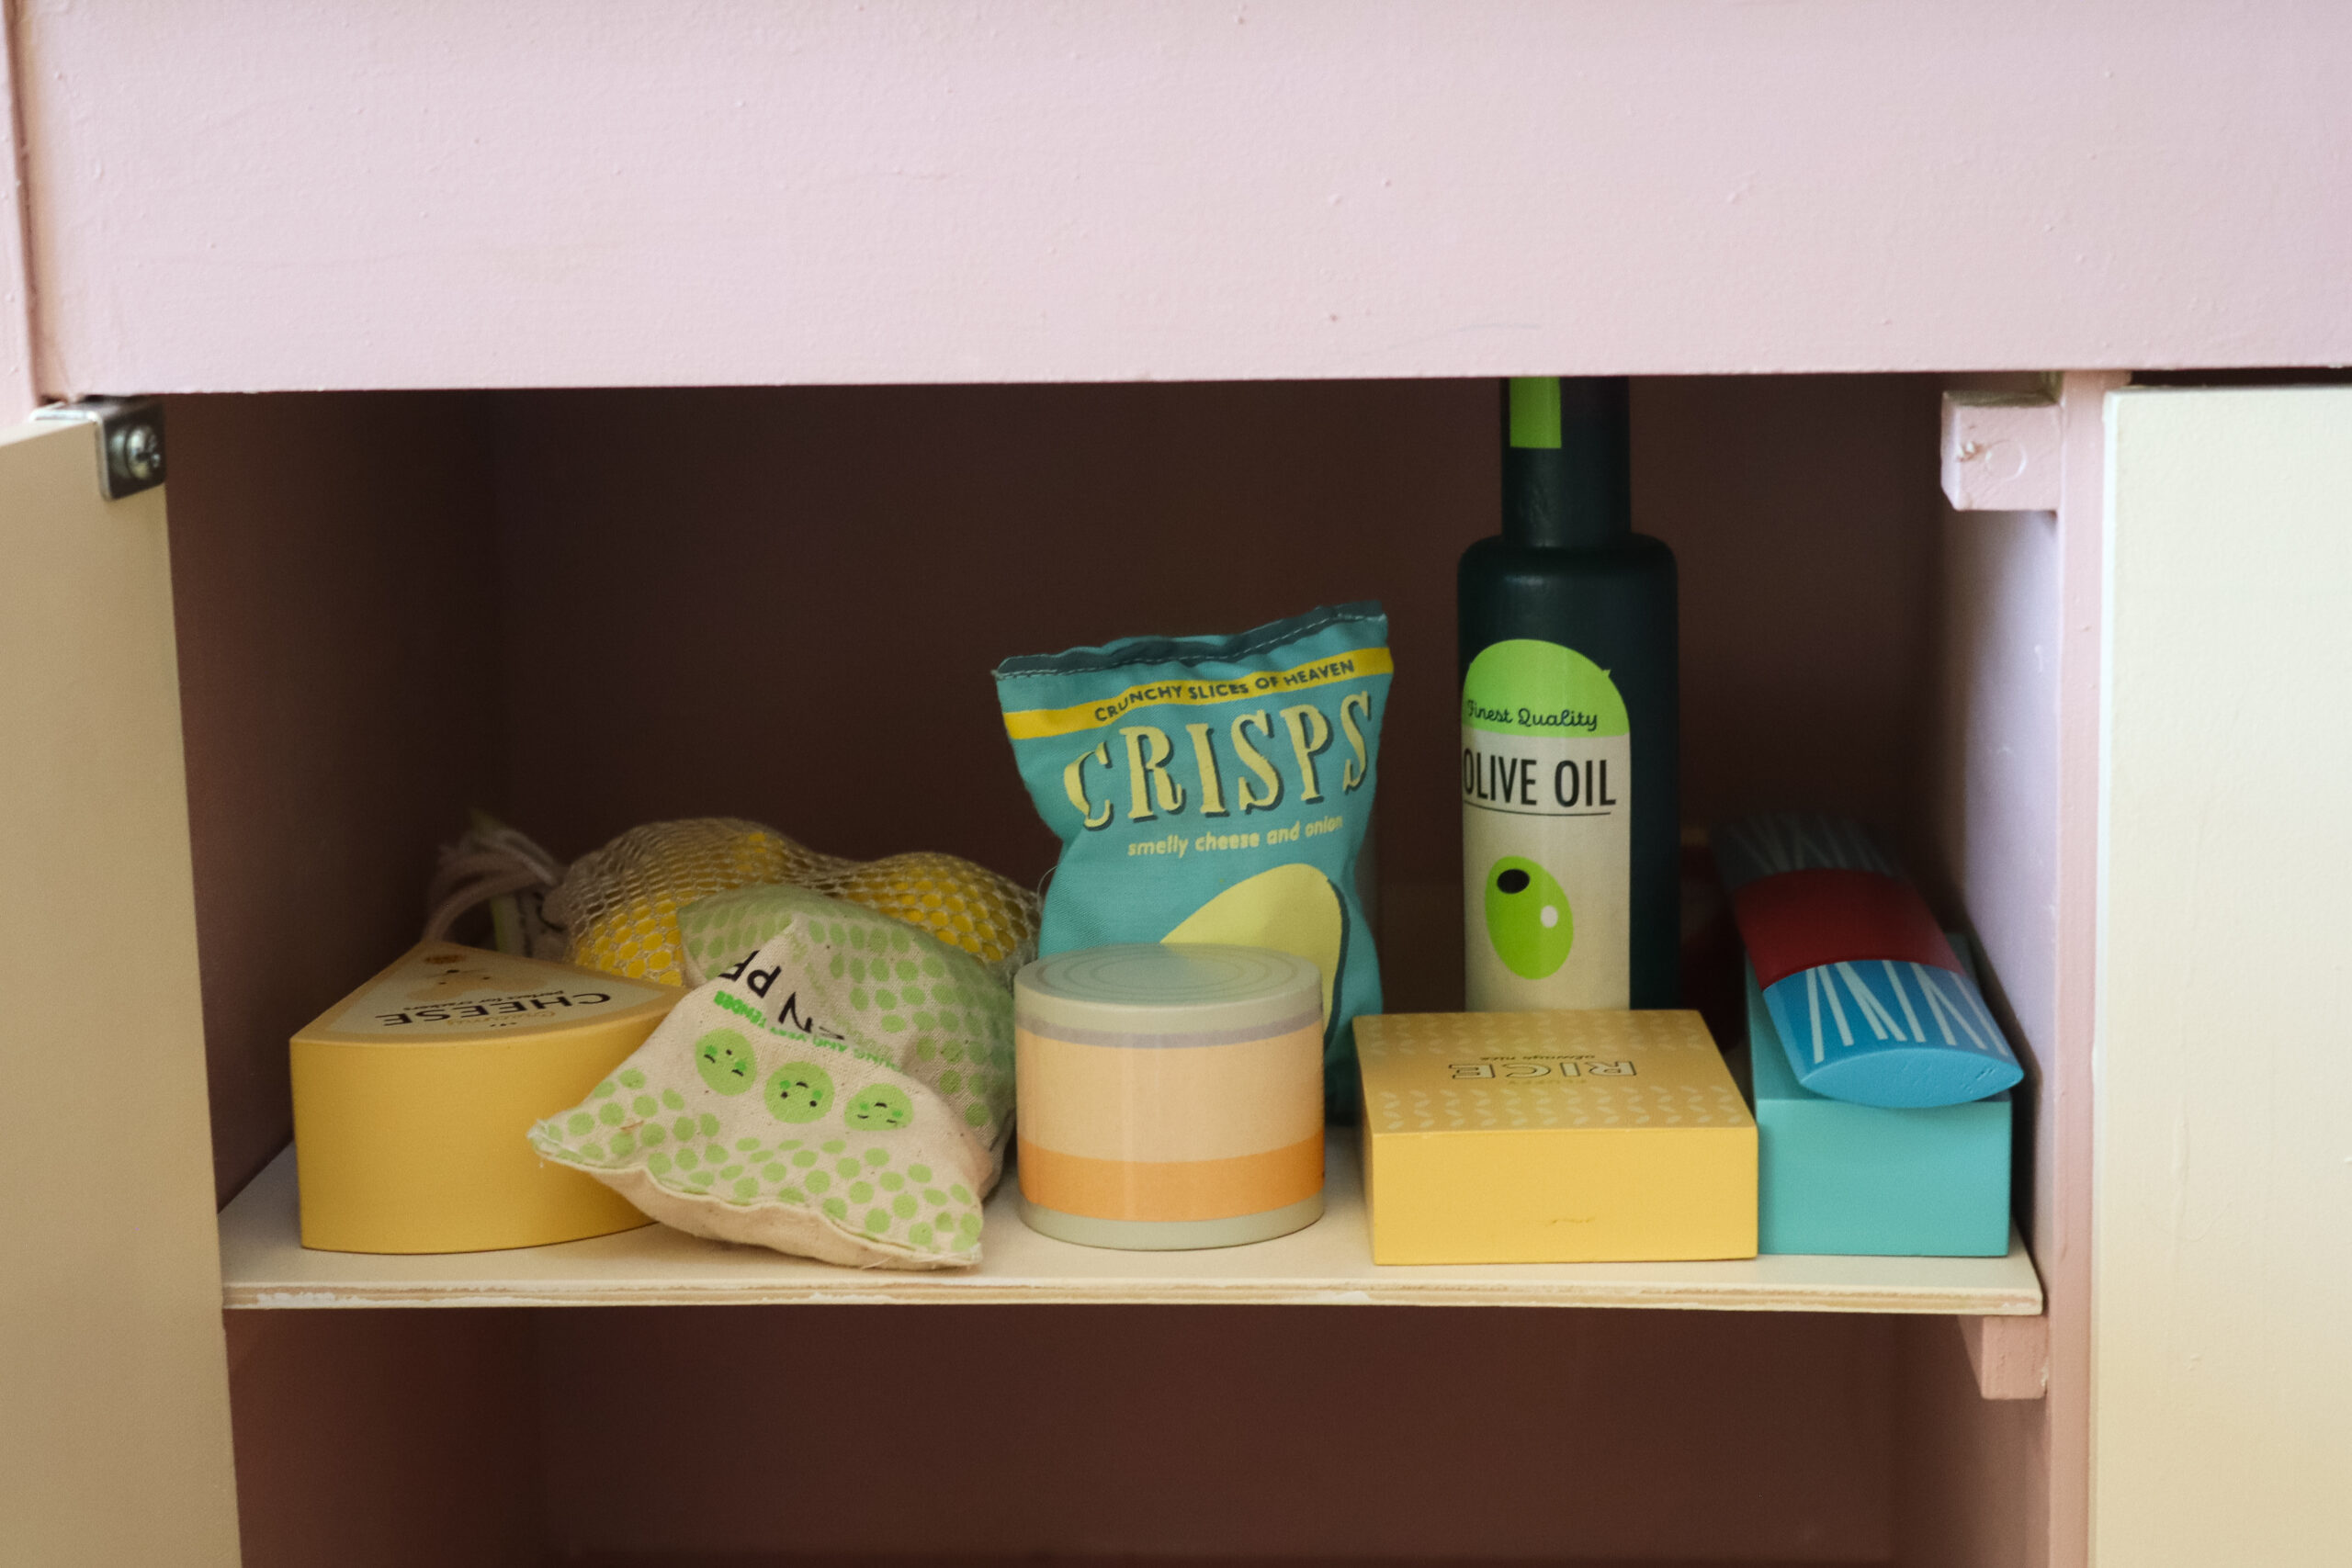
A play kitchen isn’t complete without accessories, so my friend and I looked for the perfect kitchen toys. We found a cute wooden toy brand called Tender Leaf Toys that had beautifully crafted play food. Another friend gave us some extra kitchen utensils because they had duplicates in their own play kitchen. My friend also picked up a tiny pot and pan set from IKEA to make the kitchen feel even more real and functional. As a final touch, I brought a sage plant and a package of farfalle pasta so my little friend could “cook” something real.
Seeing everything come together was the best part. What started as an abandoned play kitchen on the streets of Berlin had found a new home, ready for a future little chef to host a dinner party.
Until next time,

Links of products mentioned in this blog post
- Terrazzo Print Sticker, Amazon https://amzn.to/3RwEhji (USA/Canada/Australia) https://amzn.to/43BqRKq (Europe) or search for “Terrazzo Print Sticker Vinyl” on Google
- Wooden Toy Groceries. Brand Tender Leaf Toys https://tenderleaftoys.com or https://skandic.de
- IKEA kids pots and pans. DUKTIG 5-piece toy cookware set, stainless steel https://www.ikea.com
- IKEA utensils set. 5-piece toy kitchen utensil set https://www.ikea.com
